Headlights - Adjust - EMEA (Wall Method)
 Correction code
17409100
0.18
NOTE: Unless otherwise explicitly
stated in the procedure, the above correction code and FRT reflect all of the work
required to perform this procedure, including the linked procedures. Do not stack correction codes unless
explicitly told to do so.
NOTE: See Flat Rate
Times to learn more about FRTs and how they are created.
NOTE: See Personal Protection to make sure wearing proper PPE when
performing the below procedure. NOTE: See Ergonomic Precautions for safe and healthy working
practices.
Correction code
17409100
0.18
NOTE: Unless otherwise explicitly
stated in the procedure, the above correction code and FRT reflect all of the work
required to perform this procedure, including the linked procedures. Do not stack correction codes unless
explicitly told to do so.
NOTE: See Flat Rate
Times to learn more about FRTs and how they are created.
NOTE: See Personal Protection to make sure wearing proper PPE when
performing the below procedure. NOTE: See Ergonomic Precautions for safe and healthy working
practices.
- 2024-04-01: Updated measurements and units.
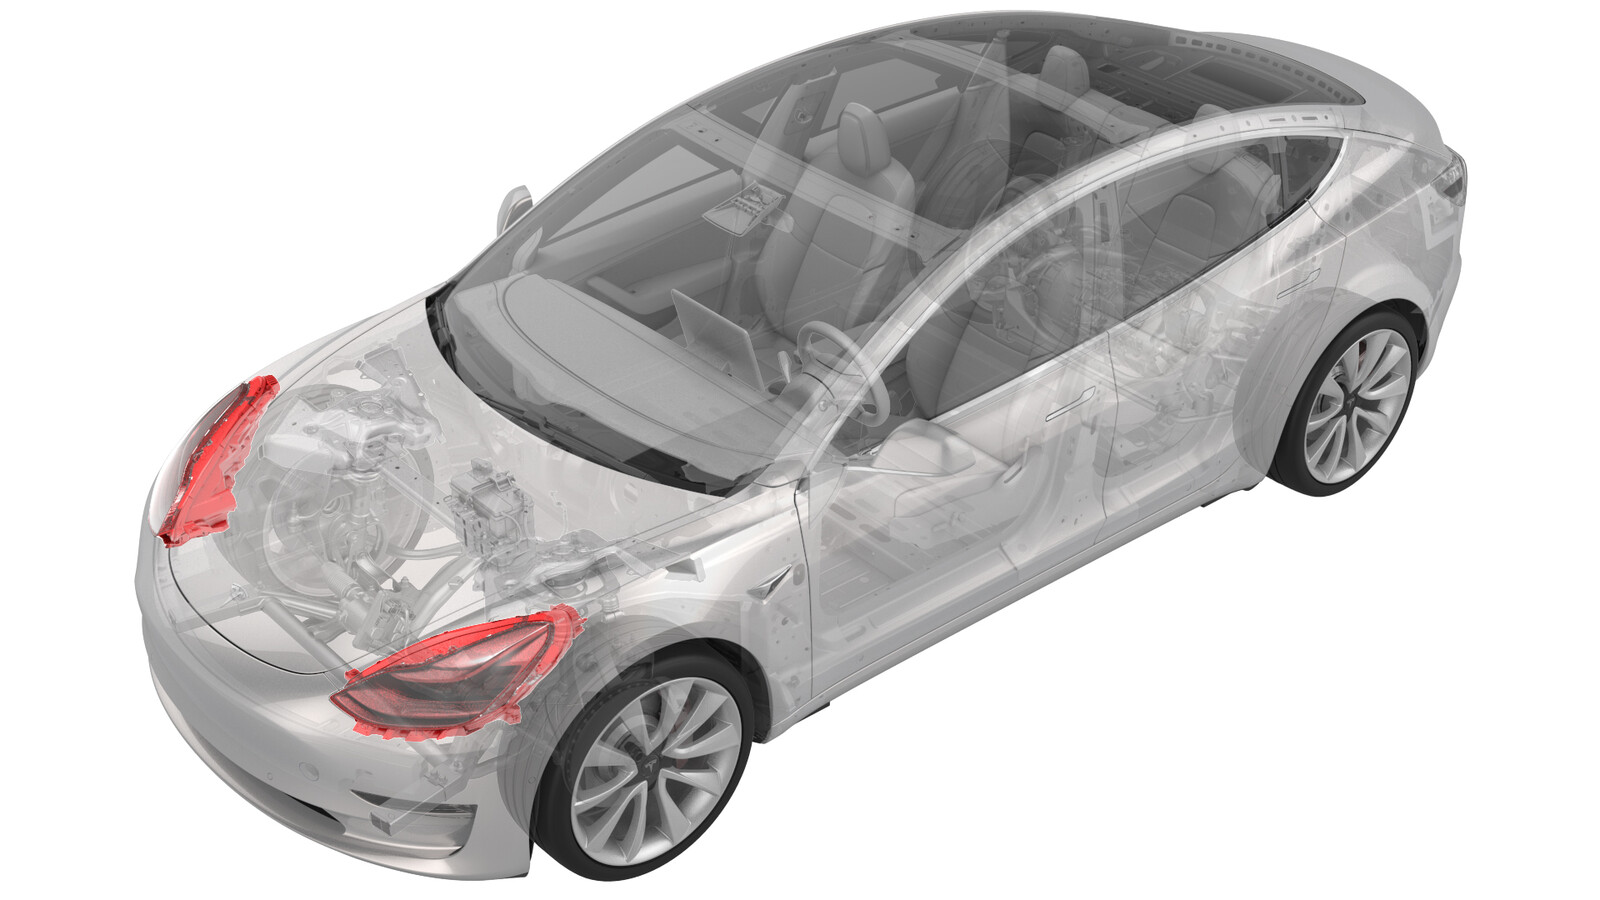
Identify Headlight Type
Adjust Headlights Using a Wall
-
Enter headlight adjustment mode:
-
Apply tape to a wall 60 cm
(23.6 in) from the ground (distance X).
Figure 3. Apply Tape to the Wall at 60 cm -
Apply tape to the floor 9.5
m (31.2 ft) from the wall so that the headlights are 10 m (32.8 ft) away
from the wall.
NoteEU vehicles require a 1 % downward inclination in the headlight beam. For example, a vehicle parked 10 m (32.8 ft) from the wall would have 10 cm (3.9 in) beam drop, from 70 cm (27.6 in) height at the lens to 60 cm (23.6 in) height at the wall.
-
Park the vehicle on a flat surface perpendicular to a wall, aligning the front fascia with the tape on the floor.
Figure 4. Apply Tape to Floor and Align with Front Fascia - Make sure that all 4 tires are inflated to specification.
- Use a laser measure to make sure the vehicle is positioned perpendicular to the wall. Measure the distance from the center of both front wheels to the wall. Both measurements from the center of the wheels to the wall should be equal. If the measurements are unequal, re-position vehicle accordingly.
-
Use a laser measure to determine the center point of the vehicle. Hold the laser measure perpendicular to the wall and project the laser onto the center point of the vehicle. Mark the center line on the wall with a piece of tape.
Figure 5. Determine Center Line of Vehicle -
Measure 72 cm (28.3 in)
horizontally on either side of the center line (distance Y), and then mark
these measurements.
Figure 6. Measure 72 cm from Center -
Add a vertical strip of tape to both marks made in the step above to make targets for the horizontal headlight alignment.
Figure 7. Create Alignment Targets - Open the LH front door.
- Place weight in the driver's seat equal to approximately 75 kg (165 lbs).
- If not already activated, enter headlight adjustment mode. On the vehicle touchscreen, touch: Controls > Service > Adjust Headlights.
-
Use a shop towel to completely cover the RH headlight.
Figure 8. Cover the Right Headlight - On the vehicle touch screen, select Left.
-
On the steering wheel, use the left scroll wheel to adjust the beam level. Adjust the LH headlight so that the top right part of the beam aligns with the tape mark on the wall, and the angled portions align as shown.
Figure 9. Adjust the LH Headlight Beam - When LH headlight adjustment is complete, uncover the RH headlight.
-
Use the shop towel to
completely cover the LH headlight.
Figure 10. Cover the LH Headlight - On the vehicle touch screen, select Right.
-
On the steering wheel, use the right scroll wheel to adjust the beam level. Adjust the RH headlight so that the top right part of the beam aligns with the tape mark on the wall, and the angled portions align as shown.
Figure 11. Adjust the RH Headlight Beam - When RH headlight adjustment is complete, uncover the LH headlight.
- Exit headlight adjustment mode from the vehicle center display.
- Remove the weight from the driver's seat.
- Close the LH front door.