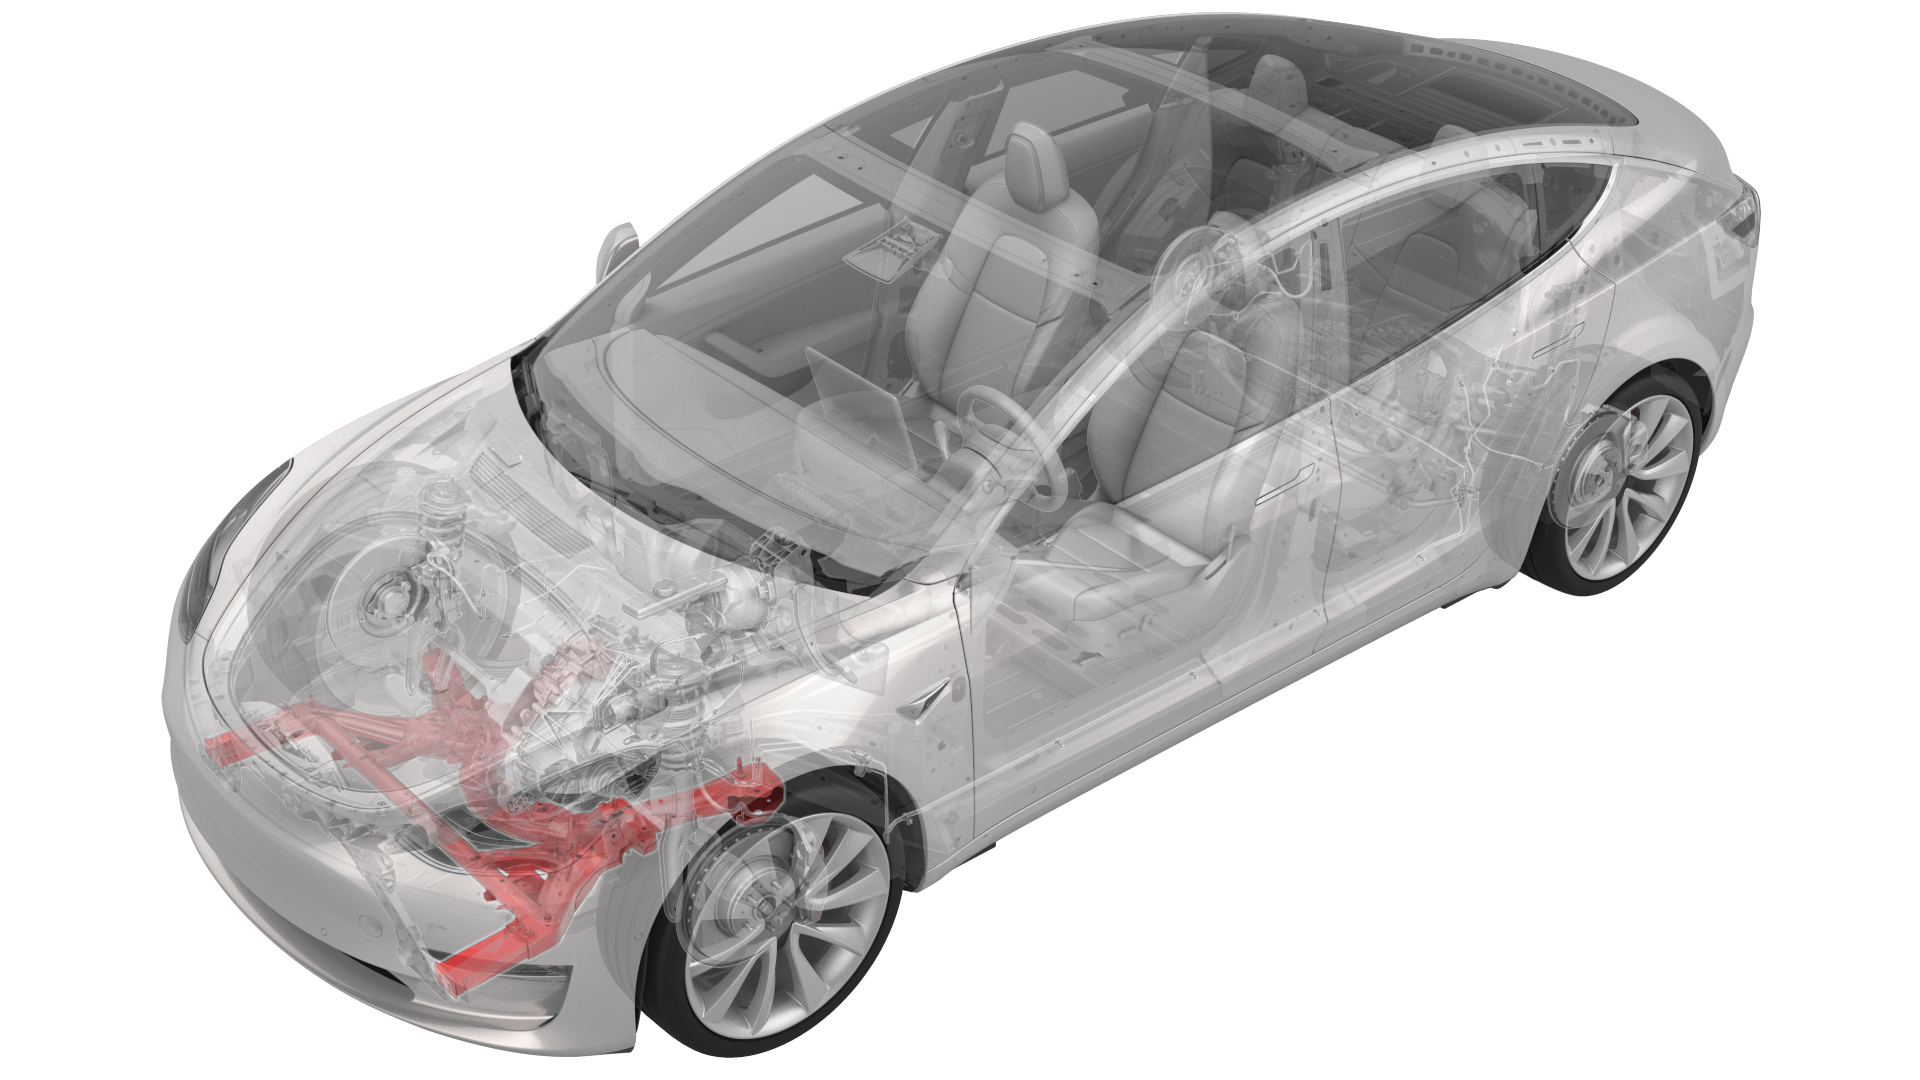
Subframe Assembly - Front (RWD) (Remove and Replace)
 Correction code
30010302
2.16
NOTE: Unless otherwise explicitly
stated in the procedure, the above correction code and FRT reflect all of the work
required to perform this procedure, including the linked procedures. Do not stack correction codes unless
explicitly told to do so.
NOTE: See Flat Rate
Times to learn more about FRTs and how they are created.
NOTE: See Personal Protection to make sure wearing proper PPE when
performing the below procedure. NOTE: See Ergonomic Precautions for safe and healthy working
practices.
Correction code
30010302
2.16
NOTE: Unless otherwise explicitly
stated in the procedure, the above correction code and FRT reflect all of the work
required to perform this procedure, including the linked procedures. Do not stack correction codes unless
explicitly told to do so.
NOTE: See Flat Rate
Times to learn more about FRTs and how they are created.
NOTE: See Personal Protection to make sure wearing proper PPE when
performing the below procedure. NOTE: See Ergonomic Precautions for safe and healthy working
practices.
- 2026-03-31: Added the rivet nut check/installation step.
Remove
- Remove the front subframe assembly. See Subframe Assembly - Front (RWD) (Remove and Install).
- Remove the steering rack. See Steering Rack (RWD) (Remove and Replace).
-
With an assistant, remove and discard the nuts that attach the front stabilizer bar to the front subframe, and then remove the stabilizer bar from the subframe.
-
Remove the bolts and nuts that attach the LH and RH crash can brackets to the front subframe, and remove the brackets from the subframe.
Figure 1. LH Shown, RH similar -
With an assistant, unlatch the front subframe from the subframe lifting tool, and the remove the front subframe from the subframe lifting tool.
Install
-
With an assistant, position the new subframe to the subframe lifting tool.
NoteMake sure that the 2 guides align.
-
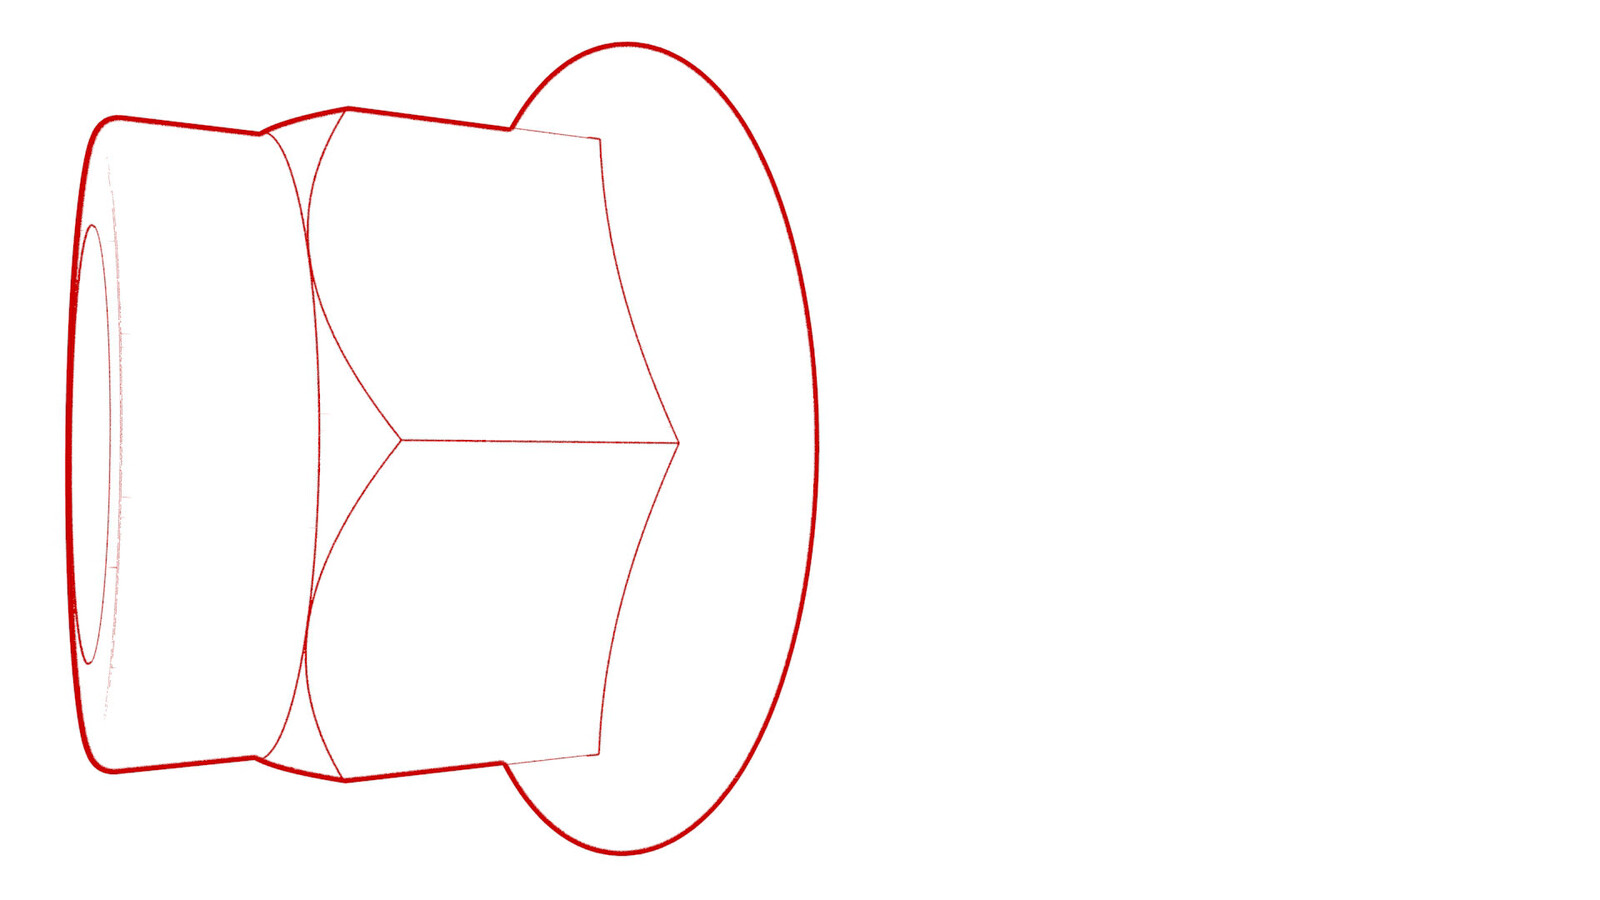
Verify the attachment point for the
triumph horn on the new front subframe assembly. If the M6 rivet nut is missing, install a
rivet nut (1129125-00-B) onto the front subframe assembly.
NoteRecommended Tool: 1054712-00-A Rivet Nut Setter Kit
-
Hand-tighten the bolts that attach the LH and RH crash can brackets to the front subframe.
NoteThe tightening of the LH and RH crash can brackets occurs later during the installation of the front subframe assembly (remove and install).
Figure 2. LH Shown, RH similar -
With an assistant, put the
front stabilizer bar onto the front subframe, and then install new nuts to
attach the front stabilizer bar to the front subframe.
 35 Nm (25.8 lbs-ft)
 -
Install the steering rack. See Steering Rack (RWD) (Remove and Replace).
CAUTION2nd generation front subframes cannot accommodate 1st generation (discontinued) steering racks. A 2nd generation (currently available) steering rack must be installed.
- Position the subframe lifting tool and front subframe underneath the vehicle for installation.
- Install the front subframe assembly into the vehicle. See Subframe Assembly - Front (RWD) (Remove and Install).
- Refer to the Alignment Requirement tables to determine whether an EPAS alignment check (EC) or four wheel alignment check (AC) is necessary. If performed, add the alignment check/adjust correction code as a separate activity to the SV. See Alignment Requirement - Suspension.