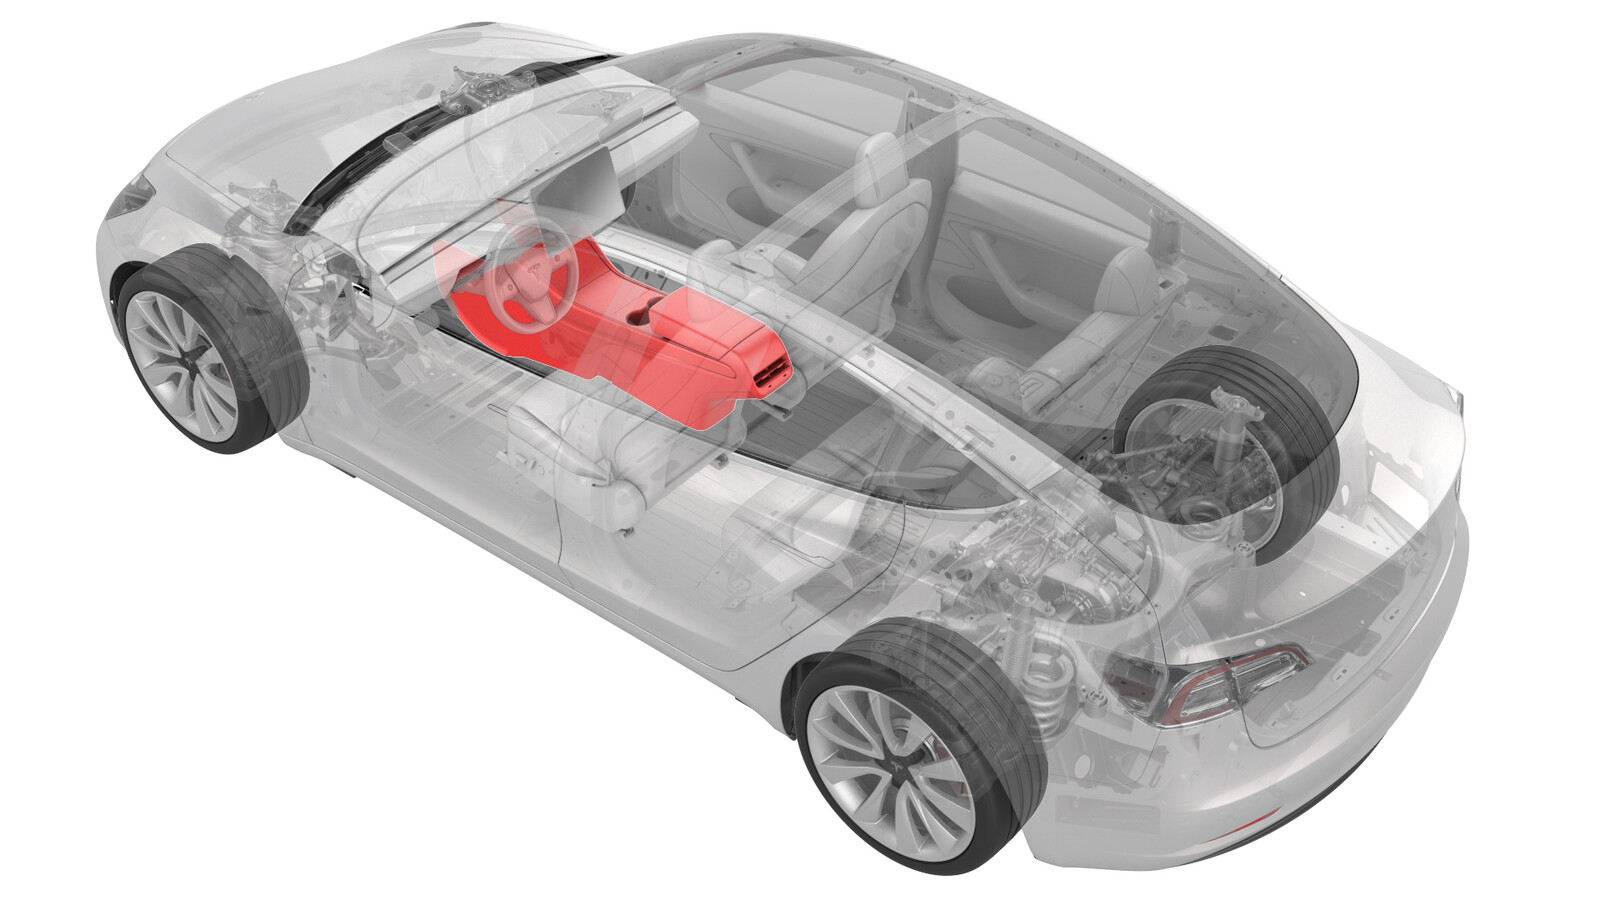
Center Console (2.0) (Remove and Replace)
 Correction code
15190112
0.60
NOTE: Unless otherwise explicitly
stated in the procedure, the above correction code and FRT reflect all of the work
required to perform this procedure, including the linked procedures. Do not stack correction codes unless
explicitly told to do so.
NOTE: See Flat Rate
Times to learn more about FRTs and how they are created.
NOTE: See Personal Protection to make sure wearing proper PPE when
performing the below procedure. NOTE: See Ergonomic Precautions for safe and healthy working
practices.
Correction code
15190112
0.60
NOTE: Unless otherwise explicitly
stated in the procedure, the above correction code and FRT reflect all of the work
required to perform this procedure, including the linked procedures. Do not stack correction codes unless
explicitly told to do so.
NOTE: See Flat Rate
Times to learn more about FRTs and how they are created.
NOTE: See Personal Protection to make sure wearing proper PPE when
performing the below procedure. NOTE: See Ergonomic Precautions for safe and healthy working
practices.
Remove
- Open all the doors and lower all the windows.
- Move the driver seat rearward.
- Remove the driver floormat.
- Remove the LH center console side panel carpet. See Side Panel - Center Console - LH (Remove and Replace).
-
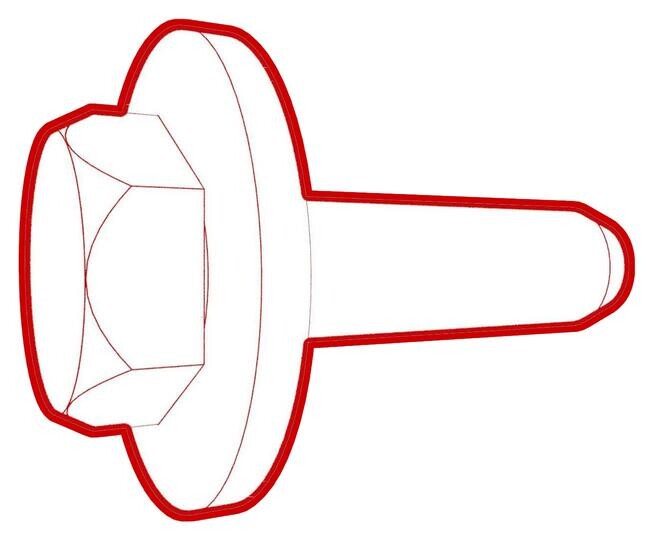
Remove the bolts that attach
the LH front of the center console to the body.
NoteUse of the following tool(s) is recommended:
- 10 mm socket
- Remove the center console lower rear panel. See Panel - Lower Rear - Center Console (Remove and Replace).
-
Remove the bolt that
attaches the LH rear of the center console to the body. Repeat this step for
the RH rear of the center console.
NoteUse of the following tool(s) is recommended:
- 10 mm socket
- Move the front passenger seat backward and the seat back to the down position.
- Repeat step 3 through step 5 for the RH side of the vehicle.
- Disconnect 12V power. See 12V/LV Power (Disconnect and Connect).
-
Disconnect the electrical
connector from the rear of the center console.
-
Disconnect the electrical
connector that is located at the RH front of the center console.
-
With an assistant, remove
the center console from the vehicle as follows:
- Tilt the rear of the center console upwards.
- Pull the center console towards the rear of the vehicle.
- Tilt the front of the center console upwards.
- Remove the center console through the passenger front door.
- Pivot the armrest to the up position.
-
Release the clips (x17) that
attach the center console decor to the center console assembly, and then
disconnect the electrical connector to remove the decor from the
assembly.
NoteRelease the clips on the LH and RH sides of the center console, and then release the clips on the front portion of the trim.
-
Remove the bolts (x14) that attach the bright work to the center
console.
 1.6 Nm (1.2 lbs-ft)
 -
Release the tabs (x12) that attach the bright work to the center console
assembly, and then remove the bright work from the assembly.
-
Release the clips (x6) that
attach the cup holder decor to the center console assembly, and then
disconnect the security controller electrical connector.
-
Remove the screws (x2) that
attach the security controller to the cup holder decor, and then remove the
security controller from the decor.1.6 Nm (1.2 lbs-ft)
- Repeat step 14 through step 19 for the new center console.
Install
-
Position the security controller removed from the original center console
onto the new center console cup holder decor, and then install the screws
(x2) that attach the security controller to the cup holder decor.1.6 Nm (1.2 lbs-ft)
-
Connect the security controller electrical connector, and then install the
clips (x6) that attach the cup holder decor to the center console
assembly.
-
Position the bright work
onto the center console assembly, and then secure the tabs (x12) that attach
the bright work to the center console assembly.
NoteVerify there are no gaps along the trim.
-
Install the bolts (x14) that attach the bright work to the center
console.1.6 Nm (1.2 lbs-ft)
-
Position the center console
decor onto the center console assembly, connect the electrical connector,
and then fasten the clips (x17) that attach the decor to the center
console.
-
With an assistant, install the center console into the vehicle as
follows:
- Tilt the front of the center console downwards.
- Slide the center console towards the front of the vehicle.
- Tilt the rear of the center console downwards until it is in place.
-
Connect the electrical
connector that is located at the RH front of the center console.
CAUTIONEnsure the connector is properly installed. Perform a push-pull test before continuing this procedure.
-
Connect the electrical
connector in the rear of the center console.
CAUTIONEnsure the connector is properly installed. Perform a push-pull test before continuing this procedure.
-
Install the bolts that
attach the RH front of the center console to the body.7 Nm (5.2 lbs-ft)NoteUse of the following tool(s) is recommended:
- 10 mm socket
- Install the RH center console side panel carpet. See Side Panel - Center Console - LH (Remove and Replace).
- Install the front passenger floormat.
- Reconnect 12V power. See 12V/LV Power (Disconnect and Connect).
-
Install the bolt that
attaches the RH rear of the center console to the body. Repeat this step for
the LH rear of the center console.
 7 Nm (5.2 lbs-ft)
 - Install the center console lower rear panel. See Panel - Lower Rear - Center Console (Remove and Replace).
- Repeat step 9 through step 11 for the LH side of the vehicle.
- Move the front seats to the original positions.
- Raise all the windows and close all the doors.