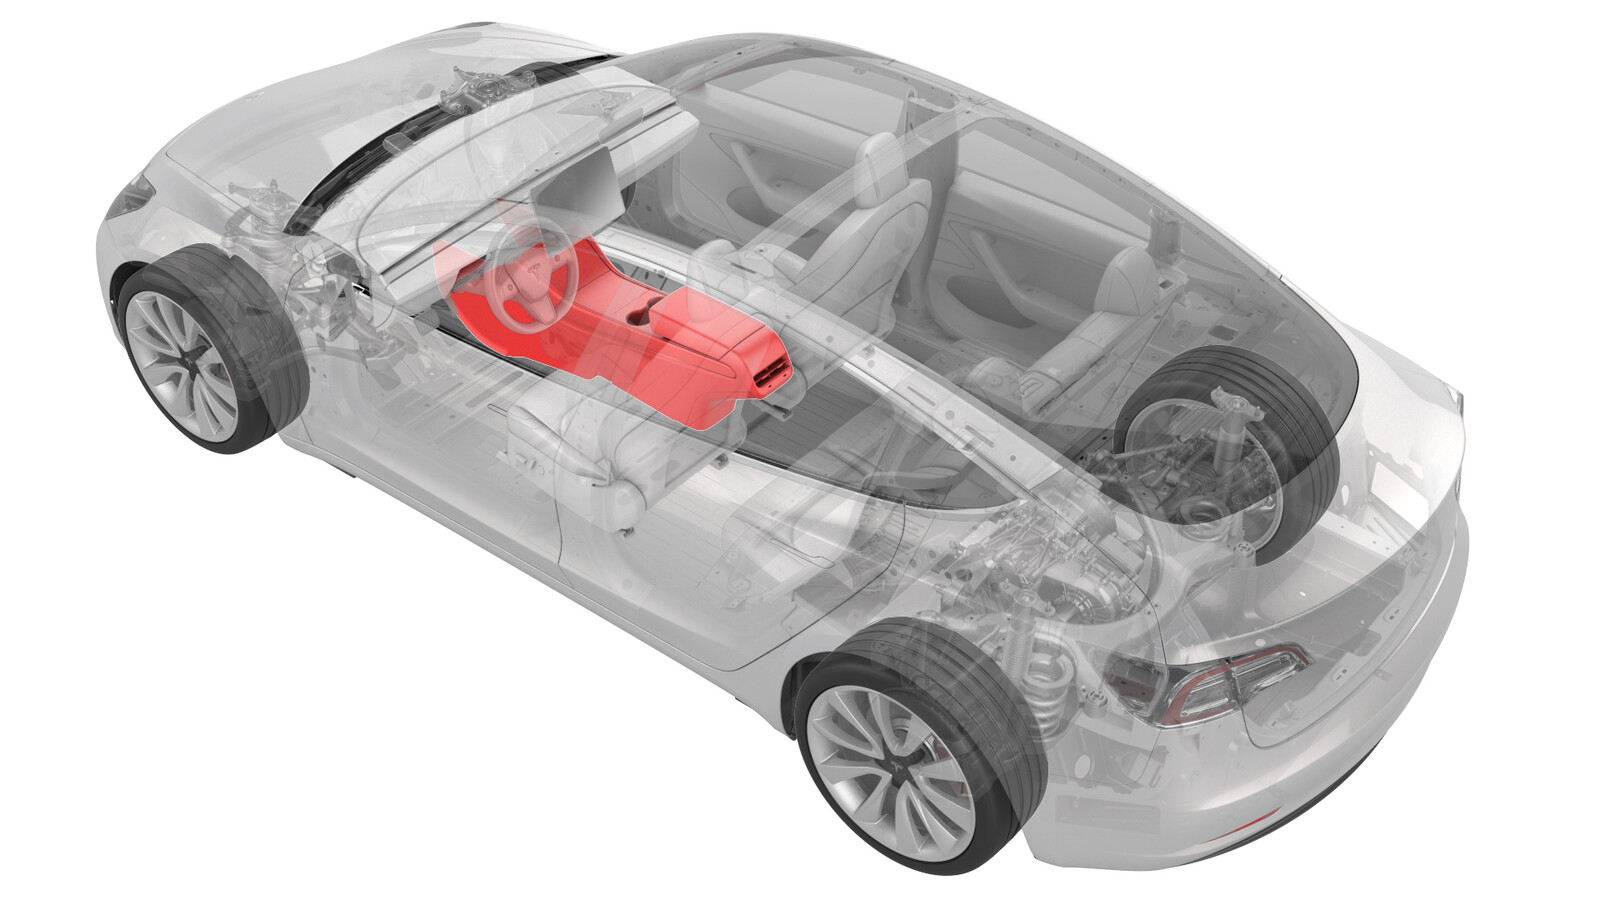
Center Console (Remove and Replace)
 Correction code
15190102
0.60
NOTE: Unless otherwise explicitly
stated in the procedure, the above correction code and FRT reflect all of the work
required to perform this procedure, including the linked procedures. Do not stack correction codes unless
explicitly told to do so.
NOTE: See Flat Rate
Times to learn more about FRTs and how they are created. To provide feedback on
FRT values, email ServiceManualFeedback@tesla.com.
NOTE: See Personal Protection to make sure wearing proper PPE when
performing the below procedure. See Ergonomic Precautions for safe and healthy working practices.
- 2023-07-21: Added Note about security-related toolbox actions.
Remove
- Remove the center console assembly. See Center Console (Remove and Install).
Install
-
With an assistant, install
the center console into the vehicle as follows:
- Tilt the front of the center console downwards.
- Slide the center console towards the front of the vehicle.
- Tilt the rear of the center console downwards until it is in place.
- Open the center console rotating lid.
-
Connect the electrical
connector in the rear of the center console.
CAUTIONEnsure the connector is properly installed. Perform a push-pull test before continuing this procedure.
- Reconnect 12V power. See 12V/LV Power (Disconnect and Connect).
- Connect a laptop with Toolbox 3 to the vehicle.
-
Using Toolbox, type "VCSEC"
in the search tab.
NoteMake sure "Actions" is selected, if not already.
- Using Toolbox, click the play button next to "PING-TP_VCSECvia Toolbox: (link)," and then select Run.
- Update the vehicle firmware. See Software Update.
- Using Toolbox, click the play button next to "PROC_VCSEC_X_PROVISIONINGvia Toolbox: (link)," and then select Run.
- Using Toolbox, click the play button next to TEST-SELF_VCSEC_X_ENDPOINT-COMMvia Toolbox: (link) and select Run.
-
Place the NFC cards on the
center console behind the cup holders.
Note2 NFC cards are required when pairing: 2 unprogrammed NFC cards, or 1 unprogrammed NFC card and one previously programmed NFC card.
- Using Toolbox, click the play button next to "PROC_VCSEC_C_PAIR-NFC-CARD-V2via Toolbox: (link)via Service Mode: Low Voltage ➜ Keys ➜ Pair Key" and select Run.
- Using Toolbox, type the number of NFC cards to be paired to the vehicle, and then select Submit.
- Check the function of the programmed NFC cards.
- Using Toolbox, type "IMMOBILIZER" in the search tab.
-
Using Toolbox, click the play button
next to "PROC_DI_X_PAIR-IMMOBILIZER-AND-VEHICLE-ODOMETERvia Toolbox: (link)via Service Mode Plus:
- Drive Inverter ➜ Rear Drive Inverter Replacement ➜ Immobilizer/ODO Pairing
- Drive Unit ➜ Rear Drive Unit Replacement ➜ Pair Immobilizer and Vehicle Odometer
- Using Toolbox, type "ODOMETER" in the search tab.
- Using Toolbox, click the play button next to "PROC-DID_DI_VEHICLE-ODOMETERvia Toolbox: (link)," and select Run.
- Using Toolbox, type "RESET_DI" in the search tab.
- Using Toolbox, click the play button next to "TEST-RESET_DIvia Toolbox: (link)," and then select Run.
- Disconnect the laptop from the vehicle.
-
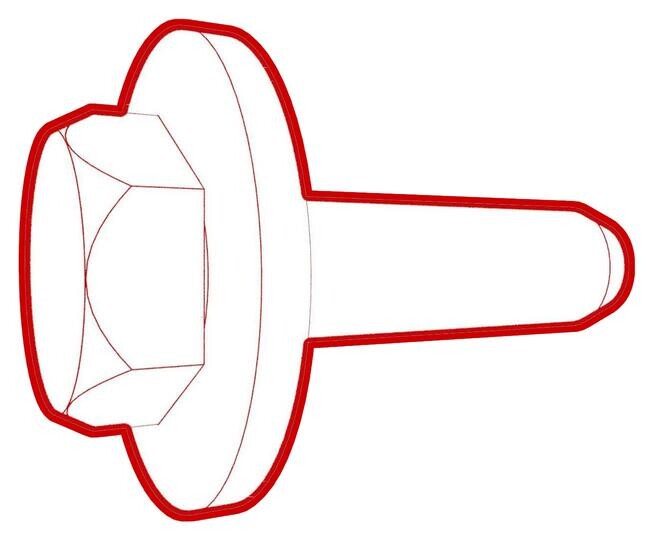
Install the bolt that
attaches the RH rear of the center console to the body.
 7 Nm (5.2 lbs-ft)
 -
Install the bolt that
attaches the LH rear of the center console to the body.
 7 Nm (5.2 lbs-ft)
 - Install the center console lower rear panel. See Panel - Lower Rear - Center Console (Remove and Replace).
-
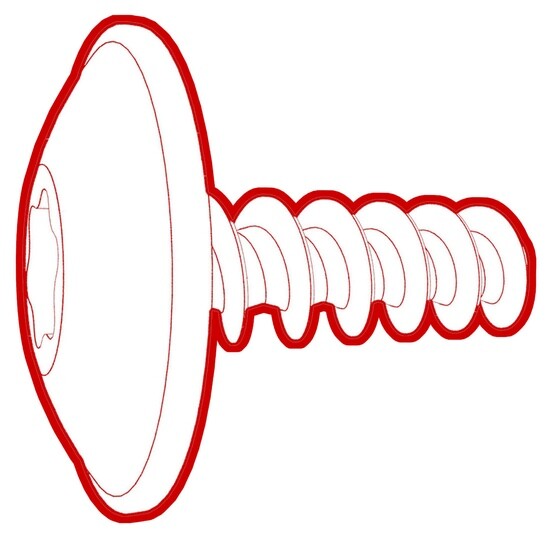
Install the bolts that
attach the front of the center console to the body.
 1.7 Nm (1.3 lbs-ft)
 - Install the phone tray. See Phone Tray - Center Console (Remove and Replace).
-
Connect the electrical
connector that is located at the RH front of the center console.
CAUTIONEnsure the connector is properly installed. Perform a push-pull test before continuing this procedure.
-
Install the bolts that
attach the RH front of the center console to the body.
 7 Nm (5.2 lbs-ft)
 - Install the RH center console side panel carpet. See Side Panel - Center Console - LH (Remove and Replace).
- Install the front passenger floormat.
-
Install the bolts that
attach the LH front of the center console to the body.
 7 Nm (5.2 lbs-ft)
 - Install the LH center console side panel carpet. See Side Panel - Center Console - LH (Remove and Replace).
- Install the driver floormat.
- Install the rear underhood apron. See Underhood Apron - Rear (Remove and Replace).
- Install the 2nd row lower seat cushion. See Seat Cushion - Lower - 2nd Row (Remove and Replace).
- Restore the customer's belongings into the center console, if needed.