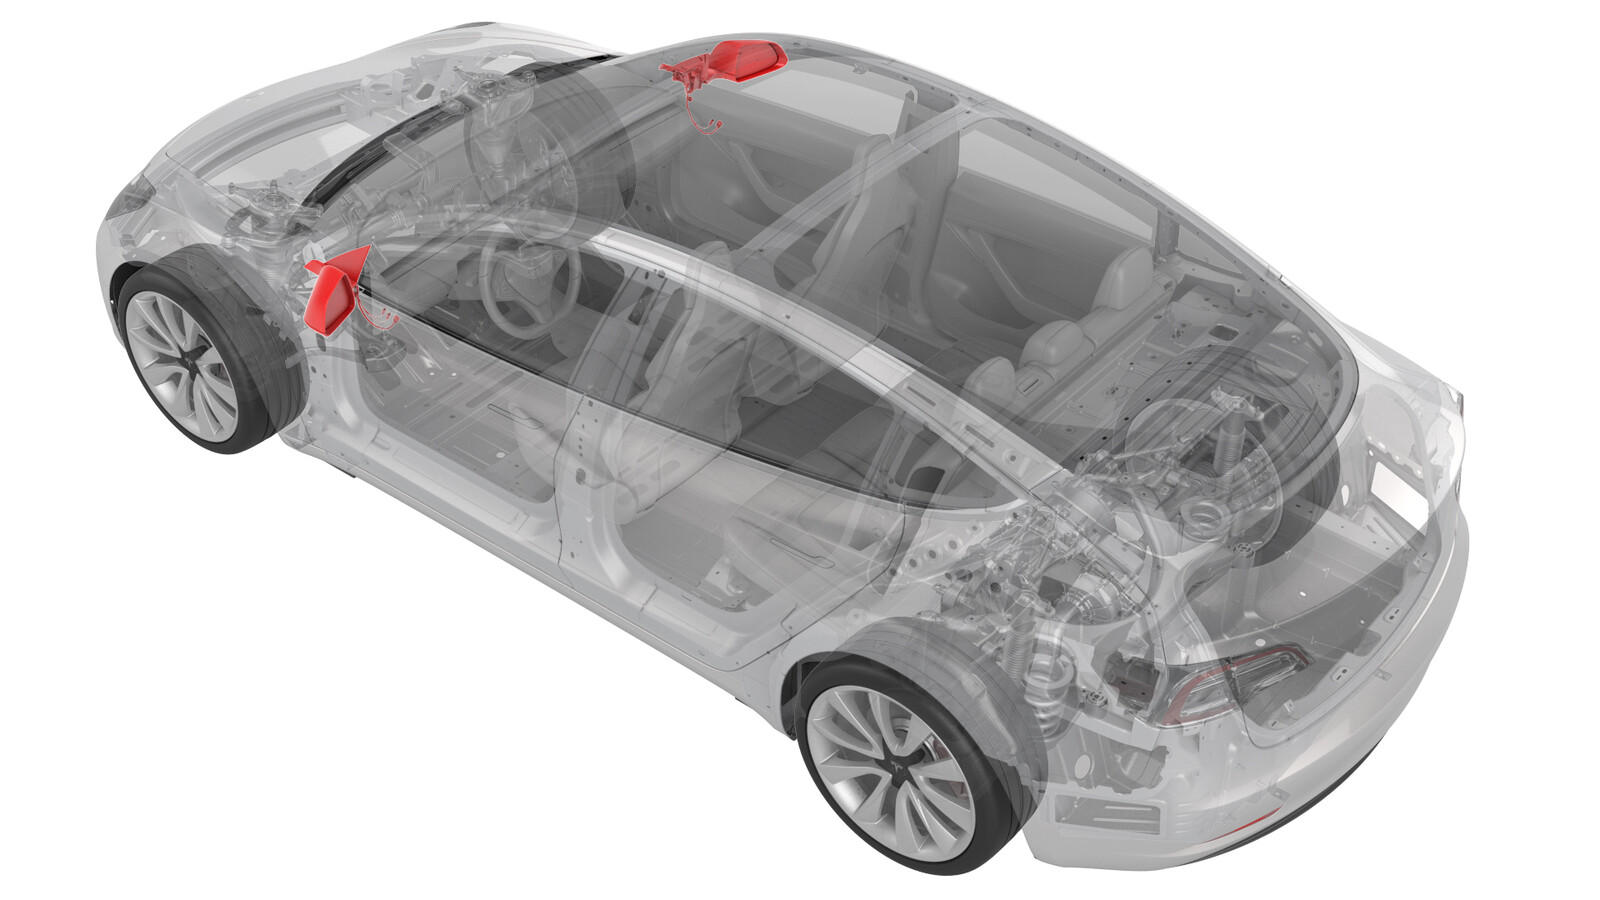
Mirror - Door - LH (Remove and Replace)
 Correction code
12091102
0.24
NOTE: Unless otherwise explicitly
stated in the procedure, the above correction code and FRT reflect all of the work
required to perform this procedure, including the linked procedures. Do not stack correction codes unless
explicitly told to do so.
NOTE: See Flat Rate
Times to learn more about FRTs and how they are created. To provide feedback on
FRT values, email ServiceManualFeedback@tesla.com.
NOTE: See Personal Protection to make sure wearing proper PPE when
performing the below procedure. See Ergonomic Precautions for safe and healthy working practices.
- 2025-02-10: Added information on updating firmware for newer type of door mirror.
- 2023-07-20: Added information on resetting the body controller when the mirror is replaced due to an internal short in the adjustment motor.
Torque Specifications
| Description | Torque Value | Recommended Tools | Reuse/Replace | Notes |
|---|---|---|---|---|
| Bolts that attach the LH door mirror to the door |
 15 Nm (11.1 lbs-ft) |
|
Reuse |
Remove
-
Use a plastic trim tool to pry up along the inner edge of the LH door mirror cover.
-
Lift upward to release the tabs that attach the LH door mirror cover to the LH door mirror, and then remove the mirror cover.
- Remove the front LH door tweeter. See Tweeter - Front Door - LH (Remove and Replace).
-
Release the clips that attach the reflector to the rear edge of the LH front door trim panel and the screw cover to the front of the armrest, and then remove the reflector and cover from the trim panel.
-
Remove the screws that attach the trim panel to the door.
TIpUse of the following tool(s) is recommended:
- Torx T30 socket
- 4 in extension
- ¼ in std ratchet
- ¼ in torque wrench (installation only)
Figure 1. Rear Figure 2. Middle Figure 3. Front -
Pull the LH front door trim panel outwards to release the clips that attach the panel to the door, and then carefully rotate the door panel clockwise 90 degrees and set it onto a soft surface to prevent damage.
CAUTIONDo not remove the trim panel from the door at this time.NoteInspect the harness clips and routing for vehicles built before 12/17/18.
Figure 4. Trim Panel Clip Locations Figure 5. Door Clip Locations -
Disconnect the electrical harness from the LH door mirror connectors.
-
Release the clip that attaches the LH front door mirror harness to the door assembly.
-
Release the clips (x3) that attach the LH front glass run seal to door.
-
Remove the bolts that attach the LH door mirror to the LH front door.
CAUTIONUse only hand tools to remove or install the fasteners. Do not use impact or power tools.NoteThe foremost bolt is located under the glass run seal.TIpUse of the following tool(s) is recommended:
- 10 mm socket
-
Release the clip that attaches the LH front door mirror to the door assembly, push the grommet through the door opening, and then route the mirror harness through the door while lifting up on the mirror to remove the mirror from the door assembly.
Install
-
Position the LH door mirror onto the door assembly, route the harness through the door opening, and then secure the clip that attaches the mirror to the door.
-
Install the bolts that attach the LH door mirror to the LH front door.
 15 Nm (11.1 lbs-ft)Note
Use only hand tools to remove or install the fasteners. Do not use impact or power tools.
-
Secure the clips (x3) that attach the LH front glass run seal to door.
-
Connect the electrical harness to the LH door mirror connectors.
NoteIf the mirror assembly was replaced due to an internal short in the adjustment motor, reset the affected body controller () so that circuit protection is cleared and the new mirror can fully function.
-
Secure the clip that attaches the LH front door mirror harness to the door assembly.
- Install the LH front door trim panel. See Panel - Door Trim - Front - LH (Remove and Install).
-
Install the LH door mirror cover, and then press down to fasten the tabs that attach the cover to the mirror.