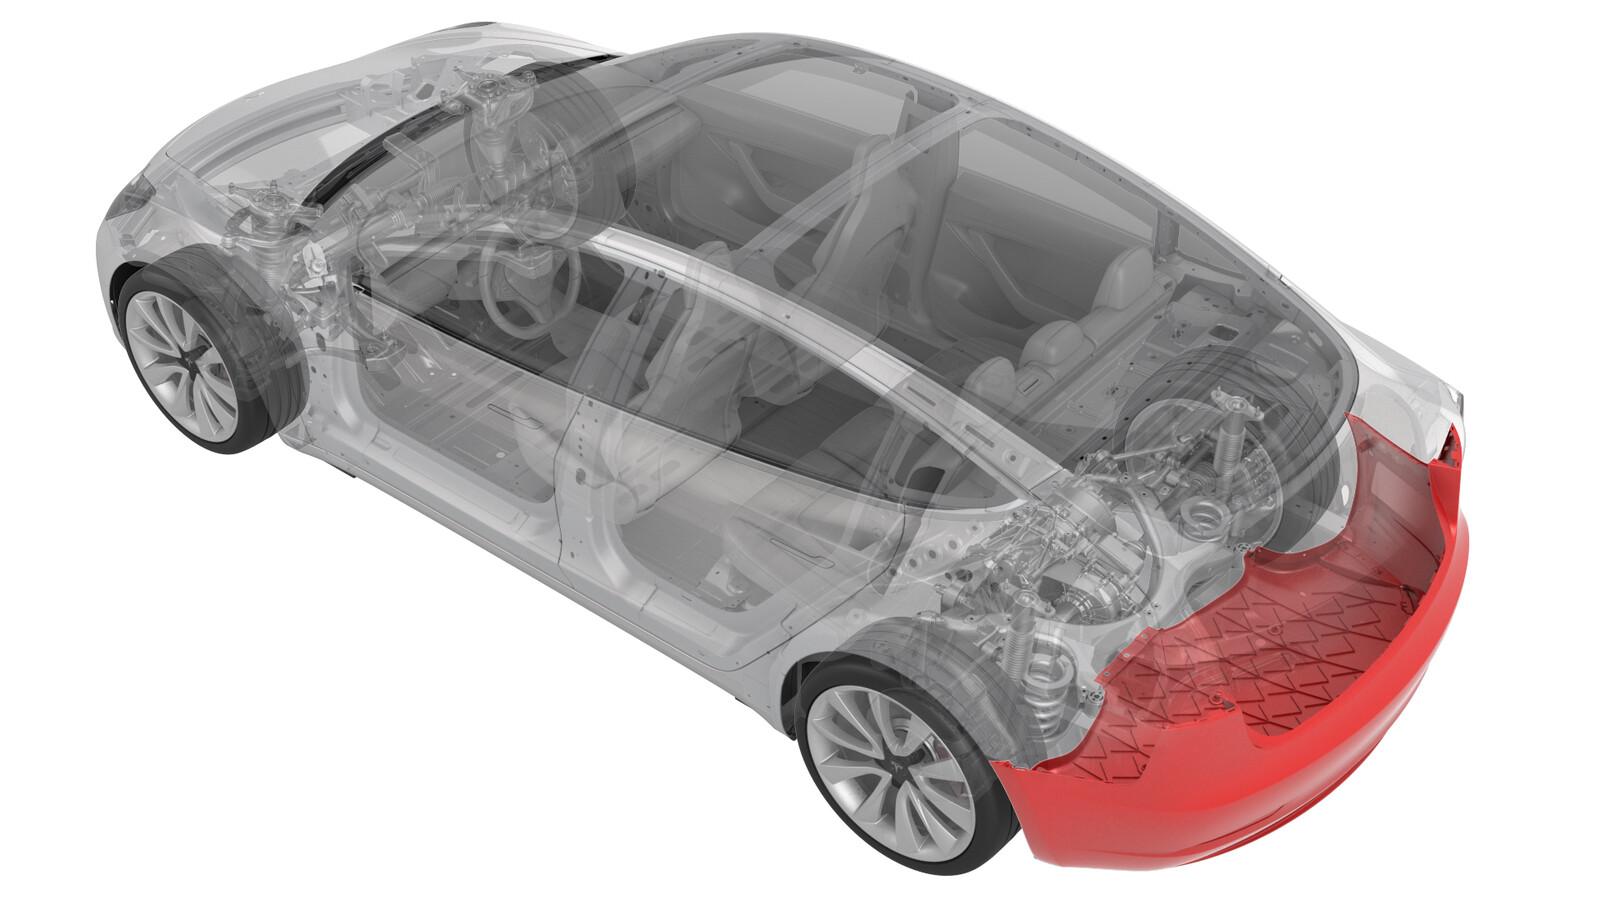
Fascia - Rear (Remove and Install)
 Correction code
10013001
0.54
NOTE: Unless otherwise explicitly
stated in the procedure, the above correction code and FRT reflect all of the work
required to perform this procedure, including the linked procedures. Do not stack correction codes unless
explicitly told to do so.
NOTE: See Flat Rate
Times to learn more about FRTs and how they are created. To provide feedback on
FRT values, email ServiceManualFeedback@tesla.com.
NOTE: See Personal Protection to make sure wearing proper PPE when
performing the below procedure. See Ergonomic Precautions for safe and healthy working practices.
- 2023-04-18: Added steps to remove/install fascia to rear quarter panel U-nuts.
- 2023-07-06: Added videos in step 6 of Remove part and step 5 of Install part.
Torque Specifications
| Description | Torque Value | Recommended Tools | Reuse/Replace | Notes |
|---|---|---|---|---|
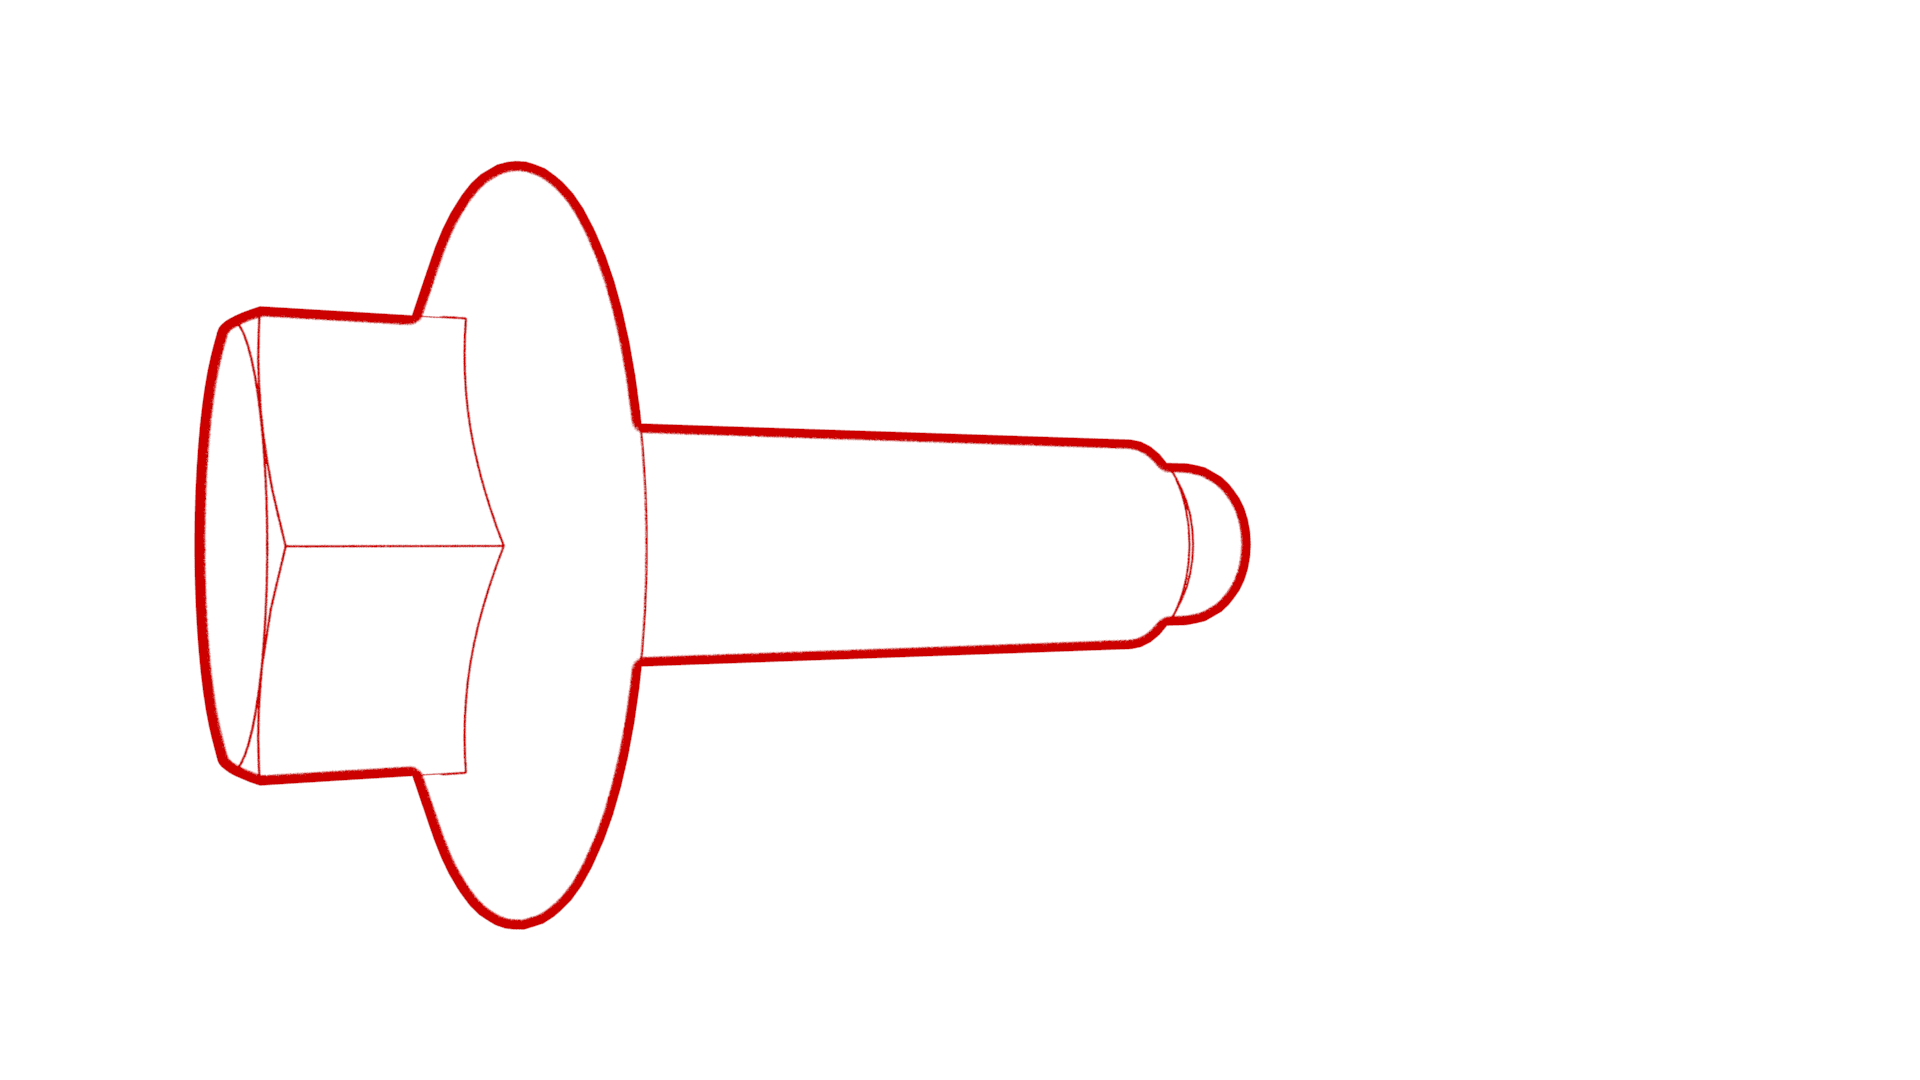
| Bolt that attaches the corner of the rear fascia to the body |
 4 Nm (2.9 lbs-ft) |
|
Reuse | |
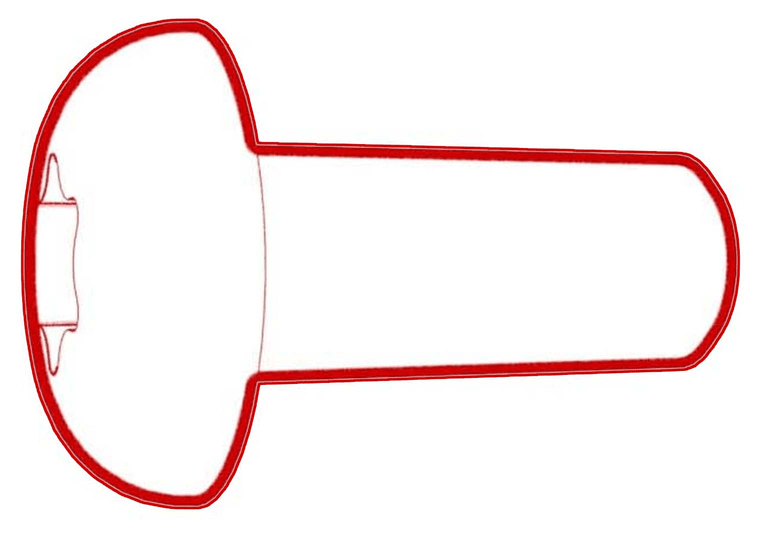
| Bolt that attaches the fascia to the rear quarter panel |
 2 Nm (1.5 lbs-ft) |
|
Reuse | |
| Bolts that attach the rear portion of the mid aero shield |
 5 Nm (3.7 lbs-ft) |
|
Reuse | |
| Bolts that attach the rear diffuser to the body |
 4 Nm (2.9 lbs-ft) |
|
Reuse |
Remove
- Move the vehicle to a 2 post lift. See Raise Vehicle - 2 Post Lift.
- Remove the LH taillight. See Taillight - LH (Remove and Replace).
-
Remove the bolt that attaches the LH side of the rear fascia to the outer LH rear quarter panel.
TIpUse of the following tool(s) is recommended:
- 10 mm hex
-
Release the clips (x3) and remove the push nut that attach the rear portion of the LH rear wheel arch liner to the body.
-
Remove the bolt that attaches the LH side of the rear fascia to the inner LH rear quarter panel.
TIpUse of the following tool(s) is recommended:
- Torx T25 socket
- 2 in extension
-
Without pulling back the rear fascia, reach behind the fascia to remove the U-nut that attaches the LH rear fascia to the LH rear quarter panel.
CAUTIONDo not pull back on the rear fascia while the u-nut is still installed, as this can scratch the rear quarter panel.
- Repeat step 2 through step 6 on the RH side of the vehicle.
-
Remove the bolts (x5) that attach the rear portion of the mid aero shield panel to the rear subframe.
TIpUse of the following tool(s) is recommended:
- 10 mm hex
- 2 in extension
-
Remove the bolts (x5) that attach the rear diffuser to the body.
TIpUse of the following tool(s) is recommended:
- 10 mm hex
- 2 in extension
- Repeat the previous step on the RH side of the vehicle.
-
Disconnect the rear fascia electrical harness.
-
With the help of an assistant, remove the rear fascia from the vehicle.
CAUTIONCarefully remove the rear fascia from the body to help prevent damage to the rear quarter panels.
Install
-
With the help of an assistant, install the rear fascia onto the vehicle.
CAUTIONCarefully install the rear fascia to the body to help prevent damage the rear quarter panels.
-
Connect the rear fascia electrical harness.
-
Install the bolts (x5) that attach the rear diffuser to the body.
 4 Nm (2.9 lbs-ft)TIpUse of the following tool(s) is recommended:
- 10 mm hex
- 2 in extension
- Apply a thin bead of threadlocker to the threads of the bolts that attach the mid aero shield panel to the vehicle.
-
Install the bolts (x5) that attach the rear portion of the mid aero shield panel to the rear subframe.
 5 Nm (3.7 lbs-ft)TIpUse of the following tool(s) is recommended:
- 10 mm hex
- 2 in extension
-
Install the u-nut that attaches the rear fascia to the LH rear quarter panel, and then install the bolt that attaches the LH side of the rear fascia to the inner LH rear quarter panel.
 2 Nm (1.5 lbs-ft)TIpUse of the following tool(s) is recommended:
- Torx T25 socket
- 2 in extension
-
Fasten the clips (x3) and install the push nut that attach the rear portion of the LH rear wheel arch liner to the body.
-
Install the bolt that attaches the LH side of the rear fascia to the outer LH rear quarter panel.
 4 Nm (2.9 lbs-ft)TIpUse of the following tool(s) is recommended:
- 10 mm hex
- Install the LH taillight. See Taillight - LH (Remove and Replace).
- Repeat step 6 through step 9 on the RH side of the vehicle.
- Remove the vehicle from the 2 post lift. See Raise Vehicle - 2 Post Lift.