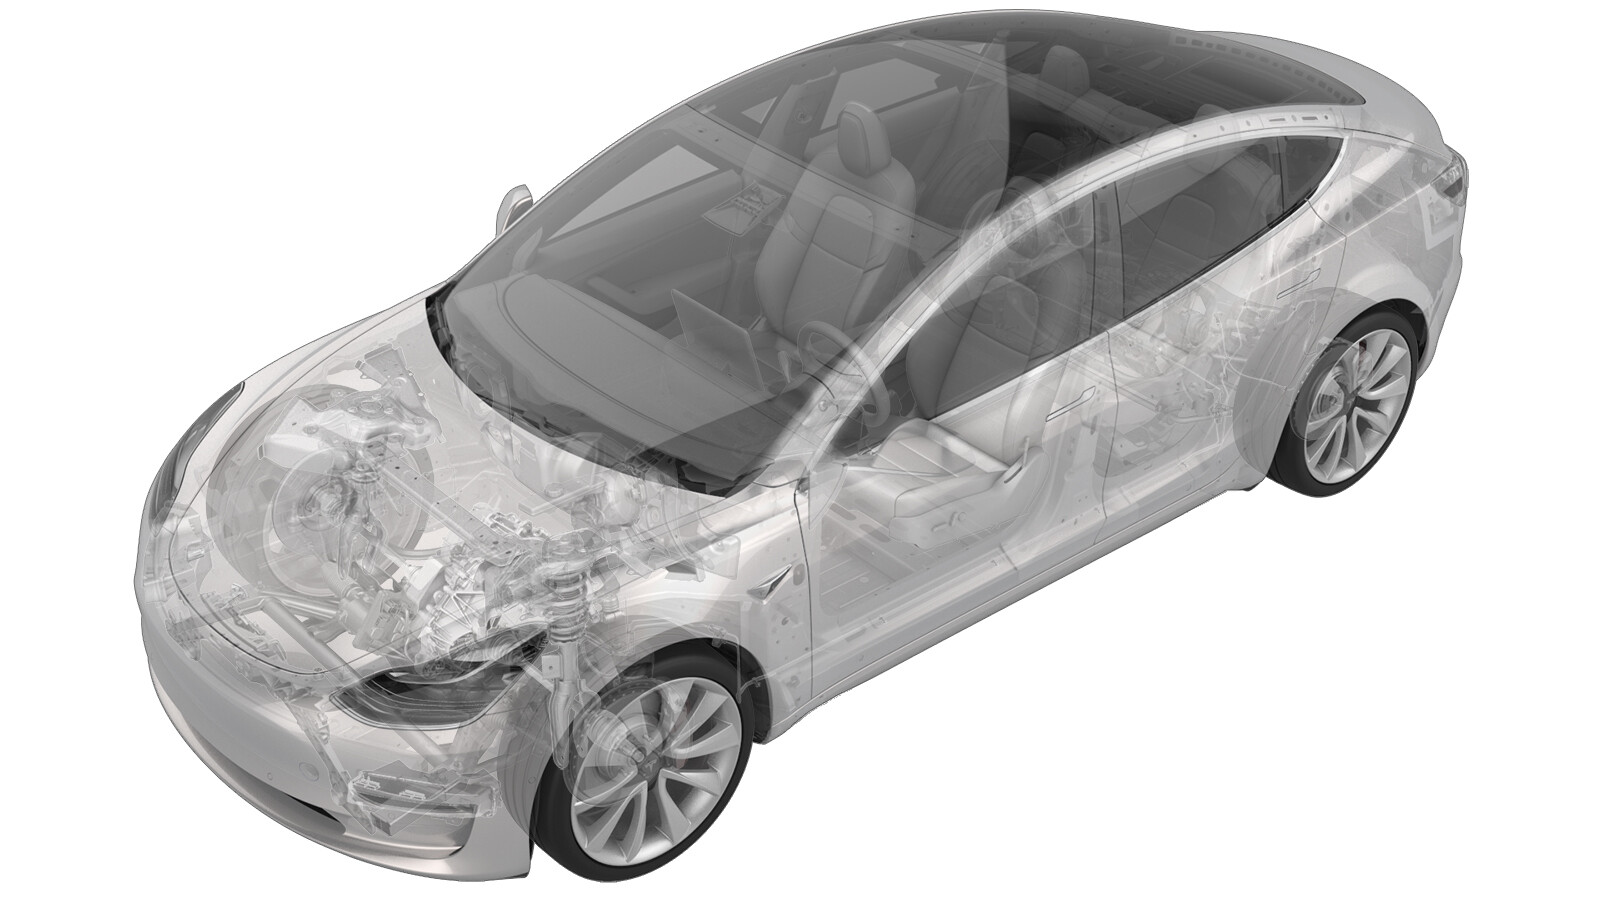
Hinge - Door - Front - Upper - LH (Remove and Replace)
 Correction code
11336402
0.24
NOTE: Unless otherwise explicitly
stated in the procedure, the above correction code and FRT reflect all of the work
required to perform this procedure, including the linked procedures. Do not stack correction codes unless
explicitly told to do so.
NOTE: See Flat Rate
Times to learn more about FRTs and how they are created. To provide feedback on
FRT values, email ServiceManualFeedback@tesla.com.
NOTE: See Personal Protection to make sure wearing proper PPE when
performing the below procedure. See Ergonomic Precautions for safe and healthy working practices.
Remove
- Open the LH front door and lower the LH front window.
-
Use a floor jack to support the LH
front door.
CAUTIONUse soft material to protect the door paint.
-
Remove the bolts (x2) that attach the
LH upper front door hinge to the LH front door.
 27 Nm (19.9 lbs-ft)TIpUse of the following tool(s) is recommended:
- 10 mm socket
-
Remove the bolts (x3) that attach the
LH upper front door hinge to the body.
 27 Nm (19.9 lbs-ft)TIpUse of the following tool(s) is recommended:
- 13 mm socket
-
Push outward on the top of the door
near the speaker with one hand, and then feed the LH upper front door hinge upward and
then outward towards the rear of the vehicle to remove it.
Install
-
Position the LH upper front door hinge
into the vehicle.
-
Install and hand tighten the bolts (x3) that attach the LH upper front door hinge to
the body.
TIpUse of the following tool(s) is recommended:
- 13 mm socket
-
Install and hand tighten the bolts (x2) that attach the LH upper front door hinge to
the LH front door.
TIpUse of the following tool(s) is recommended:
- 10 mm socket
-
Remove the floor jack from underneath
the LH front door.
-
Close the LH front door, and then
check that gap and flushness are within specifications. Adjust as necessary.
-
Torque the bolts (x3) that attach the LH upper front door hinge to the body.
 27 Nm (19.9 lbs-ft)TIpUse of the following tool(s) is recommended:
- 13 mm socket
-
Torque the bolts (x2) that attach the LH upper front door hinge to the LH front
door.
 27 Nm (19.9 lbs-ft)TIpUse of the following tool(s) is recommended:
- 10 mm socket
-
Use IPA wipes to clean the LH upper
front door hinge bolt heads, and then allow 1 minute of dry time before continuing to
the next step.
-
Apply touch up paint to the bolt heads
as needed.
NoteMake sure to shake the touch up paint before applying.NoteRefer to the label for dry time instructions.
- Raise the LH front window and close the LH front door.