Harness - Body - RH (RHD) (Remove and Replace)
 Correction code
17100952
3.60
NOTE: Unless otherwise explicitly
stated in the procedure, the above correction code and FRT reflect all of the work
required to perform this procedure, including the linked procedures. Do not stack correction codes unless
explicitly told to do so.
NOTE: See Flat Rate
Times to learn more about FRTs and how they are created.
NOTE: See Personal Protection to make sure wearing proper PPE when
performing the below procedure. NOTE: See Ergonomic Precautions for safe and healthy working
practices.
Correction code
17100952
3.60
NOTE: Unless otherwise explicitly
stated in the procedure, the above correction code and FRT reflect all of the work
required to perform this procedure, including the linked procedures. Do not stack correction codes unless
explicitly told to do so.
NOTE: See Flat Rate
Times to learn more about FRTs and how they are created.
NOTE: See Personal Protection to make sure wearing proper PPE when
performing the below procedure. NOTE: See Ergonomic Precautions for safe and healthy working
practices.
- 2023-05-22: Added caution for correct positive DC cable connection.
Remove
-
Open all doors and lower the
windows.
NoteLatch the rear doors to prevent accidental closure.
- Place wheel chocks on both rear wheels.
- Release the LH and RH parking brakes using Toolbox 3. See Parking Brake - Caliper - Rear - LH (Release).
- Open the trunk.
- Remove the 2nd row lower seat cushion. See Seat Cushion - Lower - 2nd Row (Remove and Replace).
- Remove the LH and RH trunk stops.
- Remove the trunk load floor. See Trim - Floor - Trunk (Remove and Replace).
- Remove the trunk carpet. See Carpet - Rear Trunk (1-Piece) (Remove and Replace).
- Remove the trunk garnish. See Garnish - Trunk (Remove and Replace).
- Remove the RH side rear trunk trim. See Trim - Side - Trunk - RH (Remove and Replace).
- Remove the LH and RH tail light assemblies. See Taillight - LH (Remove and Replace).
- Remove the rear fascia. See Fascia - Rear (Remove and Install).
- Release the female side of the rear fascia connector from the bracket.
- Release the body harness clip of the RH body harness at the rear fascia area.
- Raise the vehicle to a comfortable working height.
-
Release the clips that
attach the electrical harness to the body in the rear fascia area.
- Release the clips that attach the electrical harness to the body in the rear subframe area.
-
Disconnect the electrical
harness from the rear subframe harness connector and the RH electric parking
brake connector.
-
Push the rear portion of the
RH body harness through the RH side trunk bulkhead.
- Lower the vehicle and move it away from the lift.
- Place wheel chocks at one of the rear wheels to prevent the vehicle from rolling.
- Open the hood.
- Remove the rear underhood apron. See Underhood Apron - Rear (Remove and Replace).
- Remove the RH lower A-pillar trim. See Trim - A-Pillar - Lower - LH (Remove and Replace).
- Remove the RH footwell cover. See Cover - Footwell - Driver (Remove and Replace).
- Remove the RH knee airbag cover.
- Remove the LH footwell cover. See Cover - Footwell - Passenger (RHD) (Remove and Replace).
- Remove the main décor trim. See Decor Trim - Instrument Panel - Main (Remove and Replace).
- Remove the glove box. See Glove Box - Without Knee Airbags (Remove and Replace).
- Disconnect 12V power. See 12V/LV Power (Disconnect and Connect).
- Remove the RH front seat. See Seat Assembly - 1st Row - LH (Remove and Replace).
- Remove the LH and RH center console side panel carpet.
- Remove the LH and RH side rail trim. See Trim - Side Rail - LH (Remove and Replace).
- Release the LH and RH upper B-pillar trim. See Trim - B-Pillar - Upper - LH (Remove and Replace).
- Remove the headliner. See Headliner (Non-Heat Pump) (Remove and Install).
- Remove the LH upper C-pillar trim. See Trim - C-Pillar - Upper - LH (Remove and Replace).
- Remove the LH rear C-pillar trim. See Trim - C-Pillar - Rear - LH (Remove and Replace).
- Remove the RH rear door sill trim. See Trim - Sill Panel - Rear - LH (Remove and Replace).
- Remove the RH lower B-pillar trim. See Trim - B-Pillar - Lower - LH (Remove and Replace).
- Remove the RH B-pillar applique. See Applique - B-Pillar - LH (Remove and Replace).
- Remove the RH upper C-pillar trim. See Trim - C-Pillar - Upper - LH (Remove and Replace).
- Remove the RH rear C-pillar trim. See Trim - C-Pillar - Rear - LH (Remove and Replace).
- Remove the package tray. See Trim - Package Tray (Remove and Replace).
- Remove the RH front main carpet.
- Remove the LH footwell air duct. See Duct - Footwell - LH (RHD) (Remove and Replace).
-
Remove the clips (x3) that
attach the LH air wave duct, and then remove the LH air wave duct.
- Disconnet the RH body harness connectors from the LH side of the car computer.
-
Release the harness clips
(x2) from the car computer mounting clips, and then release the harness from
the car computer.
- Disconnect the RH body harness connector from the RH side of the car computer (x000A).
- Release the RH body harness clips (x2) that attach the harness to the bulkhead.
-
Disconnect the brake switch and accelerator pedal connector.
-
Disconnect connectors (x2)
from the harness clip at the RH body controller module.
-
Release the black connector
from the RH body controller, and then disconnect the connector.
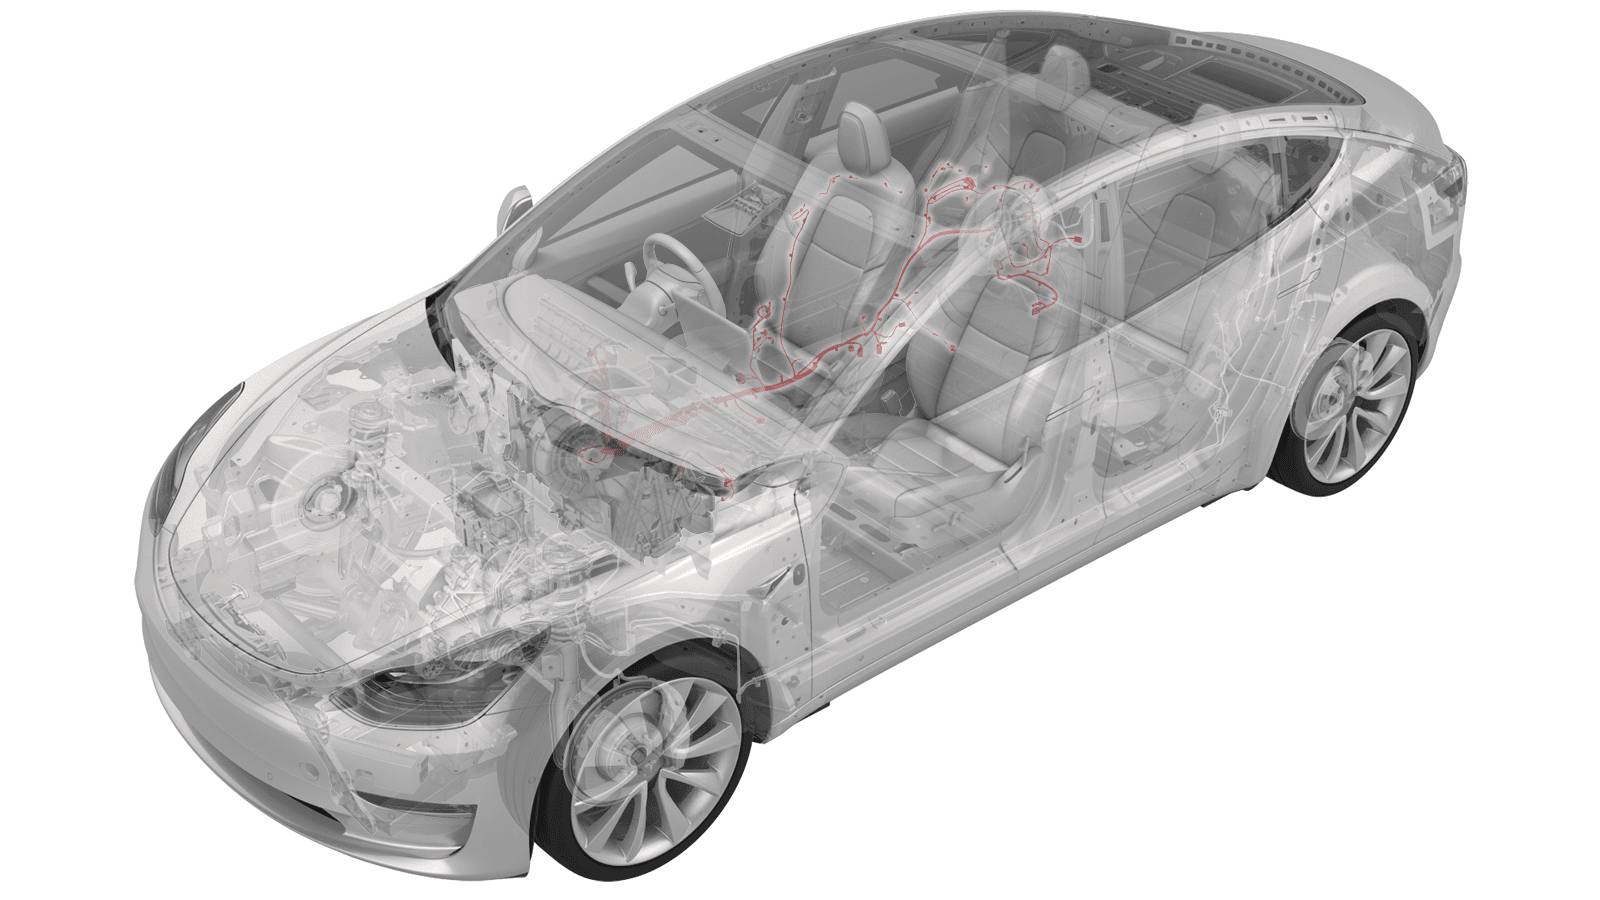
-
Remove and discard the nut
(torque 8.5 Nm) that attaches the DCDC positive cables to the RH body
controller, and then remove the cables from the RH body controller.
-
Release the lock, and then
disconnect the body 2 electrical connector from the RH body controller
module.
-
Release the lock, and then
disconnect the body 1 electrical connector from the RH body controller
module.
CAUTIONTo avoid damage, carefully remove the body 1 electrical connector because the lock may get hung up on the IP carrier.
-
Release the lock, and then
disconnect the body 3 electrical connector from the RH body controller
module.
-
Disconnect the three inline
electrical connectors at the RH lower A-pillar area, and then remove the
harness clip from the lower A-pillar.
-
Remove and discard the bolt
that attaches the electrical harness ground strap to the body in the RH
footwell area.
Figure 1. LHD shown, RHD similar - Remove the RH body harness clips from the RH body controller module and RH front door sill, and then move the RH body harness away from the RH body controller module.
-
Disconnect the harness
connectors (x3) around RH lower B-pillar area.
-
Release the RH body harness
clips (x3) along the RH sill area.
-
Disconnect the RH body
harness connectors around the lower B-pillar area.
Note4x connectors: RH rear door harness, acceleration sensor, and RH seat belt (x2).
-
Release the clips that
attach the electrical harness to the body in the A-pillar and B-pillar
areas.
-
Disconnect the electrical
harness from the B-pillar antenna connector.
-
Remove and discard the bolt
that attaches the electrical harness ground strap to the body in the lower
B-pillar area.
-
Release the clips that
attach the electrical harness to the body in the C-pillar lower area.
- Release the cover on the positive 12V output cable at the DCDC passthrough.
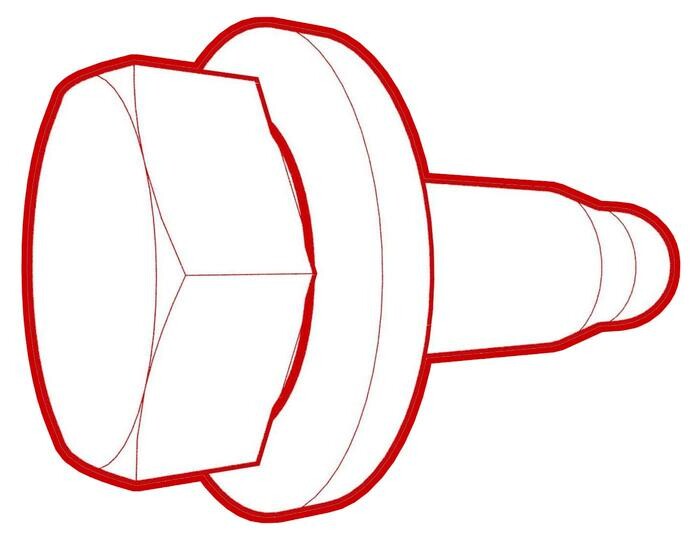
-
Remove and discard the nut
that attaches the positive 12V output cable to the DCDC passthrough, and
then remove the cable from the passthrough.
NoteInspect the condition of the rubber boot at the end of the output cable, and replace the boot if it is melted or damaged.
-
Disconnect the RH body
harness connectors around lower C-pillar area
-
Disconnect the electrical
harness from the RH side curtain airbag connector, the RH rear seat belt
buckle connector, and the audio tuner connector.
-
Disconnect the electrical
harness from the trunk electrical harness connectors that are located under
the package tray.
-
Release the clips that
attach the electrical harness to the body in the C-pillar area.
-
Disconnect the electrical
harness from the subwoofer and amplifier connectors.
-
Remove the bolts and nuts
that attach the subwoofer to the body, and then remove the subwoofer from
the vehicle.
 4.5 Nm (3.3 lbs-ft)
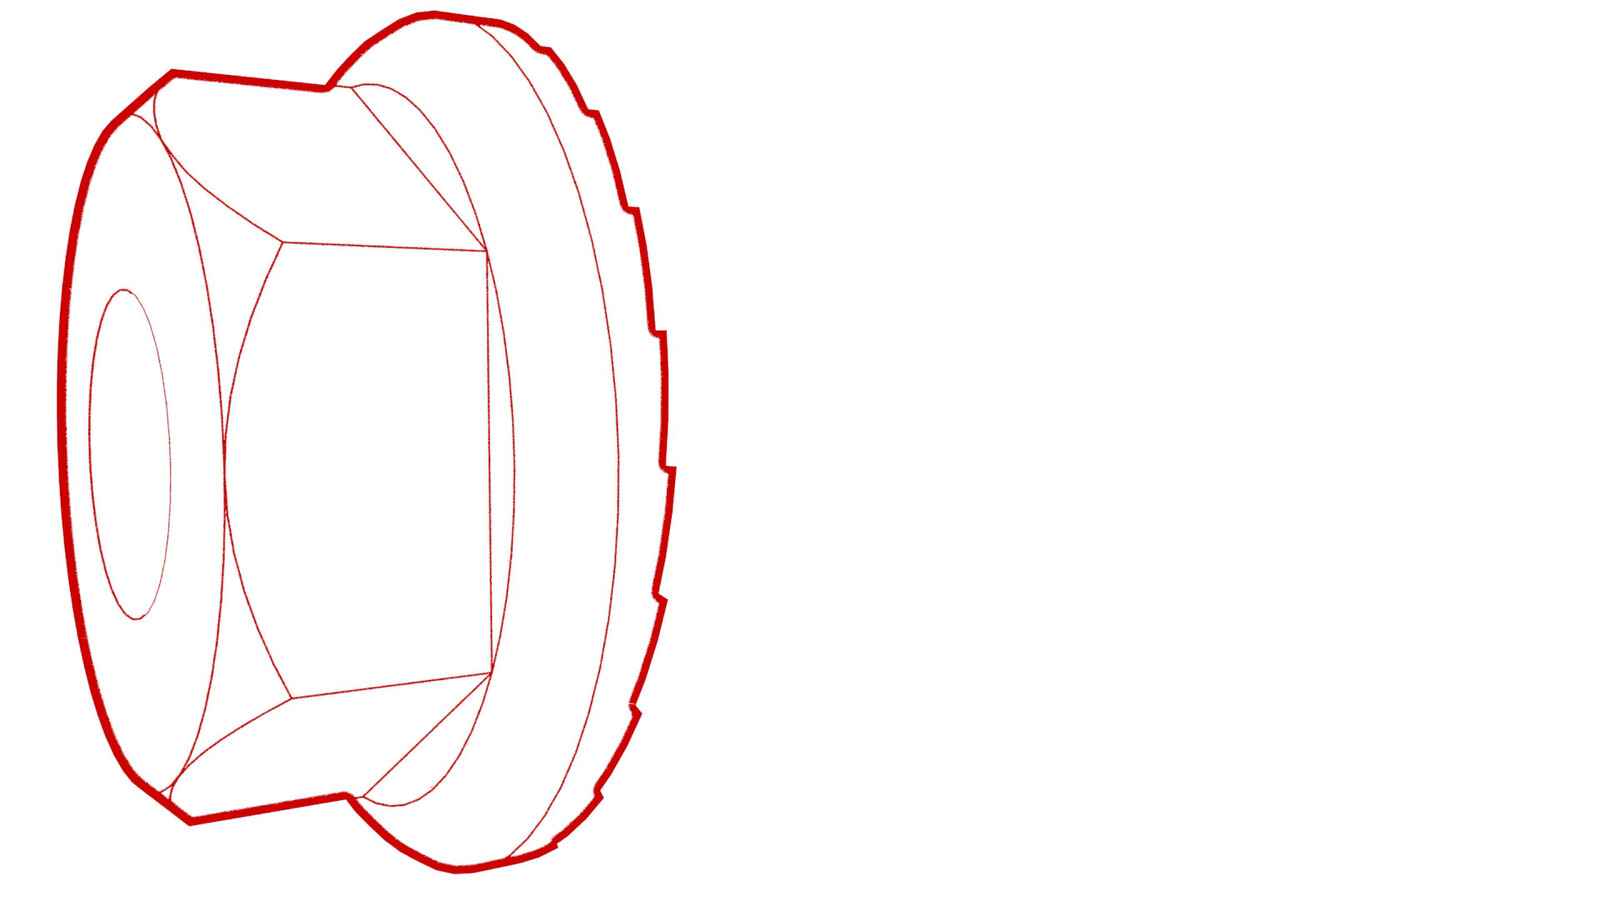 4.5 Nm (3.3 lbs-ft)
 - Release the RH body harness clips around the RH side of the trunk area.
-
Remove the RH body harness
from the vehicle.
Install
Installation procedure is the reverse of removal, except for the following: