Actuator - Bleed - LH (Non-Heat Pump) (Remove and Replace)
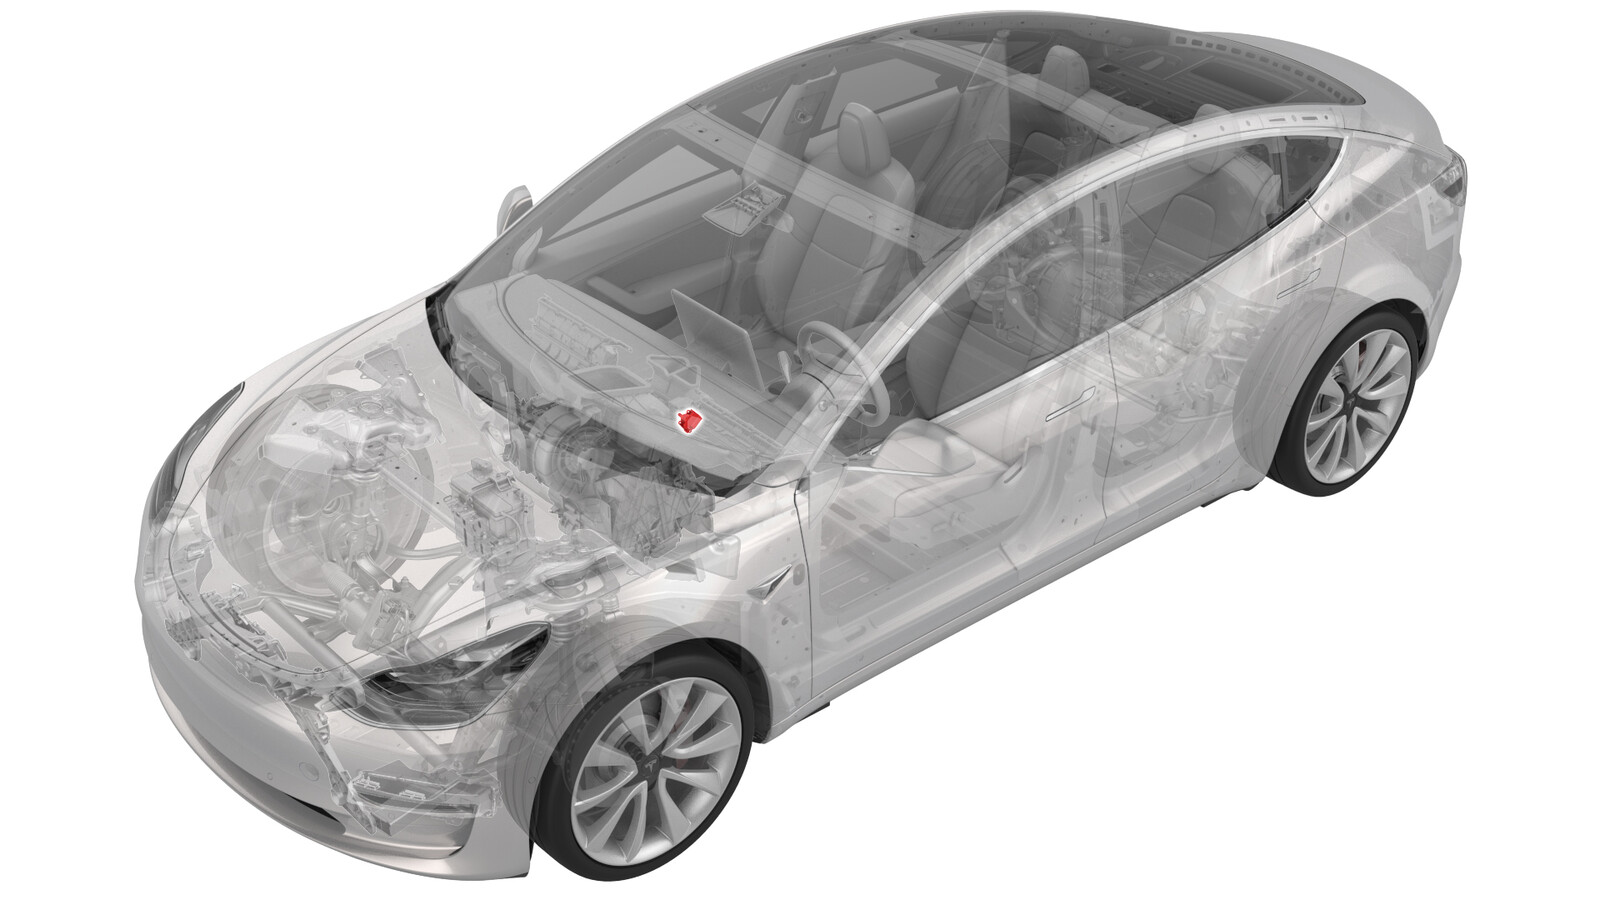 Correction code
18102202
4.32
NOTE: Unless otherwise explicitly
stated in the procedure, the correction code and its associated FRT reflect all of the
work required to perform this procedure, including the linked procedures. Do not stack correction codes unless
explicitly told to do so.
NOTE: See Flat Rate
Times to learn more about FRTs and how they are created.
NOTE: See Personal Protection to make sure wearing proper PPE when
performing the below procedure. NOTE: See Ergonomic Precautions for safe and healthy working
practices.
- 2026-10-28: Added steps to run the HVAC Case Test routine.
Remove
-
Partially release the cross
car beam. See Beam - Cross Car (LHD) (Remove and Replace).
NotePartially remove the LH side of cross car beam to allow for the removal of the LH bleed actuator. Recommend assistance.CAUTIONBe careful not to damage the interior.
-
Disconnect the electrical wiring harness connector from the LH bleed actuator.
-
Remove the bolts that attach the actuator to the HVAC module, and then remove the actuator from the module.
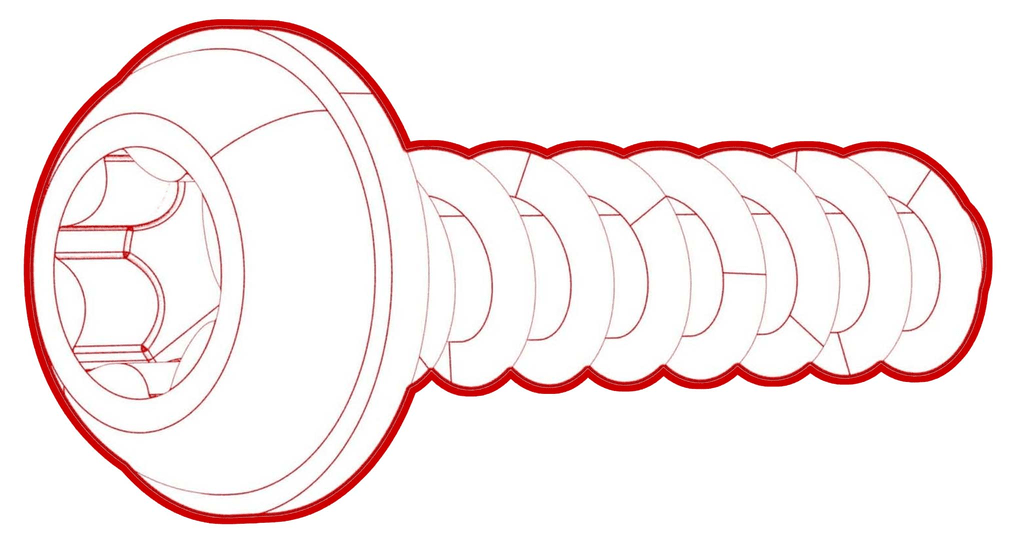 2.3 Nm (1.7 lbs-ft)NoteUse of the following tool(s) is recommended:
- Torx T20 bit
- 2 in extension
Install
Installation procedure is the reverse of removal, except for the following:
- Connect a laptop with Toolbox to the vehicle. See Toolbox (Connect and Disconnect).
- Run the routine: TEST-SELF_VCRIGHT_X_HVAC-CASE-ACTUATORSvia Toolbox:(link)
- Disconnect the laptop from the vehicle.
- Exit Service Mode Plus.