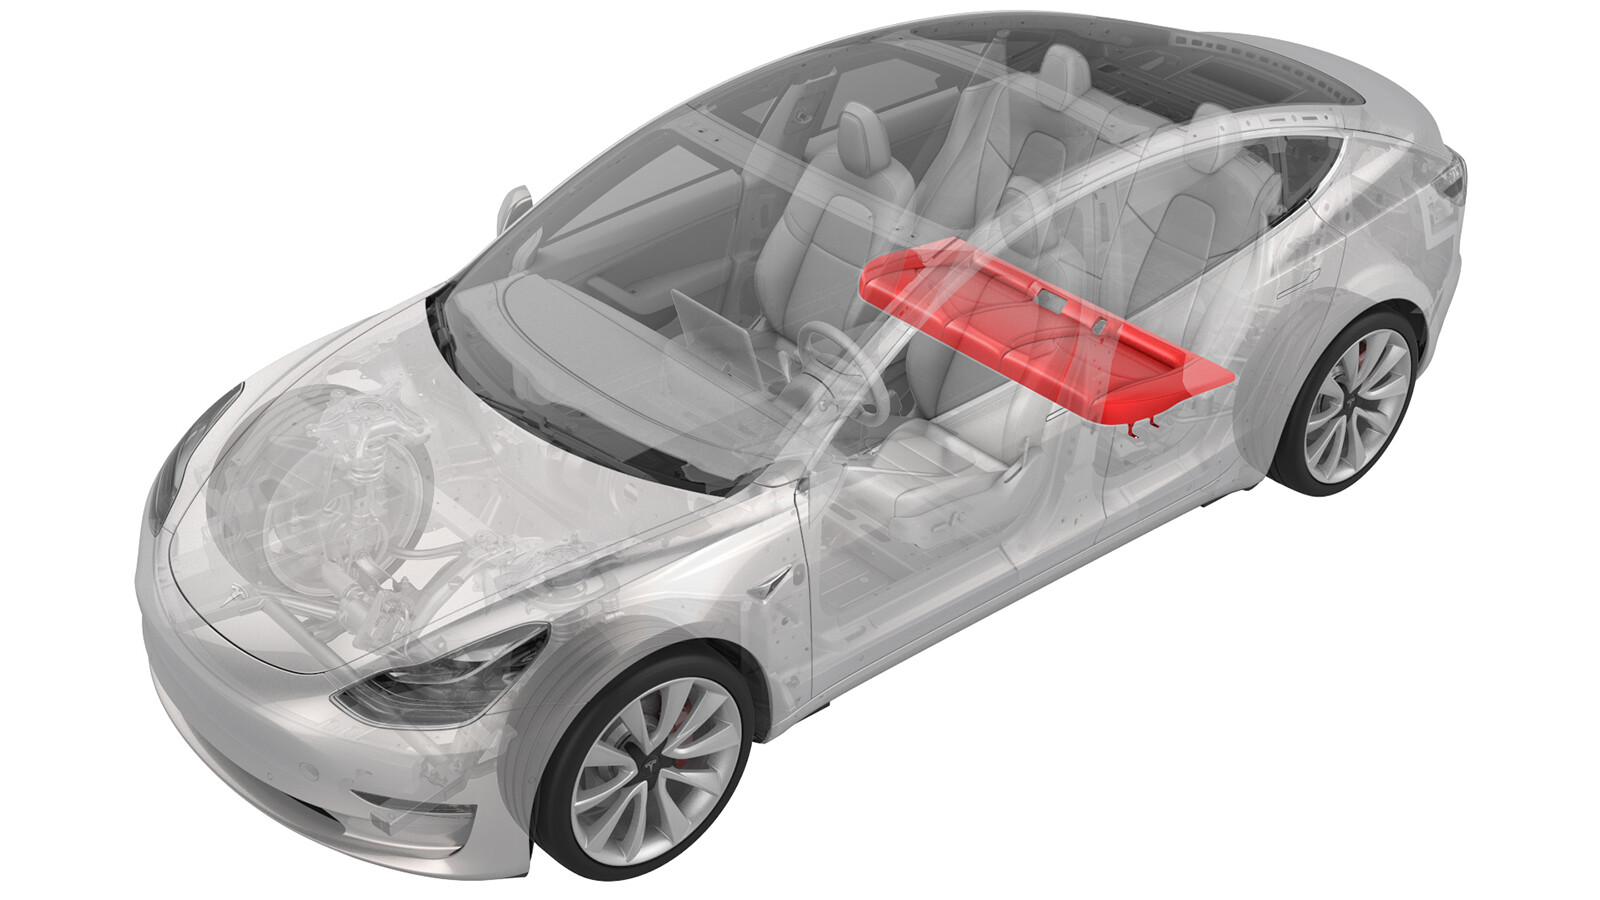
Seat Cushion - Lower - 2nd Row (Remove and Replace)
 Correction code
13051002
0.12
NOTE: Unless otherwise explicitly
stated in the procedure, the above correction code and FRT reflect all of the work
required to perform this procedure, including the linked procedures. Do not stack correction codes unless
explicitly told to do so.
NOTE: See Flat Rate
Times to learn more about FRTs and how they are created. To provide feedback on
FRT values, email ServiceManualFeedback@tesla.com.
NOTE: See Personal Protection to make sure wearing proper PPE when
performing the below procedure. See Ergonomic Precautions for safe and healthy working practices.
Remove
-
Move the driver seat and the front passenger seat fully forward.
NoteNote the position of the driver seat and the front passenger seat prior to movement so that both seats are restored to their original position during installation.
-
While pressing the LH and RH tabs towards the LH side of the vehicle, lift the front edge of the seat cushion.
-
Disconnect the electrical connectors on each end of the seat cushion, and then remove the seat cushion from the vehicle.
-
Inspect the ancillary bay probe lid cover on the ancillary bay for the presence of a
breather.
-
If the breather is missing, install one now.
NoteAfter installing the breather, if necessary, return to the procedure that required removal of the 2nd row lower seat cushion.
Install
- Position the seat cushion in the vehicle.
- Connect the electrical connectors on each side of the seat cushion.
- Insert the seat belt buckles through the seat cushion holes.
- Slide the seat cushion inward, align the front guide tabs to the locking tabs, and then push the seat cushion into the tabs.
- Make sure that the seat cushion is fully seated with a push and pull test near the tabs.
- Move the driver seat and the front passenger seat to their original position.