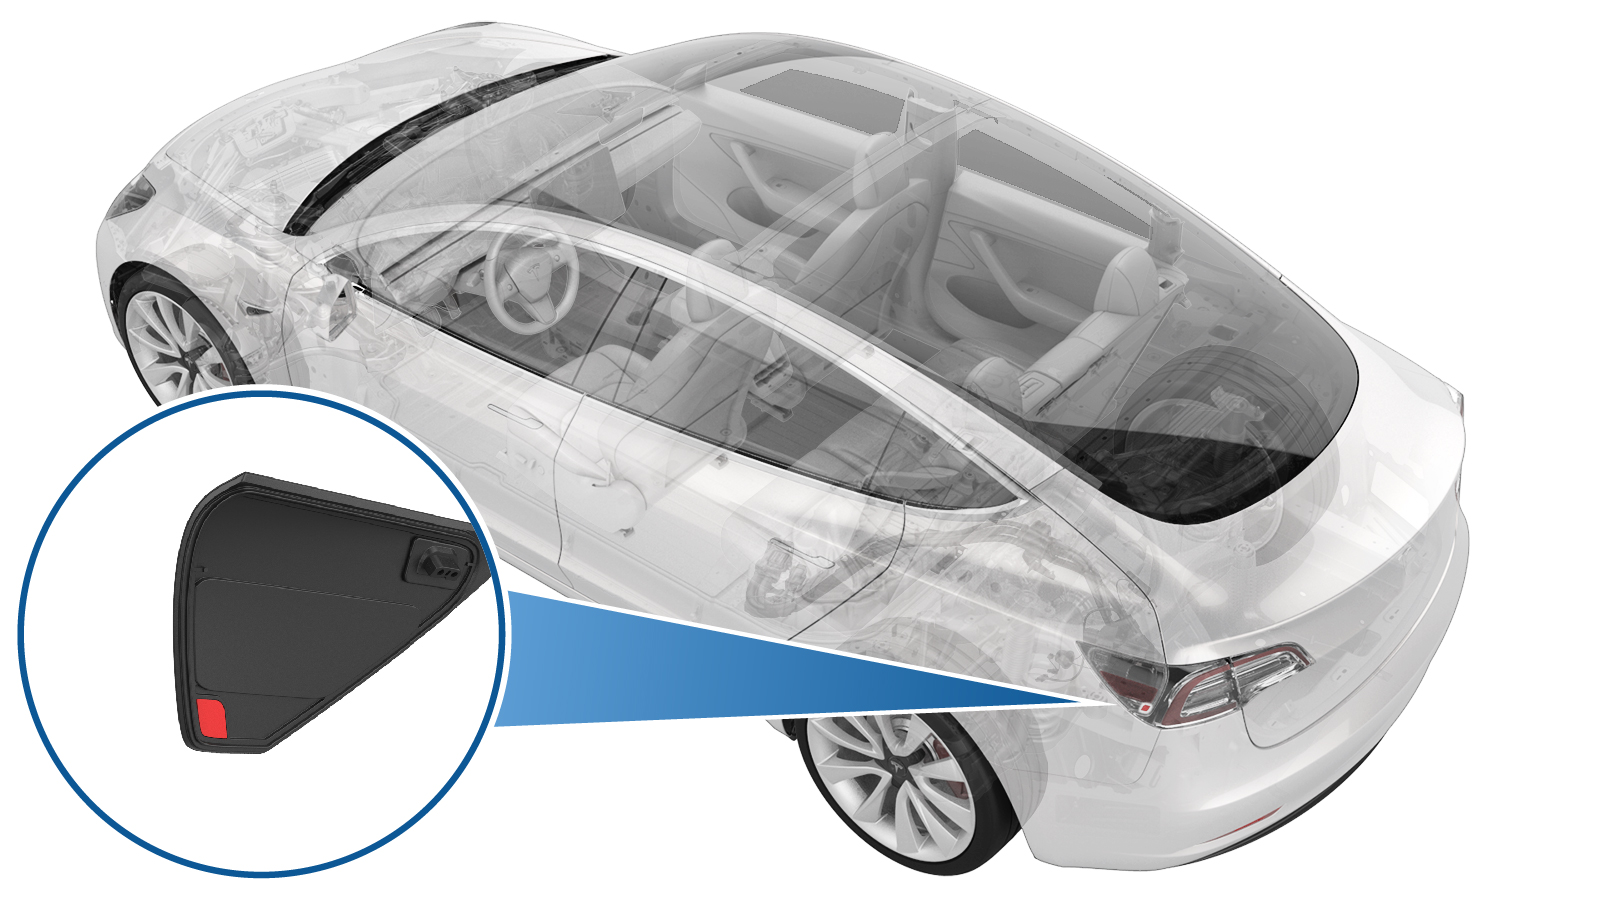
Sensor Target - Door - Charge Port (Remove and Replace)
 Correction code
44010102
0.24
NOTE: Unless otherwise explicitly
stated in the procedure, the above correction code and FRT reflect all of the work
required to perform this procedure, including the linked procedures. Do not stack correction codes unless
explicitly told to do so.
NOTE: See Flat Rate
Times to learn more about FRTs and how they are created. To provide feedback on
FRT values, email ServiceManualFeedback@tesla.com.
NOTE: See Personal Protection to make sure wearing proper PPE when
performing the below procedure. See Ergonomic Precautions for safe and healthy working practices.
- 2023-07-06: Added a video in step 5 of Remove part.
- 2023-10-10: Add a caution to not manually close the charge port door.
Remove
- Open all the doors and fully lower all the windows.
- Move the front seats fully forward.
- Open the charge port door.
- Disconnect 12V power. See 12V/LV Power (Disconnect and Connect).
-
Using a heat gun, heat up
the adhesive backing on the sensor target.
CAUTIONDo not use excessive heat as it will damage the charge port door. Remain three to five inches from contacting the surface.
-
Using a plastic trim tool,
remove the inductive sensor target.
NoteUse one hand to hold the charge port door in place while using the trim tool to remove the inductive sensor.
-
Use IPA wipes to clean the
sensor target cavity.
CAUTIONDo not try to remove left over adhesive. Do not apply the IPA to the exterior surface of the door because it may lead to damage. Apply only enough IPA to dampen the cloth. The wipe should be quick and evaporate from the surface within seconds. Allow the IPA to dry before installing sensor target.
Install
- Remove the protective backing from inductive sensor target.
-
Install the inductive sensor
target onto the charge port door.
NoteMake sure to orient the sensor properly. Press and hold the sensor in place for 10 seconds to ensure adhesion.
- Connect 12V power. See 12V/LV Power (Disconnect and Connect).
- Move the front seats to the original positions.
-
Verify that the charging
system is operating correctly.
NoteUse the customer's charging equipment if available. Ensure all charging adapters are present.CAUTIONDo not try to manually close the charge port door.
- Install the rear underhood apron. See Underhood Apron - Rear (Remove and Replace).
- Raise all the windows and close all the doors.