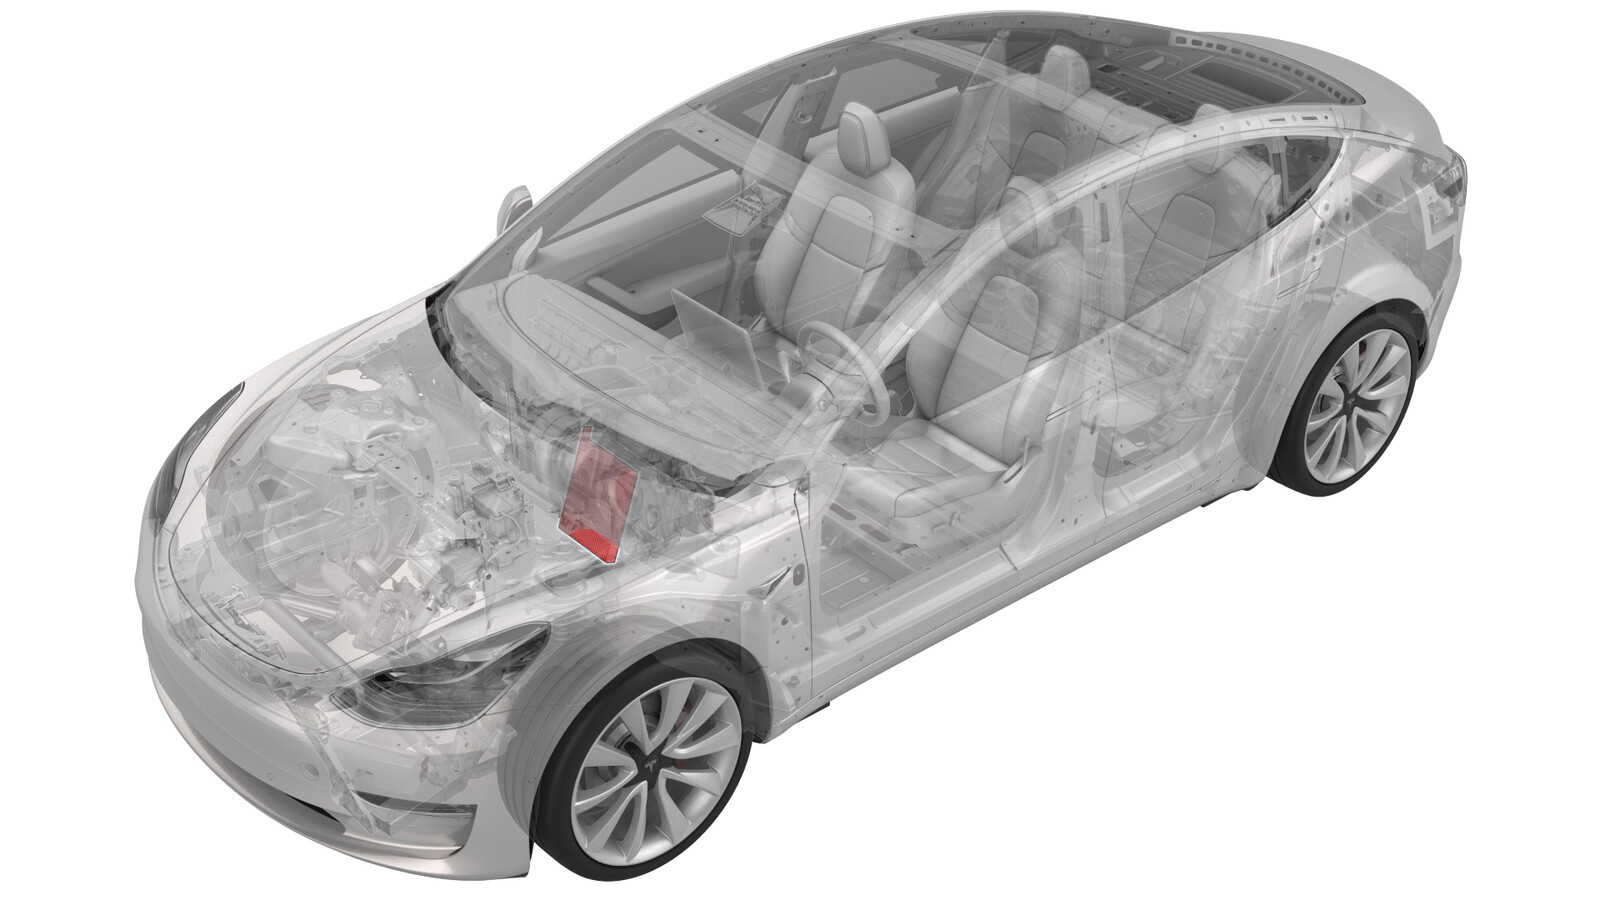
Filter - Cabin (Remove and Replace)
 Correction code
18100102
0.18
NOTE: Unless otherwise explicitly
stated in the procedure, the above correction code and FRT reflect all of the work
required to perform this procedure, including the linked procedures. Do not stack correction codes unless
explicitly told to do so.
NOTE: See Flat Rate
Times to learn more about FRTs and how they are created. To provide feedback on
FRT values, email ServiceManualFeedback@tesla.com.
NOTE: See Personal Protection to make sure wearing proper PPE when
performing the below procedure. See Ergonomic Precautions for safe and healthy working practices.
- 2024-06-06: Added cabin filter health score reset for SW versions 2024.14+
- 2024-04-09: Updated procedures to accommodate cabin filter covers with top screws and bottom screws.
Remove
- Turn off the climate control system.
- Remove the RH side center console side panel carpet. See Side Panel - Center Console - LH (Remove and Replace).
- Use the clip tool to remove tabs Release RH footwell assembly from IP.
- Inspect how the cabin filter cover is attached to the HVAC unit.
-
If the cabin filter cover is attached with tabs: Release the tab at
the bottom of the cabin filter cover, and then move the cover aside.
- If the cabin filter cover is attached with a screw at the top of the cover: Remove the passenger footwell cover. See Cover - Footwell - Passenger (LHD) (Remove and Replace).
-
If the cabin filter cover
is attached with a screw regardless if at the top or bottom of the
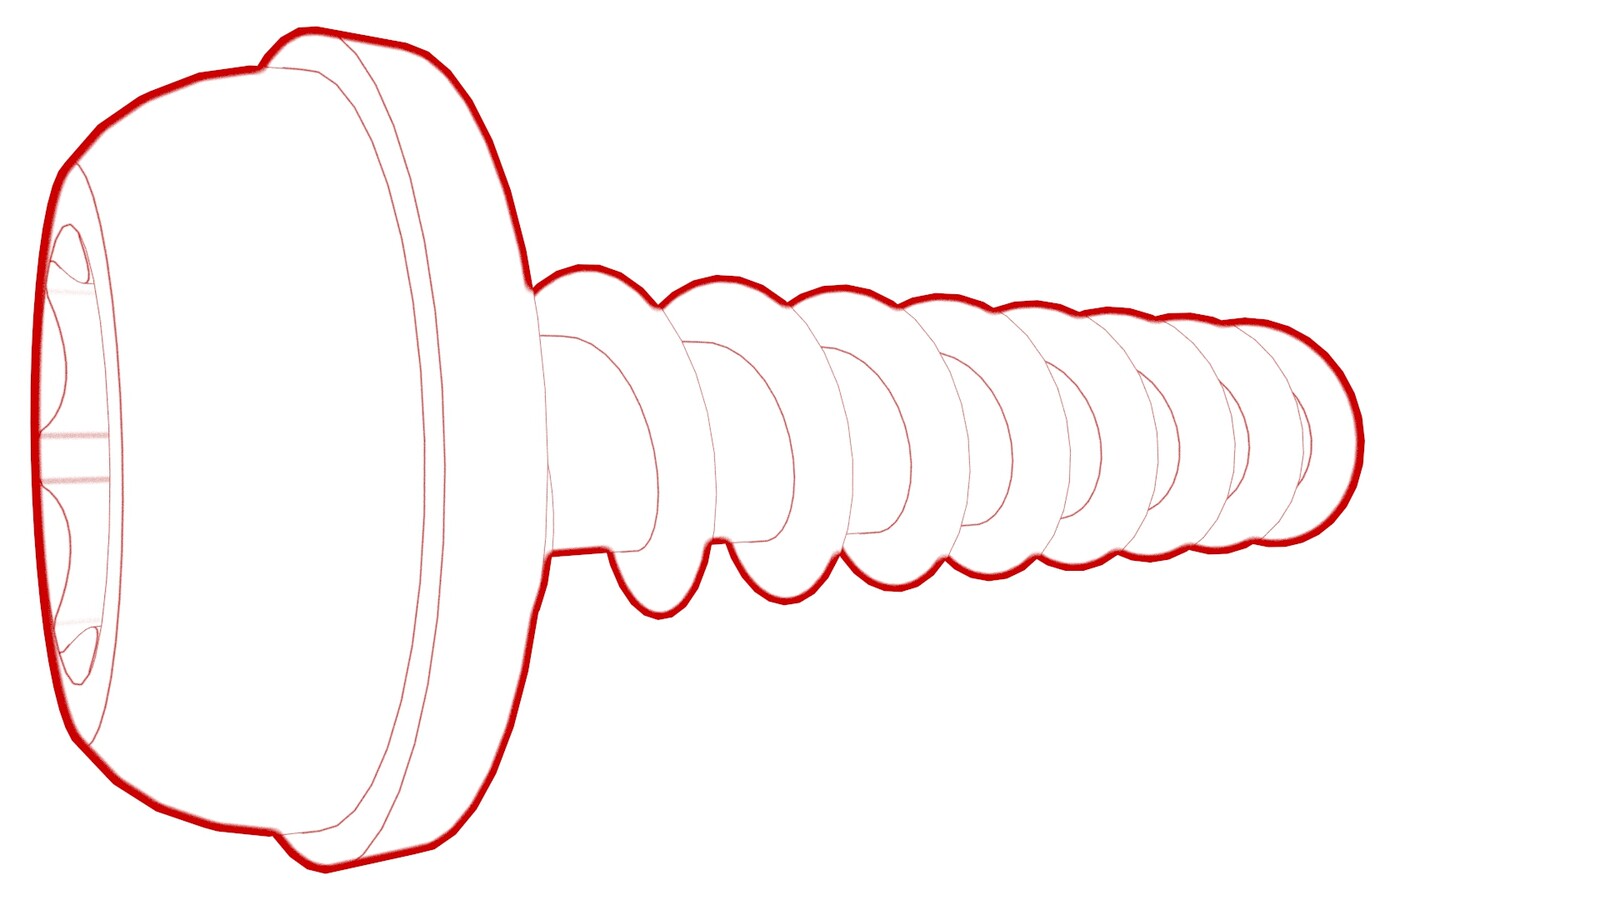
cover: Remove the screw that attaches the cabin filter cover to the
HVAC unit, and then move the cabin filter cover aside.
NoteLocation of the screw on heatpump models is at the bottom of the cabin filter cover
-
Fold the filter tabs outward, and then pull the upper filter out of the filter housing.
-
After the upper filter is removed, raise the lower filter up and out of the filter housing.
Install
-
Install the lower filter into the filter housing, with the arrows pointing to the rear of the vehicle.
- Install the upper filter into the filter housing, with the arrows pointing to the rear of the vehicle, and then fold the filter tabs inward.
-
If the cabin filter cover
is attached with a screw regardless if at the top or bottom of the
cover: Install the cabin filter cover on the HVAC unit, and then
install the screw that attaches the cabin filter cover to the HVAC
unit.
 1.2 Nm (.9 lbs-ft)NoteEngage the lower cover tab before fastening the cover.
 - If the cabin filter cover is attached with a screw at the top of the cover: Install the passenger footwell cover. See Cover - Footwell - Passenger (LHD) (Remove and Replace).
-
If the cabin filter cover is attached with tabs: Install the upper
tab of the cabin filter cover in the slot of the HVAC unit, and then install
the lower tab of the cabin filter cover.
- Install the RH side center console side panel carpet. See Side Panel - Center Console - LH (Remove and Replace).
-
Check whether the vehicle cabin filter health score requires reset: On the vehicle touchscreen, touch , and then scroll down to display the vehicle software version.
- If the vehicle software version is older than 2024.14, the cabin filter health score does not need to be reset. Skip to the next step in this procedure.
- If the vehicle software version is
2024.14 or newer:
- Enable Service Mode. See Service Mode.
- For Model 3 with PTC heater: In the Service Mode menu, touch Thermal (snowflake icon), and in the "Air Filter Diagnostics" section, touch Reset Filter Health. The cabin filter health score is now reset for PTC heater Model 3. Skip to the next step in this procedure.
- For Model 3 with Heat Pump: In the Service Mode menu, touch , and then touch .
- The cabin filter health score is now reset. Continue to the next step in this procedure.
Figure 2. Reset cabin filter health score for PTC heater Model 3 Figure 3. Reset cabin filter health score for Heat Pump Model 3—Model Y shown; Model 3 similar