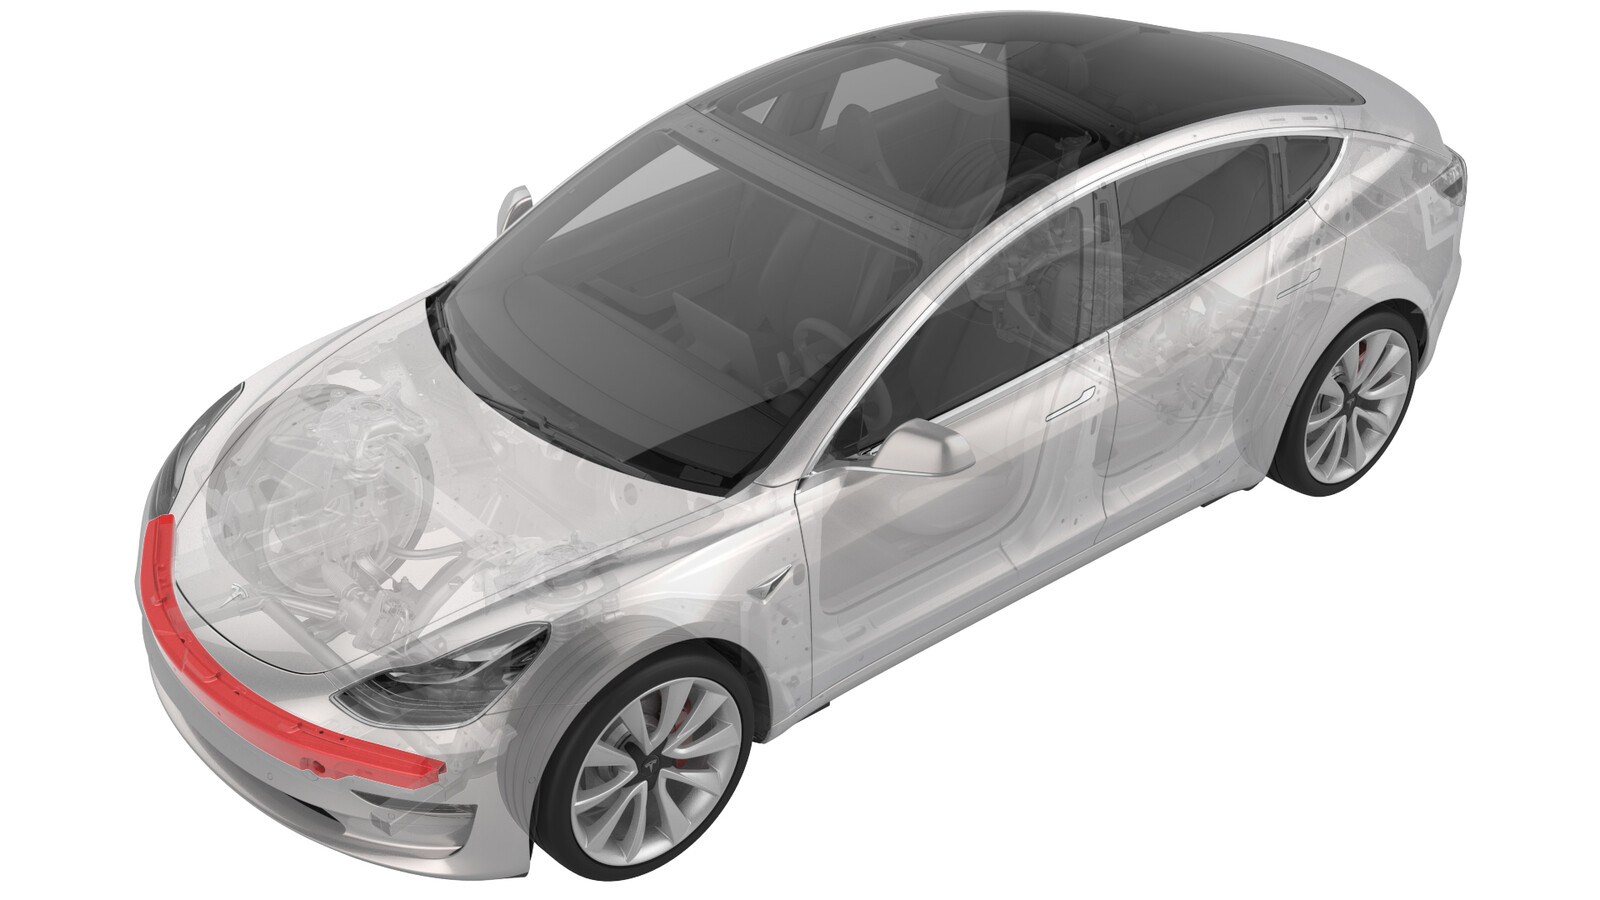
Bumper Beam - Front (Remove and Replace)
 Correction code
10011102
0.84
NOTE: Unless otherwise explicitly
stated in the procedure, the above correction code and FRT reflect all of the work
required to perform this procedure, including the linked procedures. Do not stack correction codes unless
explicitly told to do so.
NOTE: See Flat Rate
Times to learn more about FRTs and how they are created.
NOTE: See Personal Protection to make sure wearing proper PPE when
performing the below procedure. NOTE: See Ergonomic Precautions for safe and healthy working
practices.
Correction code
10011102
0.84
NOTE: Unless otherwise explicitly
stated in the procedure, the above correction code and FRT reflect all of the work
required to perform this procedure, including the linked procedures. Do not stack correction codes unless
explicitly told to do so.
NOTE: See Flat Rate
Times to learn more about FRTs and how they are created.
NOTE: See Personal Protection to make sure wearing proper PPE when
performing the below procedure. NOTE: See Ergonomic Precautions for safe and healthy working
practices.
Torque Specifications
| Description | Torque Value | Recommended Tools | Reuse/Replace | Notes |
|---|---|---|---|---|
| Bolts that attach the front bumper beam to the crush cans |  75 Nm (55.3 lbs-ft) |
|
Replace |
Remove
- Raise and support the vehicle. See Raise Vehicle - 2 Post Lift.
- Remove the rear underhood apron. See Underhood Apron - Rear (Remove and Replace).
- Remove the cabin intake duct. See Duct - Upper - Cabin Intake (Remove and Replace).
- Remove the hood latch cover. See Cover - Hood Latch (Remove and Replace).
- Remove the underhood storage unit. See Underhood Storage Unit (Remove and Replace).
- Remove the front fascia assembly. See Fascia - Front (Remove and Install).
- Remove the LH front airbag sensor. See Sensor - Impact Accelerometer - Front Bumper - LH (Remove and Replace).
- Remove the center front airbag sensor. See Sensor - Impact Accelerometer - Front Bumper - Center (Remove and Replace).
- Remove the RH front airbag sensor. See Sensor - Impact Accelerometer - Front Bumper - LH (Remove and Replace).
-
Remove and discard the bolts that attach the front bumper with the energy absorbers to the crash cans.
TIpUse of the following tool(s) is recommended:
- 15 mm socket
- 3 in extension
-
Carefully remove the front bumper with the energy absorbers from the vehicle.
CAUTIONDo not damage the body when prying the front bumper.NoteSlightly tap the front bumper with a dead blow hammer to assist with removal of the front bumper.
-
Remove the foam from the front bumper.
Install
- Install the foam onto the new front bumper beam.
- Position the front bumper with energy absorber onto the vehicle.
-
Install the new bolts that attach the front bumper with the energy absorbers to the LH and RH crash cans.
 75 Nm (55.3 lbs-ft)TIpUse of the following tool(s) is recommended:
- 15 mm socket
- 3 in extension
- Install the RH front airbag sensor. See Sensor - Impact Accelerometer - Front Bumper - LH (Remove and Replace).
- Install the center front airbag sensor. See Sensor - Impact Accelerometer - Front Bumper - Center (Remove and Replace).
- Install the LH front airbag sensor. See Sensor - Impact Accelerometer - Front Bumper - LH (Remove and Replace).
- Install the front fascia assembly. See Fascia - Front (Remove and Install).
- Install the underhood storage unit. See Underhood Storage Unit (Remove and Replace).
- Install the hood latch cover. See Cover - Hood Latch (Remove and Replace).
- Install the cabin intake duct. See Duct - Upper - Cabin Intake (Remove and Replace).
- Install the rear underhood apron. See Underhood Apron - Rear (Remove and Replace).
- Remove the vehicle from the lift.