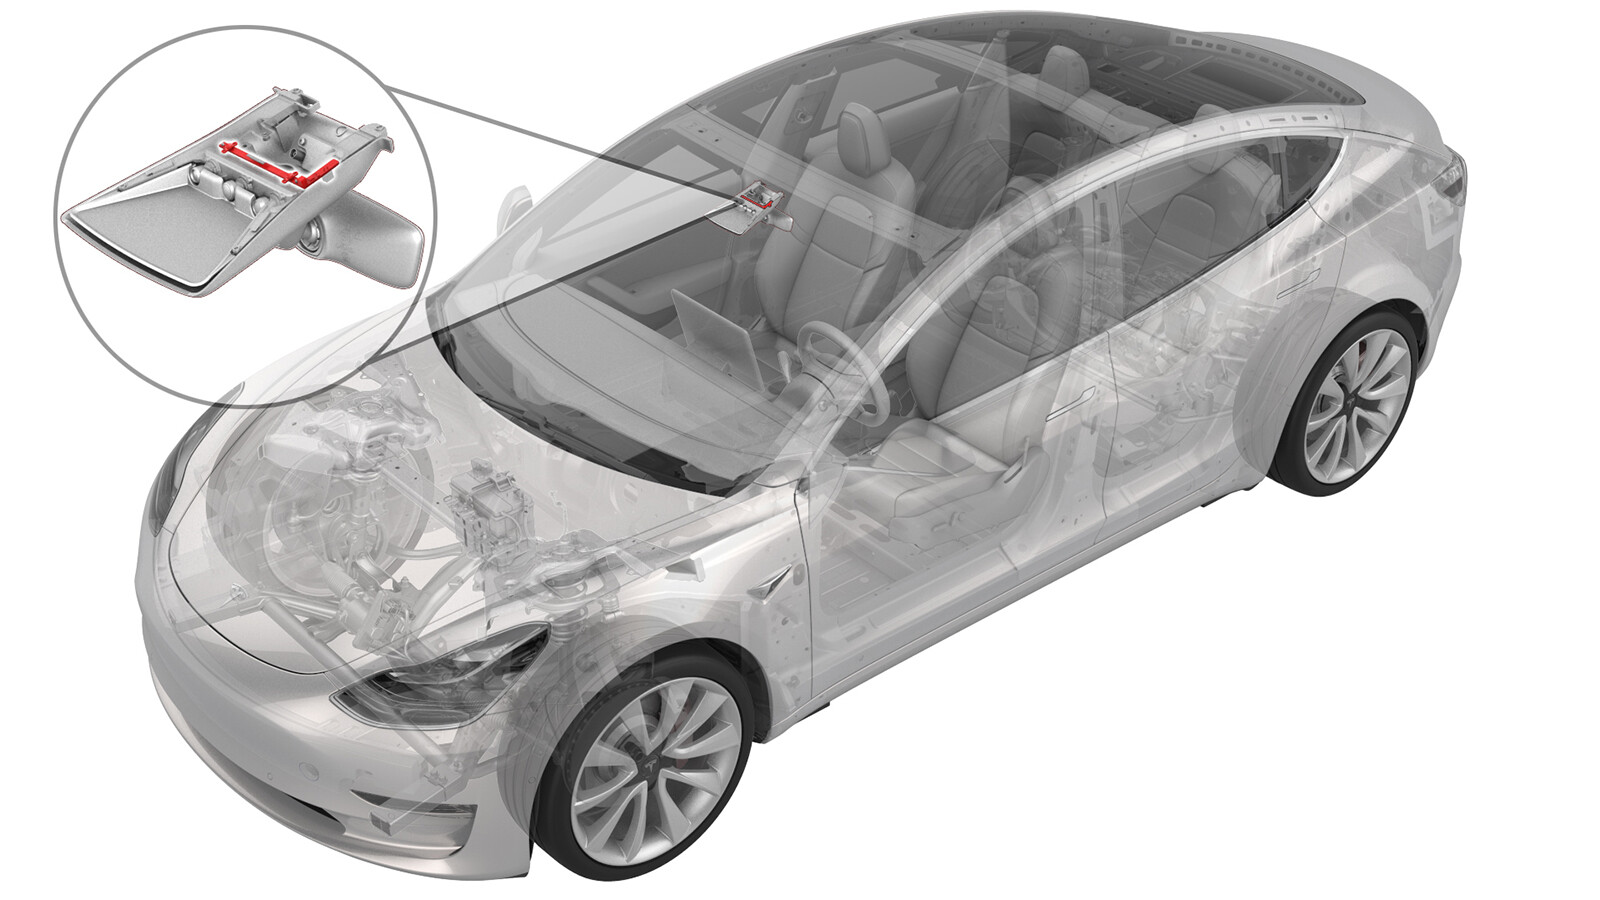
Sensor - Relative Humidity and Temperature (Remove and Install)
 Correction code
10206001
0.40
NOTE: Unless otherwise explicitly
stated in the procedure, the above correction code and FRT reflect all of the work
required to perform this procedure, including the linked procedures. Do not stack correction codes unless
explicitly told to do so.
NOTE: See Flat Rate
Times to learn more about FRTs and how they are created. To provide feedback on
FRT values, email ServiceManualFeedback@tesla.com.
NOTE: See Personal Protection to make sure wearing proper PPE when
performing the below procedure. See Ergonomic Precautions for safe and healthy working practices.
Remove
- Remove the relative humidity and temperature sensor. See Sensor - Relative Humidity and Temperature (Remove and Replace).
Replace Graphene Block
-
Prepare the ESD kit.
CAUTIONImproper use of the ESD kit can result in damage to components.NoteRefer to TN-14-92-003, “Electrostatic Discharge Tool” for more information.
-
Place the ESD mat flat onto
a workbench so that the button connector is closest to the grounding point
(outlet, vehicle chassis, etc.)
-
Snap the button connector on
the ground cord to the button connector on the ESD mat.
NoteMake sure the connector is securely fastened to the ESD mat.
-
Remove the alligator clip
adapter from the end of the wrist strap to expose the banana plug.
-
Connect the banana plug on
the wrist strap to the ground cord.
-
Connect the ground cord to a
ground source. Choose from:
- Per TN-14-92-003-R1,
Service Centers with NEMA 5-15 outlets, perform the following:
- Plug the ground indicator into the outlet and confirm the 2 lights on the right are lit.
- Remove the alligator clip adapter from the end of the ground cord to expose the banana plug.
- Plug the banana plug on the ground cord into the ground indicator.
- Service Centers with
grounded, non-NEMA 5-15 outlets, perform the following:
- Plug the
appropriate adapter into the outlet.NoteService Centers with grounded, non-NEMA 5-15 outlets need to supply an adapter suitable to connect the ground indicator to their regional outlet type. If you are unable to obtain an adapter, contact ServiceTooling@teslamotors.com for assistance.
- Plug the ground indicator into the adapter and confirm the 2 lights on the right are lit.
- Remove the alligator clip adapter from the end of the ground cord to expose the banana plug.
- Plug the banana plug on the ground cord into the ground indicator.
- Plug the
appropriate adapter into the outlet.
- Service Centers with
non-grounded outlets, perform the following:
- Clip the alligator clip adapter on the ground cord onto any unpainted metal part of the vehicle.
- Per TN-14-92-003-R1,
Service Centers with NEMA 5-15 outlets, perform the following:
-
Put on the ESD wrist
strap.
-
Remove the graphene foam
block from the temperature and humidity sensor.
NoteApply heat to the area around the adhesive, and then use tweezers to gently lift the graphene foam block up to release it.
-
Use an IPA wipe to clean the
area where the temperature and humidity sensor foam block will rest.
NoteAllow 1 minute of dry time.
-
Secure the foam block
locator tool onto the temperature and humidity sensor.
NoteAlign the datum on the tool with the alignment hole in the board.TIpUse of the following tool(s) is recommended:
- M3 THS Foam Fixture - 1727102-00-A
-
Using tweezers, carefully
install the graphene block onto the temperature and humidity sensor.
NoteMake sure the graphene block is installed completely inside of the gold square and that the hole closest to the chip remains uncovered.TIpUse of the following tool(s) is recommended:
- Tweezers - 1126453-00-A
- Remove the ESD wrist strap.
Install
- Install the relative humidity and temperature sensor. See Sensor - Relative Humidity and Temperature (Remove and Replace).