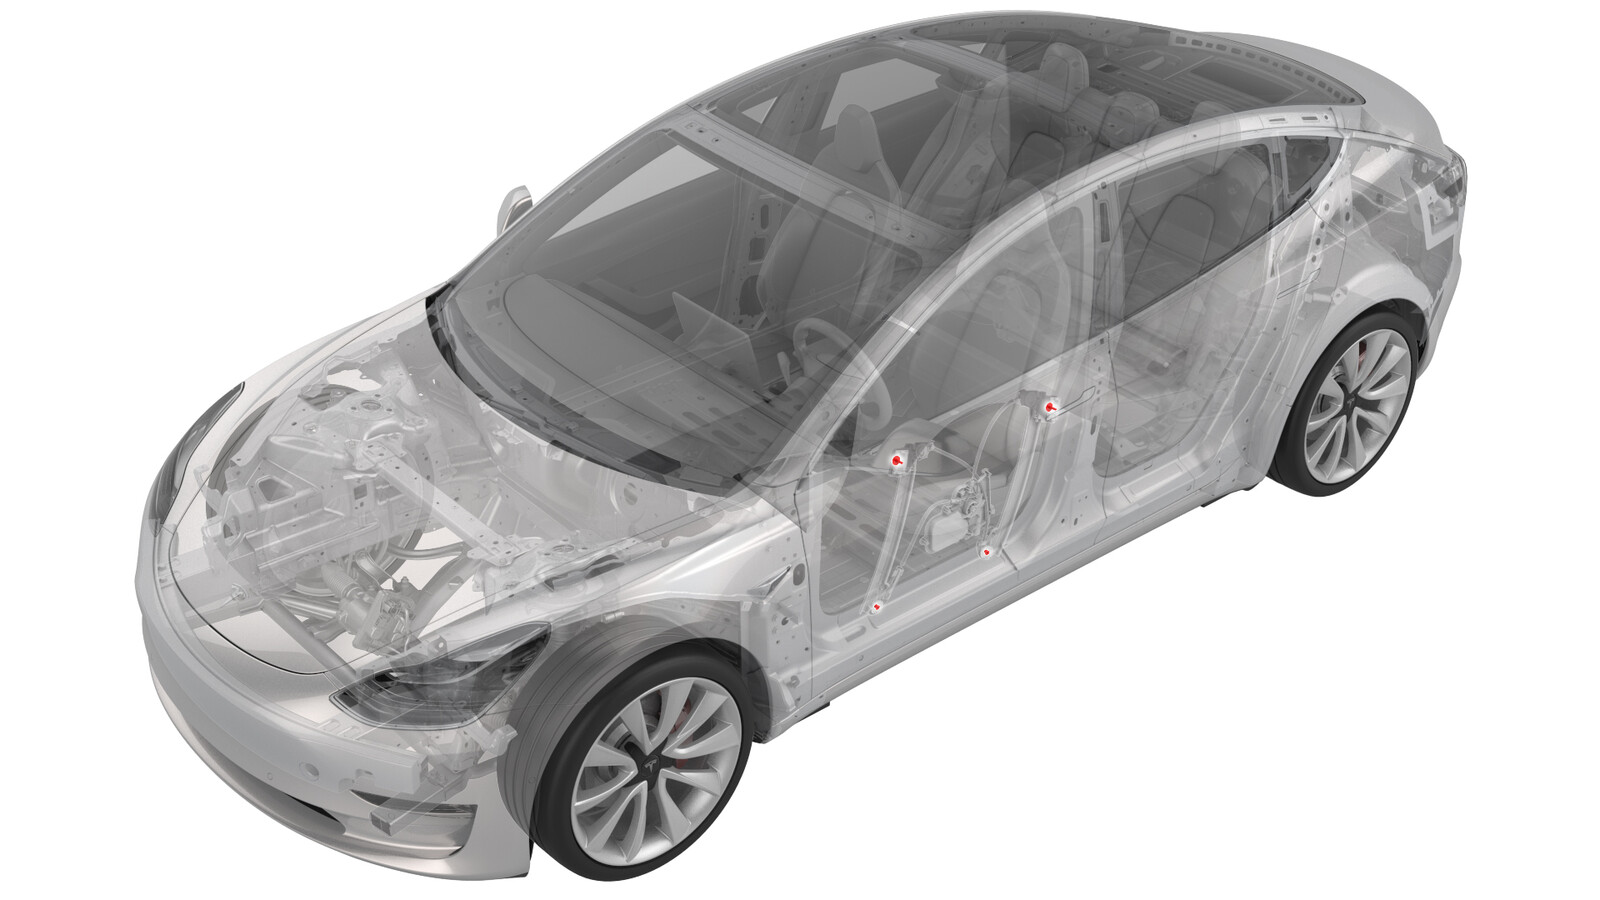
Glass - Door - LH - Front (Adjust)
 Correction code
11010004
Adjustable FRT
NOTE: This procedure uses an adjustable correction code. Use the correction code listed above and manually enter the actual amount of time spent performing this procedure. Do not stack correction codes unless explicitly told to do so.
NOTE: See Flat Rate Times to learn more about FRTs and how they are created. To provide feedback on FRT values, email ServiceManualFeedback@tesla.com.
NOTE: See Personal Protection to make sure wearing proper PPE when performing the below procedure.
NOTE: See Ergonomic Precautions for safe and healthy working practices.
Equipment:
- 1454796-00-A TOOLKIT, WINDOW SWITCH
- 2025-12-19: Clarified that the fasteners securing the window glass to the regulator clamps are disposable and updated the related steps accordingly.
- 2023-05-24: Added cleaning instructions to prevent glass damage.
- 2023-12-11: Updated the original nonadjustable correction code to the new adjustable one.
Adjust Guideblocks
- Check the LH front window glass fitment with a gap and flush tool.
- Fully lower the LH front window, and then open the LH front door.
-
Remove the guideblock door plugs.
-
Adjust the window glass height by rotating the guideblock bolts, as illustrated.
Figure 1. Forward guideblock bolt shown, rearward guideblock bolt similar - Close the LH front door, and then fully raise the LH front window.
-
Check the LH front window glass fitment with a gap and flush tool.
- If glass fitment is within spec, go to step 17
- If glass fitment cannot be brought within spec by adjusting the guideblocks, proceed to the next step.
Adjust Isolation Clamps
-
Place two pieces of masking
tape over the window glass and LH front door outer belt seal, and then
carefully cut across the tape where the glass meets the seal, as
illustrated.
TIpThis step will help you remember the original position of the glass while you are adjusting it.
- Remove the LH front door trim panel. See Panel - Door Trim - Front - LH (Remove and Install).
-
Remove the regulator
isolation clamp door plugs.
- Connect the puddle lamp to the door electrical harness.
- Connect the window switch special tool to the door electrical harness, and then raise the LH front window to access the regulator isolation clamps.
-
Remove and discard the
fasteners that attach the window glass to the window regulator clamps.
-
Align the LH front window glass to its original position and install new
fasteners (1101805-00-B) that attach the window glass to the window
regulator clamps.
NoteMake sure that the isolator clamps are not bottomed out on the regulator and this will allow adjustment if needed.
- Close the LH front door, and then use the window switch special tool to raise the LH front window fully.
- Adjust the window glass position, and then hand tighten the bolts.
-
Check the LH front window
glass fitment with a gap and flush tool.
- If glass fitment is within spec, go to step 7.
- If glass fitment cannot be brought within spec by adjusting the isolation clamps, proceed to the next step.
Adjust Regulator Angle
- Remove the LH front door speaker. See Speaker - Front Door - LH (Remove and Replace).
-
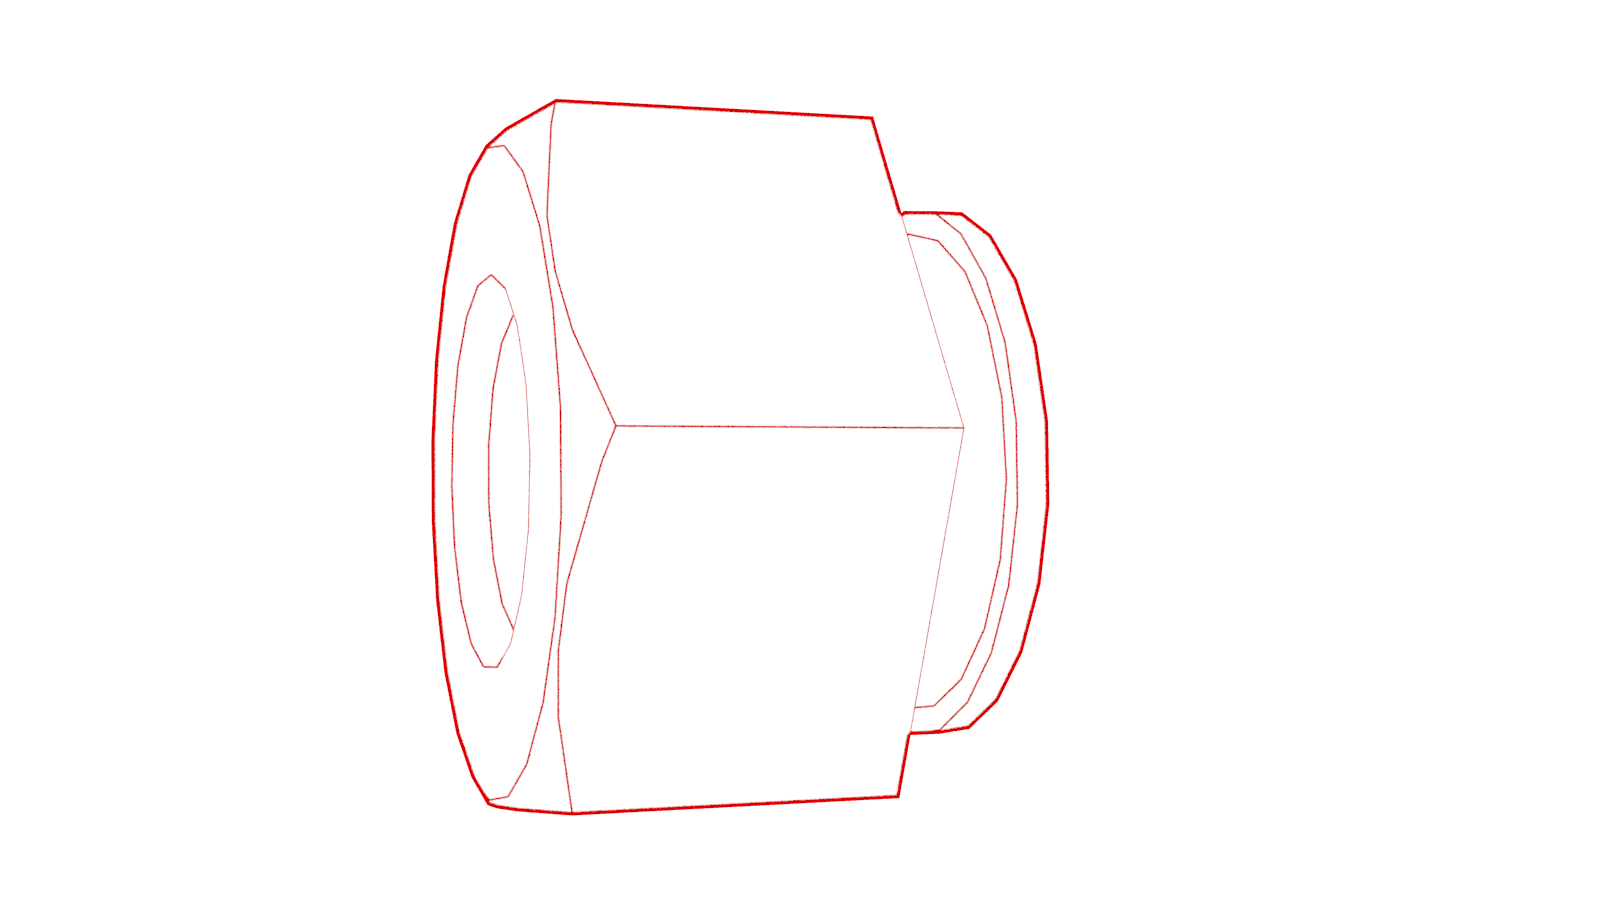
While holding the mounting stud in position with a 3 mm allen wrench, loosen the forward and rearward lower regulator mounting nuts by 3 turns.
Figure 2. Forward and rearward regulator mounting nuts Figure 3. Allen wrench holding rearward mounting stud in position, forward stud similar -
Adjust the regulator angle by turning the mounting studs, as illustrated.
NoteOne rotation moves the glass 1 mm.NoteThe glass adjustment range is 2 to 14 mm. If the current glass positioning is unknown, loosen the regulator mounting nut and rotate the mounting stud clockwise until it bottoms out, and then turn the stud counterclockwise 2 turns. This will set the glass at the minimum 2 mm.
Figure 4. Rearward mounting stud shown, forward stud similar - After the window glass angle adjustment is complete, hand tighten both lower regulator nuts.
- Close the LH front door, and then fully raise the window glass.
- Check the LH front window glass fitment with a gap and flush tool and readjust the window glass if necessary.
- Remove the strips of masking tape from the vehicle.
- Lower the window glass to access the regulator isolation clamps.
-
Inspect the regulator isolator clamps for glass splinters or other debris,
and clean them if necessary.
CAUTIONDebris and splinters may damage or shatter the new door glass.
-
Tighten the bolts that
attach the glass to the regulator isolation clamps.
 9.5 Nm (7.0 lbs-ft)
 -
If previously loosened, tighten the nuts that attach the window regulator to the inner door .
 10 Nm (7.4 lbs-ft)
 - If removed, install the LH front door speaker. See Speaker - Front Door - LH (Remove and Replace).
- Lower the window glass, and then disconnect the window switch special tool.
- Disconnect the puddle lamp from the door electrical harness.
-
Install the regulator isolation clamp door plugs.
- Install the front LH door trim panel. See Panel - Door Trim - Front - LH (Remove and Install).
-
Install the guideblock door plugs.
- Sit in the driver seat, and then close the LH front door.
-
In Toolbox, type window in the search field.
NoteMake sure Actions is selected.
-
Click the play button next to "TESTSELF_ VCLEFT_FRONT-L_CALIBRATE-WINDOW", and then select Run.
NoteThe LH front window cycles up and down during this calibration routine.
- Press the LH front window switch down to the second position to active the auto-lower function, and then raise the window fully to activate the auto-raise function.
- Disconnect the laptop from the vehicle.