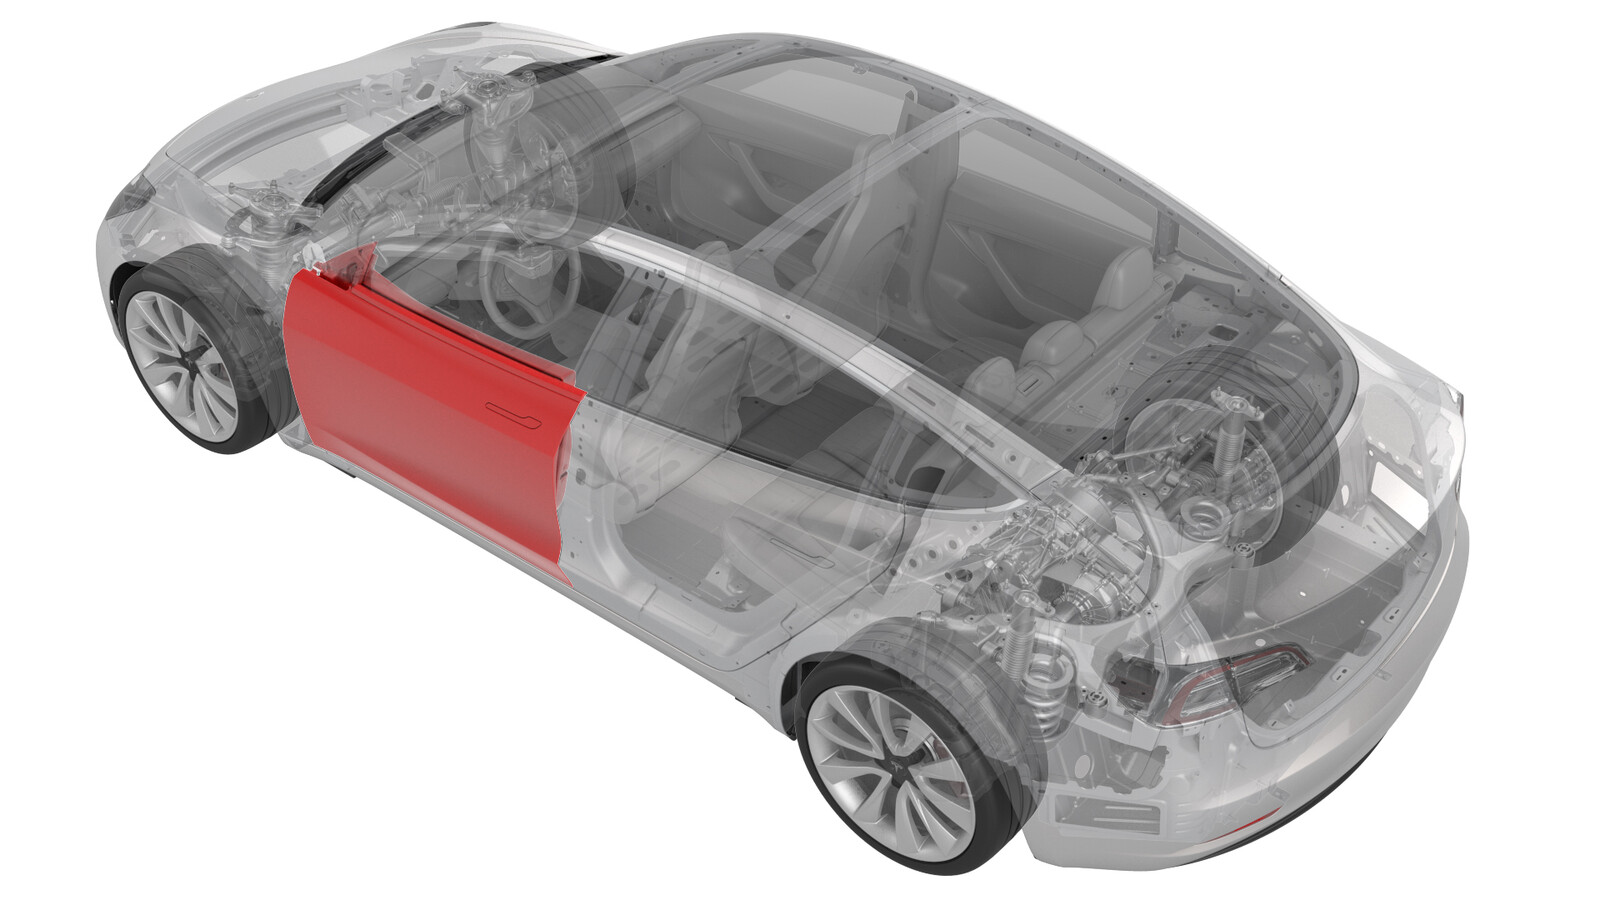
Door - Front - LH (Remove and Install)
 Correction code
10106001
0.42
NOTE: Unless otherwise explicitly
stated in the procedure, the above correction code and FRT reflect all of the work
required to perform this procedure, including the linked procedures. Do not stack correction codes unless
explicitly told to do so.
NOTE: See Flat Rate
Times to learn more about FRTs and how they are created.
NOTE: See Personal Protection to make sure wearing proper PPE when
performing the below procedure. NOTE: See Ergonomic Precautions for safe and healthy working
practices.
Correction code
10106001
0.42
NOTE: Unless otherwise explicitly
stated in the procedure, the above correction code and FRT reflect all of the work
required to perform this procedure, including the linked procedures. Do not stack correction codes unless
explicitly told to do so.
NOTE: See Flat Rate
Times to learn more about FRTs and how they are created.
NOTE: See Personal Protection to make sure wearing proper PPE when
performing the below procedure. NOTE: See Ergonomic Precautions for safe and healthy working
practices.
Remove
- Remove the 2nd row lower seat cushion. See Seat Cushion - Lower - 2nd Row (Remove and Replace).
- Remove the rear underhood apron. See Underhood Apron - Rear (Remove and Replace).
- Disconnect 12V power. See 12V/LV Power (Disconnect and Connect).
- Remove the LH instrument panel end cap. See End Cap - Instrument Panel - LH (Remove and Replace).
- Remove the middle A-Pillar trim panel. See Trim - A-Pillar - Middle - LH (Remove and Replace).
- Remove the LH lower A-pillar trim. See Trim - A-Pillar - Lower - LH (Remove and Replace).
-
Disconnect the LH front door
electrical connectors from the LH body controller module.
-
Release the electrical
harness clip from the LH body controller module.
-
Release the grommet, and
then push the LH door electrical harness through the A-pillar
bulkhead.
-
Remove the bolt that
attaches the LH front door check strap to the A-pillar.
 24 Nm (17.7 lbs-ft)CAUTIONUnbolting the door check allows the door to swing freely beyond opening limits.
 -
Use tape to mark the
mounting locations of the door hinges on the LH front door.
-
Loosen the hinge bolts, and
then remove the lower bolts for each hinge.
 24 Nm (17.7 lbs-ft)
 -
Partially unthread the
upper bolt for each hinge, and with assistance, lift the LH front door away
from the vehicle.
Install
Installation procedure is the reverse of removal, except for the following:
- Partially thread the upper bolt for each hinge in the door so that the door can set on the hinges to install the lower bolt.
- Apply touch up paint to painted fasteners that were removed and reinstalled during this procedure.