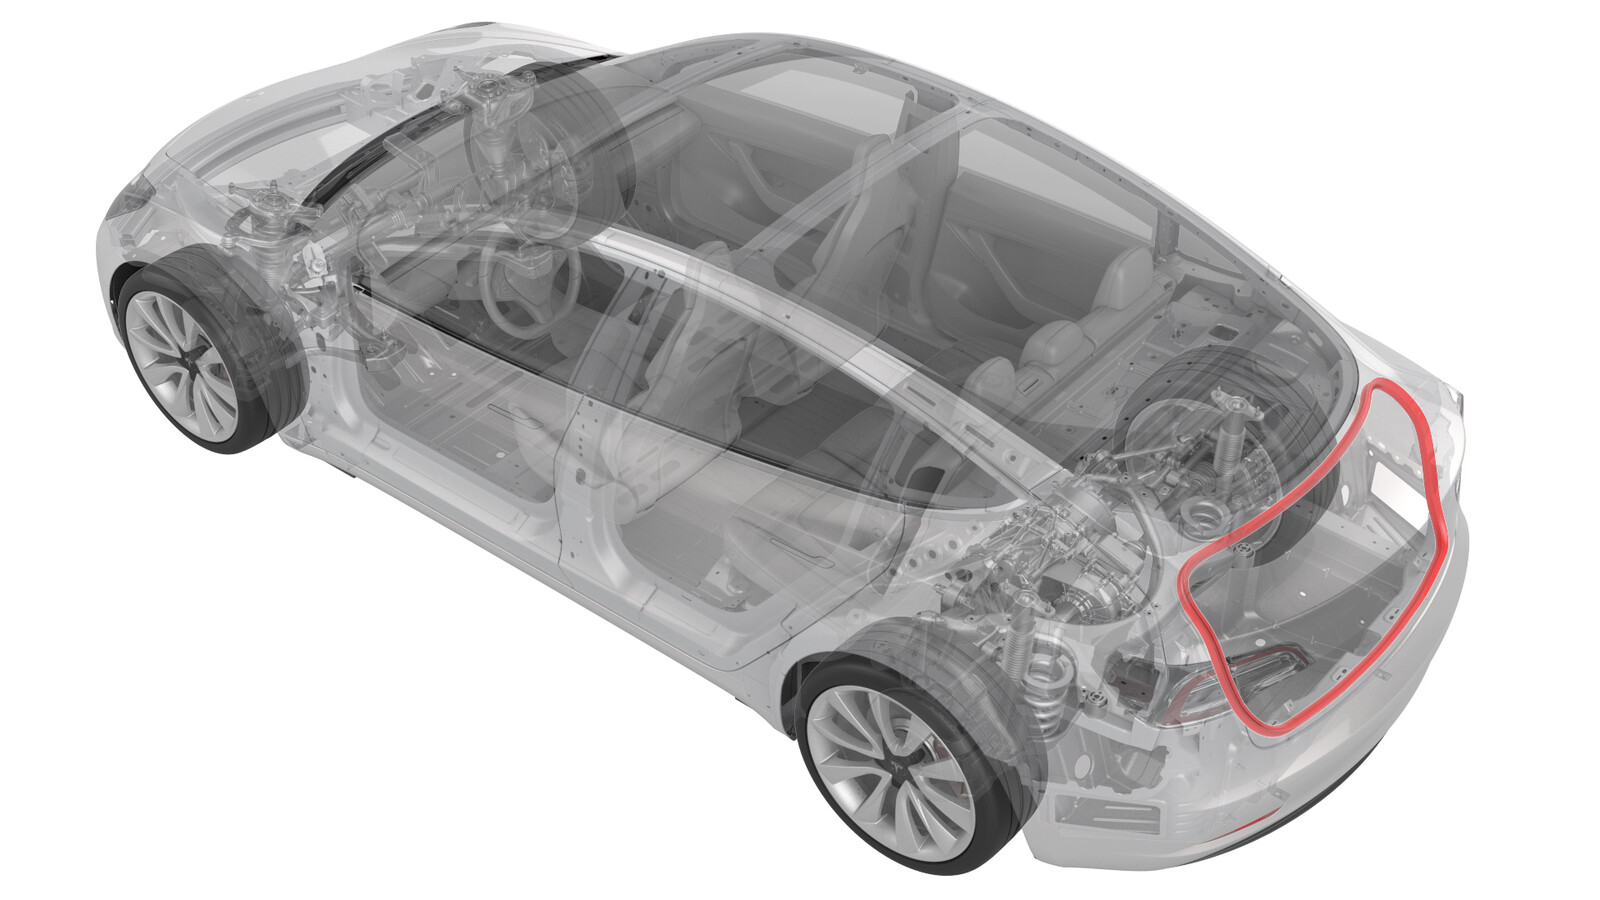
Seal - Trunk (Remove and Replace)
 Correction code
11702002
0.18
NOTE: Unless otherwise explicitly
stated in the procedure, the above correction code and FRT reflect all of the work
required to perform this procedure, including the linked procedures. Do not stack correction codes unless
explicitly told to do so.
NOTE: See Flat Rate
Times to learn more about FRTs and how they are created.
NOTE: See Personal Protection to make sure wearing proper PPE when
performing the below procedure. NOTE: See Ergonomic Precautions for safe and healthy working
practices.
Correction code
11702002
0.18
NOTE: Unless otherwise explicitly
stated in the procedure, the above correction code and FRT reflect all of the work
required to perform this procedure, including the linked procedures. Do not stack correction codes unless
explicitly told to do so.
NOTE: See Flat Rate
Times to learn more about FRTs and how they are created.
NOTE: See Personal Protection to make sure wearing proper PPE when
performing the below procedure. NOTE: See Ergonomic Precautions for safe and healthy working
practices.
Remove
- Remove the trunk sill trim. See Trim - Sill - Trunk (Remove and Replace).
-
Release the trunk seal from the trunk perimeter, and then remove the seal from the body.
Install
-
Align the line on the trunk seal to the striker.
-
Install the trunk seal to the perimeter of the trunk.
TIpTap the trunk seal with a rubber hammer and use a plastic trim tool to fully install the trunk seal to the body.NoteMake sure the bottom of the seal is tucked into the rear fascia.
- Install the trunk sill trim. See Trim - Sill - Trunk (Remove and Replace).
-
Pull the strings on the trunk seal to seat it flush across the interior.
- Install the rear trunk floor.
- Close the trunk.