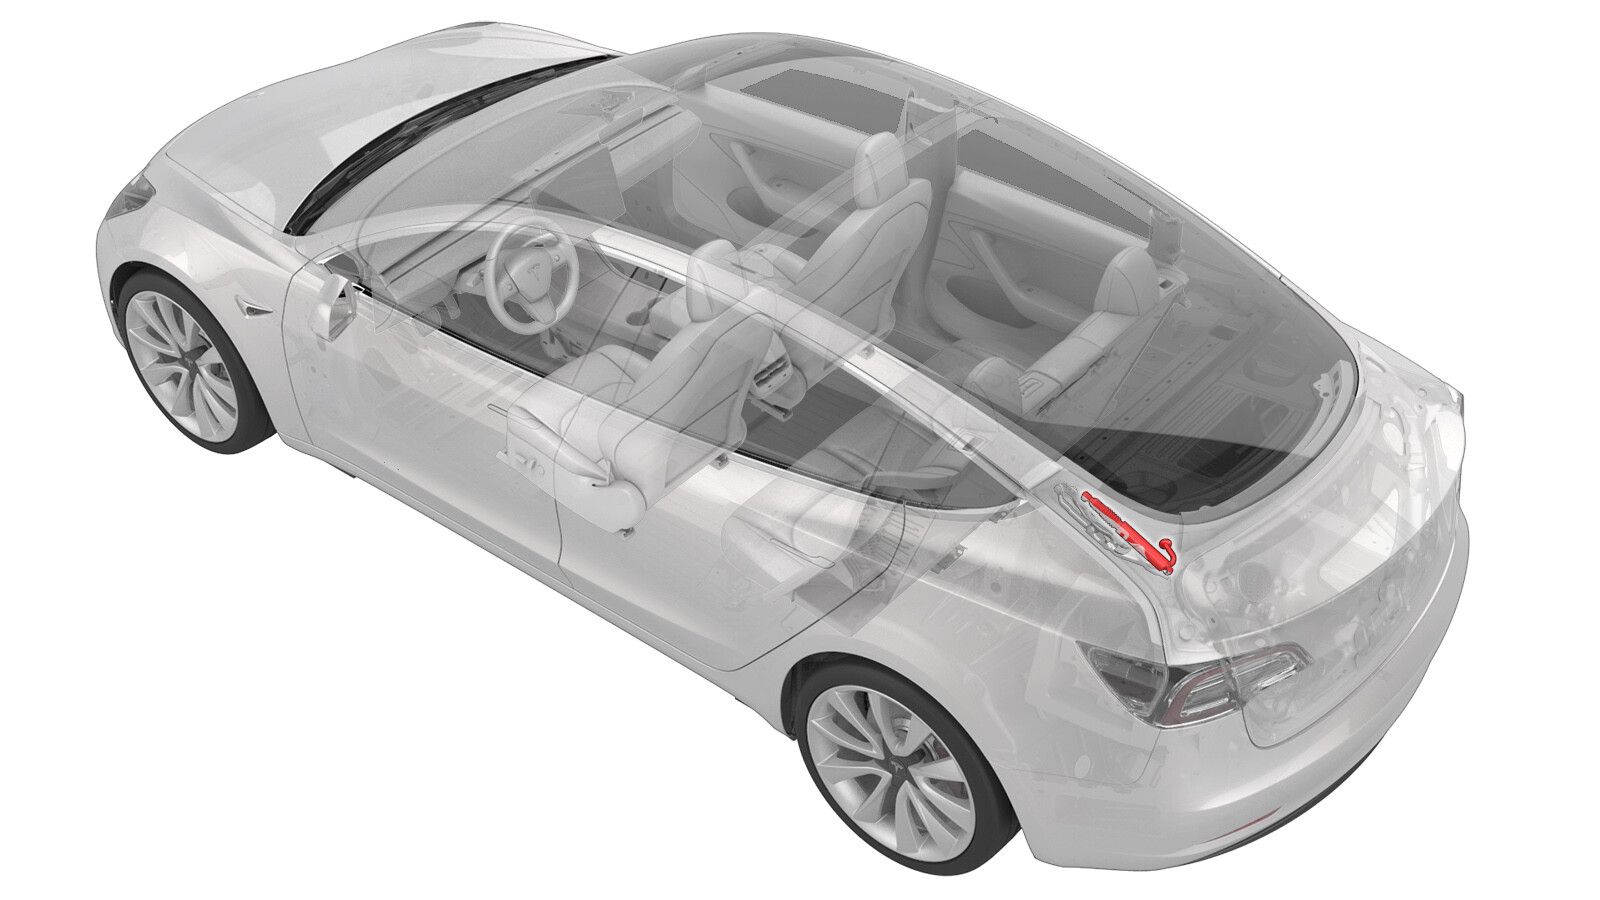
Power Strut - Trunk (Remove and Replace)
 Correction code
11333502
0.12
NOTE: Unless otherwise explicitly
stated in the procedure, the above correction code and FRT reflect all of the work
required to perform this procedure, including the linked procedures. Do not stack correction codes unless
explicitly told to do so.
NOTE: See Flat Rate
Times to learn more about FRTs and how they are created. To provide feedback on
FRT values, email ServiceManualFeedback@tesla.com.
NOTE: See Personal Protection to make sure wearing proper PPE when
performing the below procedure. See Ergonomic Precautions for safe and healthy working practices.
Remove
- Remove the trunk garnish. See Garnish - Trunk (Remove and Replace).
-
Near the LH side of the vehicle interior where the trunk garnish was
removed, disconnect the electrical harness from the trunk power strut
electrical connector.
-
Push the trunk power strut rubber grommet through the body of the
vehicle.
- Support the trunk with a prop.
-
Release the clip that attaches the upper end of the trunk power strut to
the trunk lid, and then separate the power strut from the trunk lid ball
stud.
-
Release the clip that
attaches the lower end of the trunk power strut to the vehicle, and then
remove the power strut from the vehicle.
Install
Installation procedure is the reverse of removal, except for the following:
- Clean both ball joints on the vehicle with an IPA wipe before installing the strut.
-
CAUTIONMake sure that the clips that attach the power strut ends to the trunk are securely attached to avoid the strut to become loose and damaged.