Brake Lines - Master Cylinder to ABS (Remove and Replace)
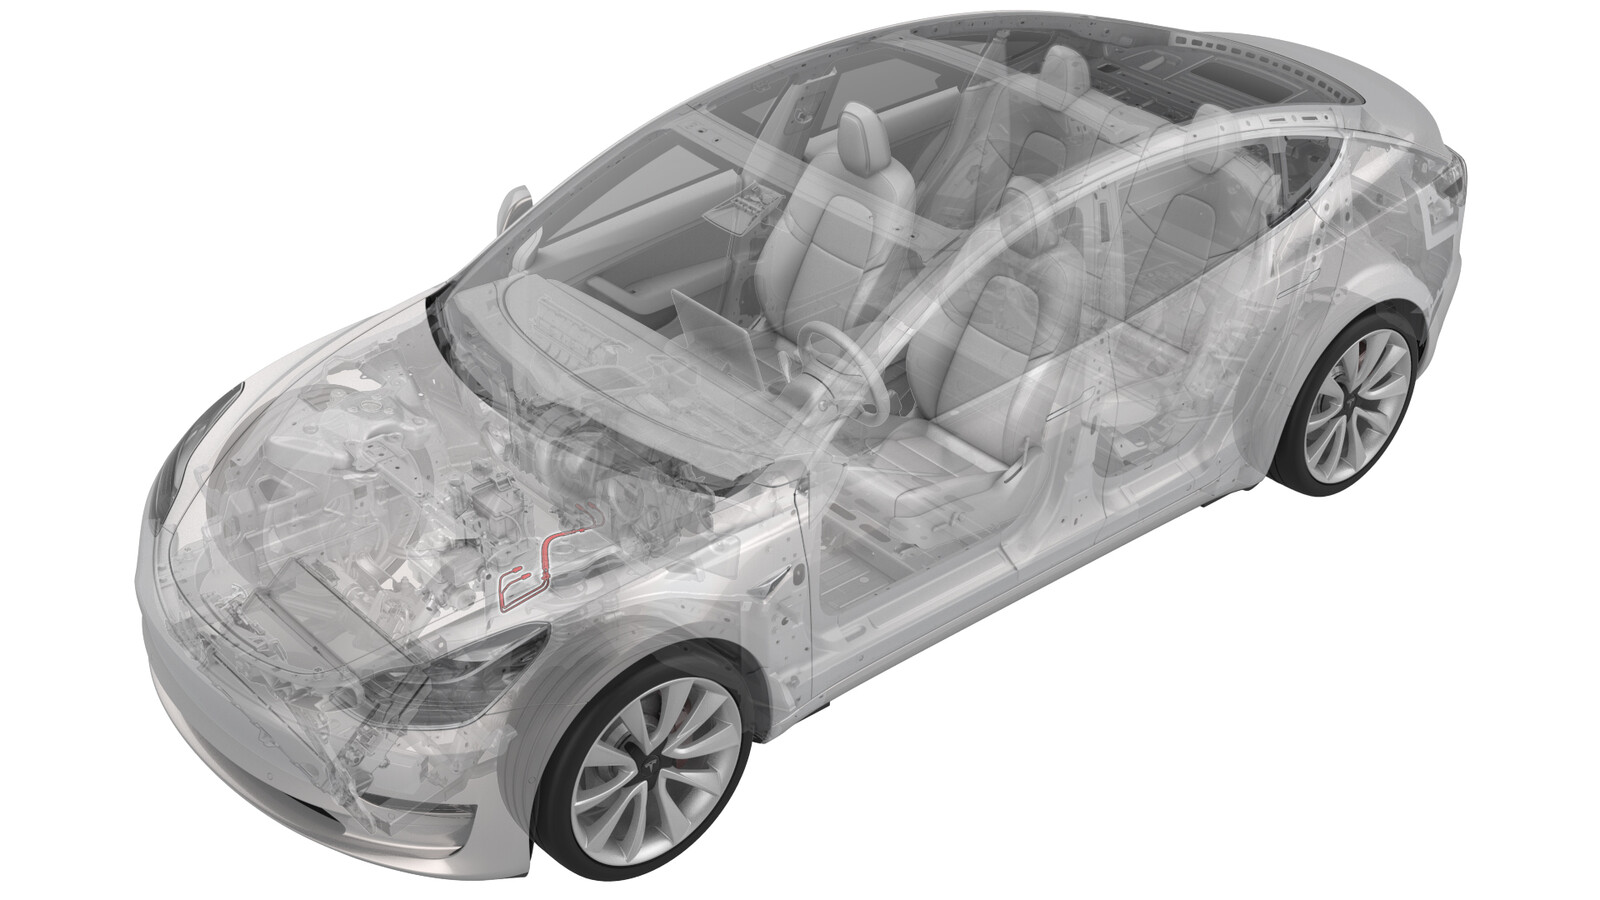 Correction code
33034002
1.62
NOTE: Unless otherwise explicitly
stated in the procedure, the above correction code and FRT reflect all of the work
required to perform this procedure, including the linked procedures. Do not stack correction codes unless
explicitly told to do so.
NOTE: See Flat Rate
Times to learn more about FRTs and how they are created. To provide feedback on
FRT values, email ServiceManualFeedback@tesla.com.
NOTE: See Personal Protection to make sure wearing proper PPE when
performing the below procedure. See Ergonomic Precautions for safe and healthy working practices.
- 2025-07-07: Added step to bleed brake calipers through inner bleed valves only.
- 1079041-00-A Flare nut crowfoot set
Remove
-
CAUTION
Brake fluid dissolves paint. Have clean towels and plenty of water standing by to wash spilled brake fluid off painted surfaces.
NoteDispose of used brake fluid in a manner consistent with local environmental codes.
- Remove the cowl screen panel. See Panel - Cowl Screen (Remove and Replace).
- Remove the battery bracket. See Bracket - 12V Battery (RWD) (Remove and Replace).
-
Remove the bolts that attach
the shock tower brace to the body, and then slide the LH side of the brace
forward to allow access to the ABS unit fittings.
-
Disconnect the electrical harness from the ABS unit connector.
-
Release the clips (x3) that attach the LH front electrical harness to the LH front frame rail.
-
Remove and discard the bolts (x3) that attach the LH front electrical harness ground straps to the LH shock tower, and then move the electrical harness aside.
- Position the oil drain under the ABS unit.
-
Remove the brake line tube nuts from the ABS unit, and allow the fluid to drain.
-
Release the clip that attaches the brake lines to the ABS unit.
-
Release the clip that attaches the electrical harness to the brake line at the master cylinder.
- Position the oil drain under the brake booster.
-
Remove the brake line tube nuts from the master cylinder, and allow the fluid to drain.
-
Release the clips that attach the brake lines to the body.
-
Remove the brake lines from the vehicle.
Install
- Remove the oil drain from under the brake booster.
- Bring the brake lines to the ABS unit and master cylinder.
-
Fasten the clips that attach the brake lines to the body.
-
Insert the brake lines into the master cylinder, and then use a crowfoot extension to install the brake line tube nuts into the master cylinder.
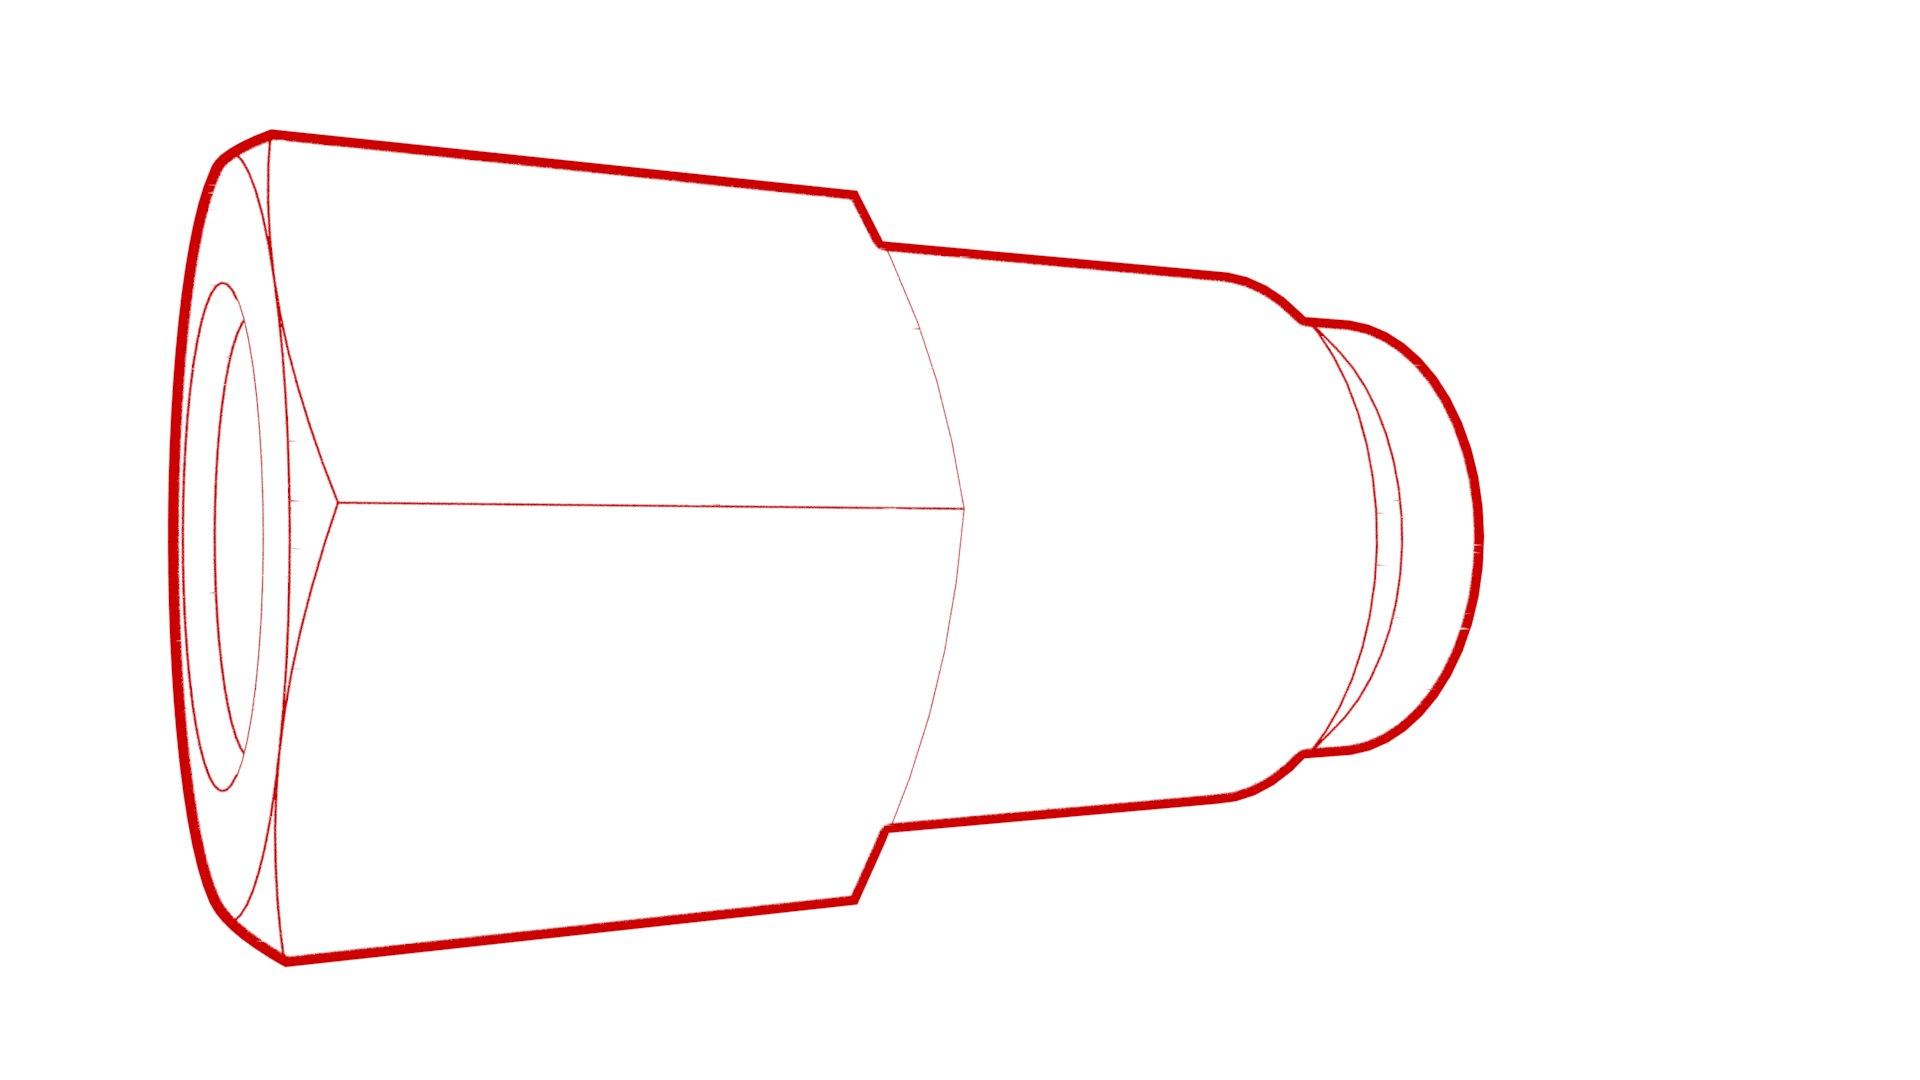 16 Nm (11.8 lbs-ft)
 -
Fasten the clip that attaches the electrical harness to the brake line at the master cylinder.
-
Insert the brake lines into the ABS unit, and then use a crowfoot extension to install the brake line tube nuts into the ABS unit.
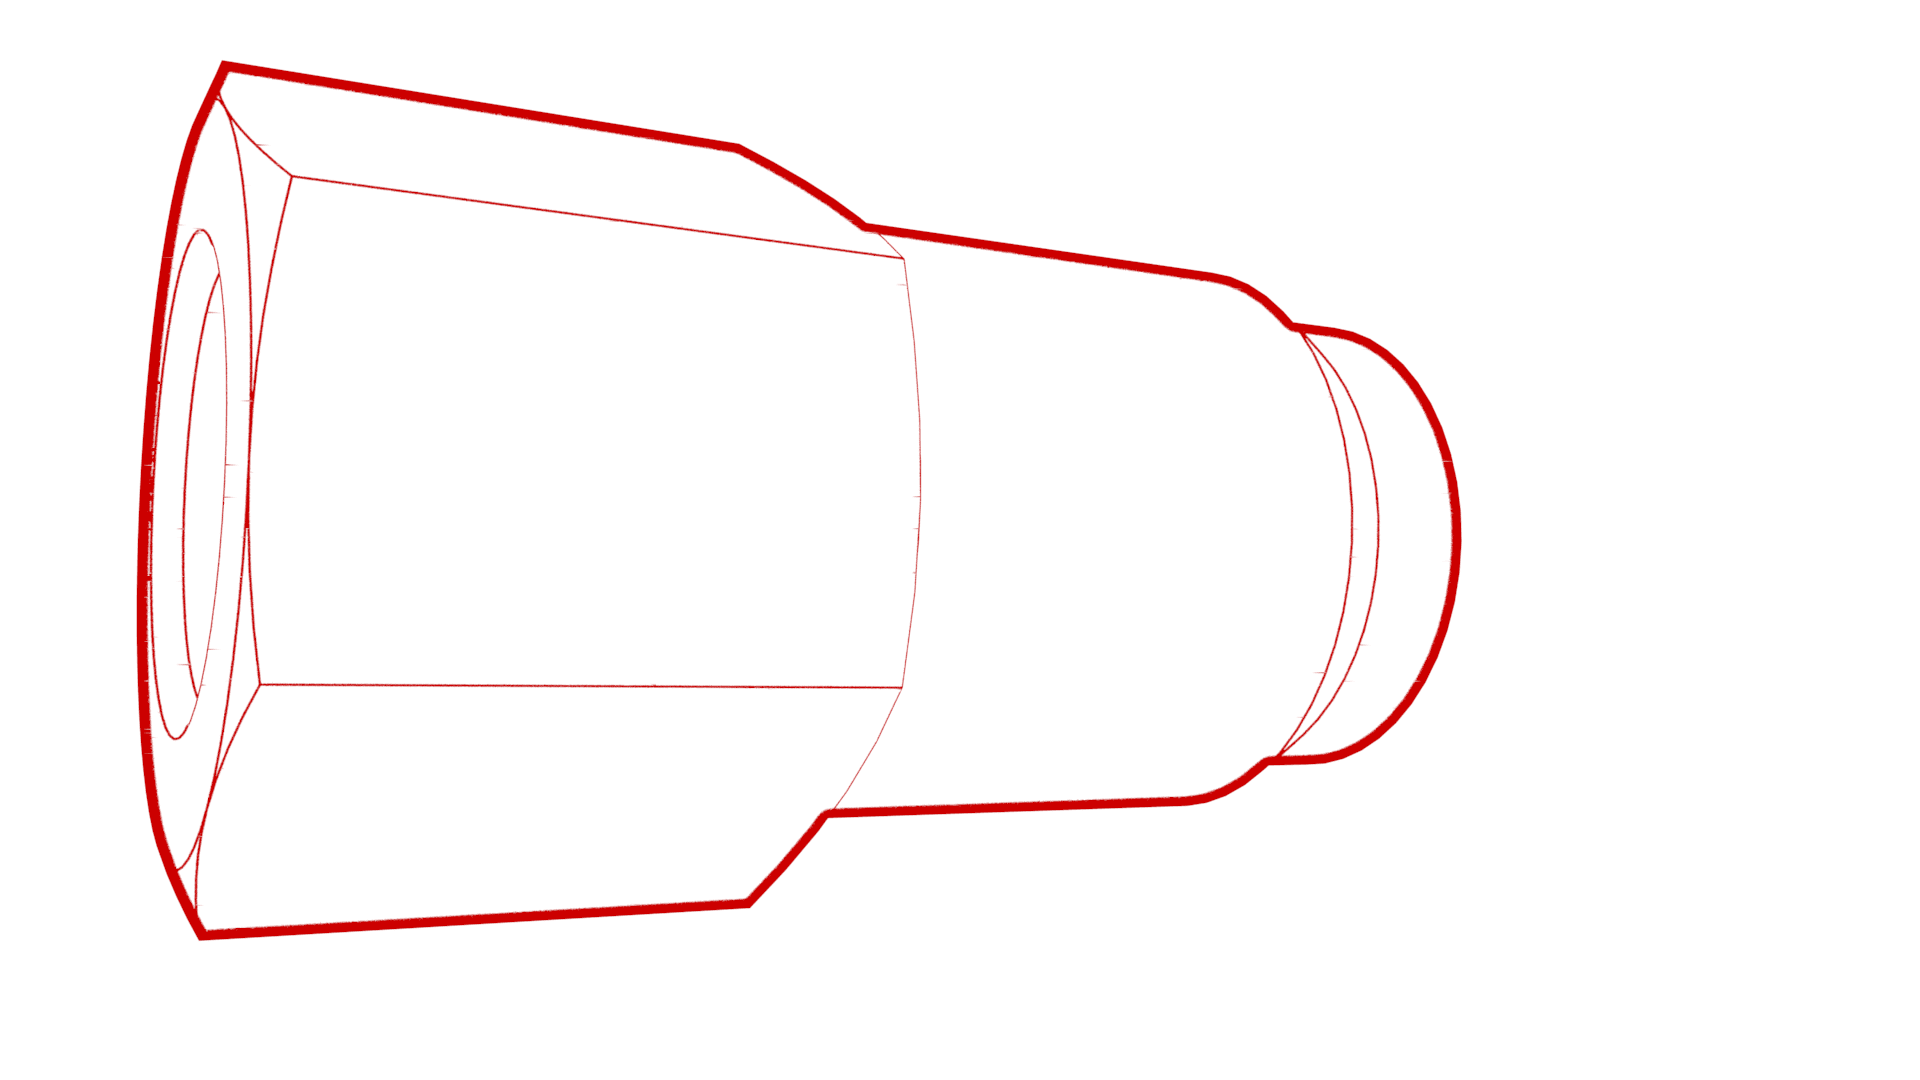 16 Nm (11.8 lbs-ft)
 -
Fasten the clip that attaches the brake lines to the ABS unit.
-
Move the LH front electrical harness back to the LH front shock tower, and then install the new bolts (x3) to attach the electrical harness ground straps to the shock tower.
 8 Nm (5.9 lbs-ft)
 -
Fasten the clips (x3) that attach the LH front electrical harness to the LH front frame rail.
-
Connect the electrical harness to the ABS unit connector.
-
Slide the LH side of the
shock tower brace backward to its mounting position, and then install the
bolts that attach the shock tower brace to the body.
-
Front outer bolt torque:
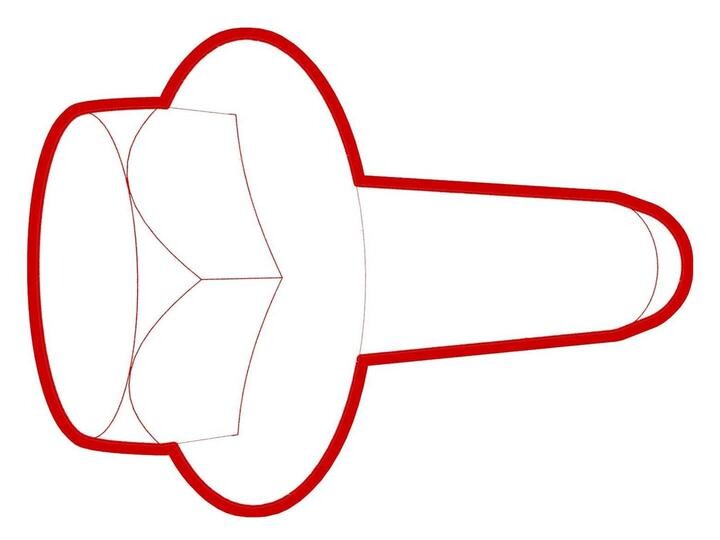 62 Nm (45.7 lbs-ft)
 -
Rear outer bolt torque:
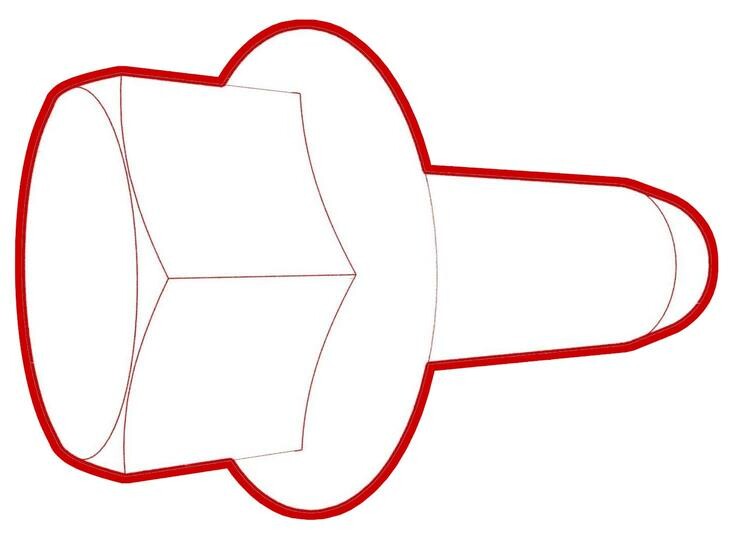 55 Nm (40.6 lbs-ft)
 -
Inner bolt torque:
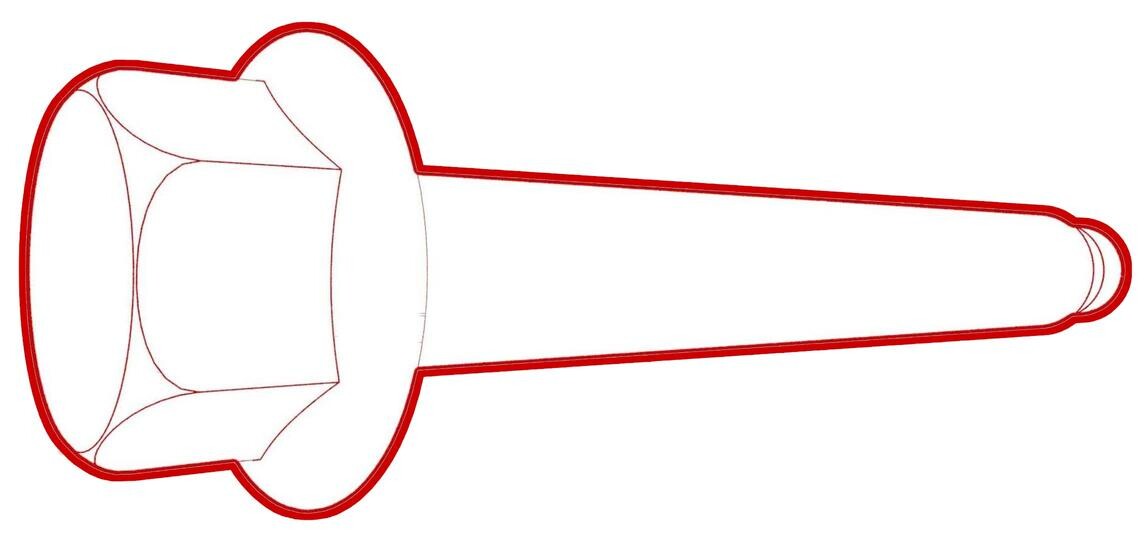 55 Nm (40.6 lbs-ft)
-
Front outer bolt torque:
- Install the battery bracket. See Bracket - 12V Battery (RWD) (Remove and Replace).
- Install the cowl screen panel. See Panel - Cowl Screen (Remove and Replace).
-
Bleed the LH and RH front brake
calipers through the brake calipers' inner bleed valves until clean fluid without air bubbles flows out of the
caliper.
NoteIt is not necessary to bleed the brake calipers through the outer bleed valves.
- Flush the LH front caliper using the inner bleed valve until a noticeable reduction in air bubbles is observed.
- Flush the RH front caliper using the inner bleed valve until a noticeable reduction in air bubbles is observed.
- Bleed the LH front caliper using the inner bleed valve. See Brake Fluid Bleed/Flush for details.
- Bleed the RH front caliper using the inner bleed valve. See Brake Fluid Bleed/Flush for details.
- Make sure to perform the brake stiffness test. See Brake Fluid Bleed/Flush for details.