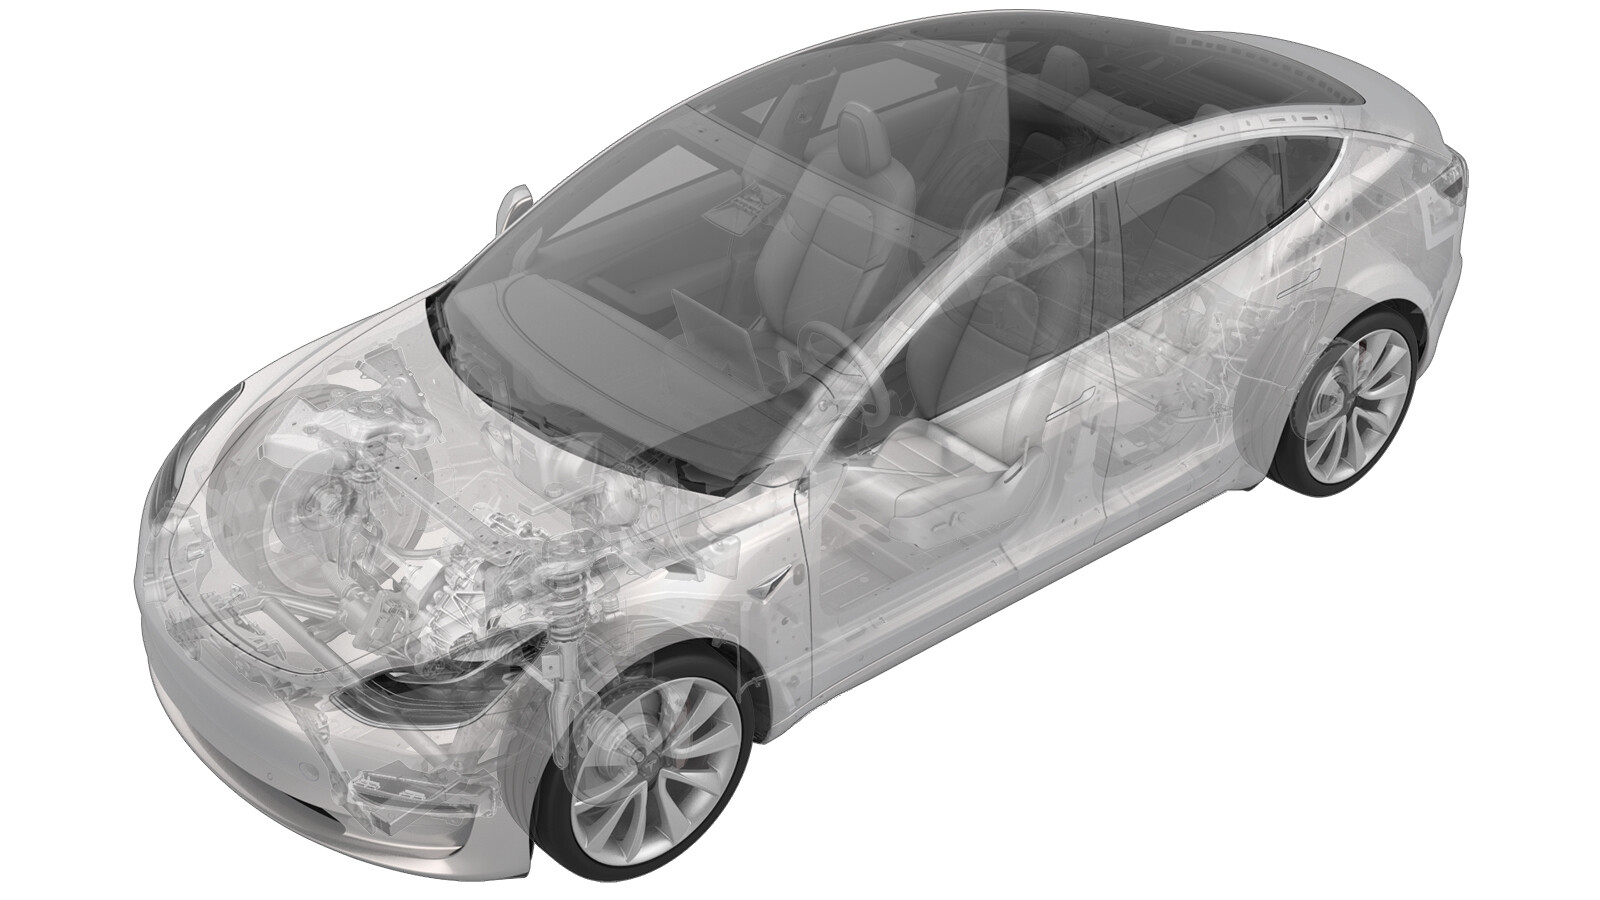
Hose - Outlet - Radiator (Non-Heat Pump) (Remove and Replace)
 Correction code
18302702
0.60
NOTE: Unless otherwise explicitly
stated in the procedure, the above correction code and FRT reflect all of the work
required to perform this procedure, including the linked procedures. Do not stack correction codes unless
explicitly told to do so.
NOTE: See Flat Rate
Times to learn more about FRTs and how they are created. To provide feedback on
FRT values, email ServiceManualFeedback@tesla.com.
NOTE: See Personal Protection to make sure wearing proper PPE when
performing the below procedure. See Ergonomic Precautions for safe and healthy working practices.
Remove
- Raise and support the vehicle. See Raise Vehicle - 2 Post Lift.
-
Open all the doors and lower all the
windows.
NoteIf vehicle is being powered down, latch the rear doors to prevent accidental closure.
- Move the front seats forward.
- Open the hood.
- Remove the 2nd row lower seat cushion. See Seat Cushion - Lower - 2nd Row (Remove and Replace).
- Remove the rear underhood apron. See Underhood Apron - Rear (Remove and Replace).
- Remove the underhood storage unit. See Underhood Storage Unit (Remove and Replace).
- Disconnect 12V power. See 12V/LV Power (Disconnect and Connect).
- Remove the front aero shield panel. See Panel - Aero Shield - Front (Remove and Replace).
- Lower the vehicle fully.
-
Position fluid catcher underneath the
front of the vehicle.
-
Release the clips (x2) that attach the
radiator outlet hose to the RH side of the vehicle.
-
Release the spring clip, disconnect
the radiator outlet hose from the radiator, allow the coolant to drain, and then plug
the male and female fittings.
- Place absorbent material underneath the superbottle hose fittings to avoid coolant on the steering gear connections.
-
Release the spring clip, disconnect
the radiator outlet hose from the superbottle, plug the male and fittings, and then
remove the radiator hose from the vehicle.
Install
-
Remove the hose plugs, connect a new
radiator outlet hose to the superbottle, and then install the spring clip.
-
Remove the hose plugs, connect the
radiator outlet hose to the radiator, and then install the spring clip.
NotePerform a push-pull-push test to make sure hose is fully seated.
-
Install the clips (x2) that attach the radiator outlet hose to the RH side of the
vehicle.
- Remove the fluid catcher from underneath the vehicle.
- Install the front aero shield panel. See Panel - Aero Shield - Front (Remove and Replace).
- Lower the vehicle fully.
-
Remove the superbottle cap.
-
Inspect the coolant level and top off as necessary.
NoteMake sure that the fluid level is 5mm above the "Max" line.
- Connect 12V power. See 12V/LV Power (Disconnect and Connect).
- Connect a laptop with Toolbox 3 to the vehicle.
- In Toolbox, click the Actions/Autodiag tab, and then search for "Purge".
-
Click
TEST_VCFRONT_X_THERMAL-COOLANT-AIR-PURGEvia Toolbox: (link)via Service Mode:
- Thermal ➜ Actions ➜ Coolant Purge Stop or Coolant Purge Start
- Thermal ➜ Coolant System ➜ Coolant Purge Start
- Drive Inverter ➜ Front Drive Inverter Replacement ➜ Coolant Air Purge
- Drive Inverter ➜ Rear Drive Inverter Replacement ➜ Coolant Air Purge
- Drive Inverter ➜ Rear Left Drive Inverter Replacement ➜ Coolant Air Purge
- Drive Inverter ➜ Rear Right Drive Inverter Replacement ➜ Coolant Air Purge
- Drive Unit ➜ Front Drive Unit Replacement ➜ Coolant Air Purge
- Drive Unit ➜ Rear Drive Unit Replacement ➜ Coolant Air Purge
- Disconnect Toolbox and remove the laptop from the vehicle.
-
Inspect the coolant level and top off
as necessary.
NoteMake sure that the fluid level is 5mm above the "Max" line.
- Install the superbottle cap.
- Install the underhood storage unit. See Underhood Storage Unit (Remove and Replace).
- Install the rear underhood apron. See Underhood Apron - Rear (Remove and Replace).
- Install the 2nd row lower seat cushion. See Seat Cushion - Lower - 2nd Row (Remove and Replace).
- Move the front seats to the original positions.
- Raise all the windows and close all the doors.