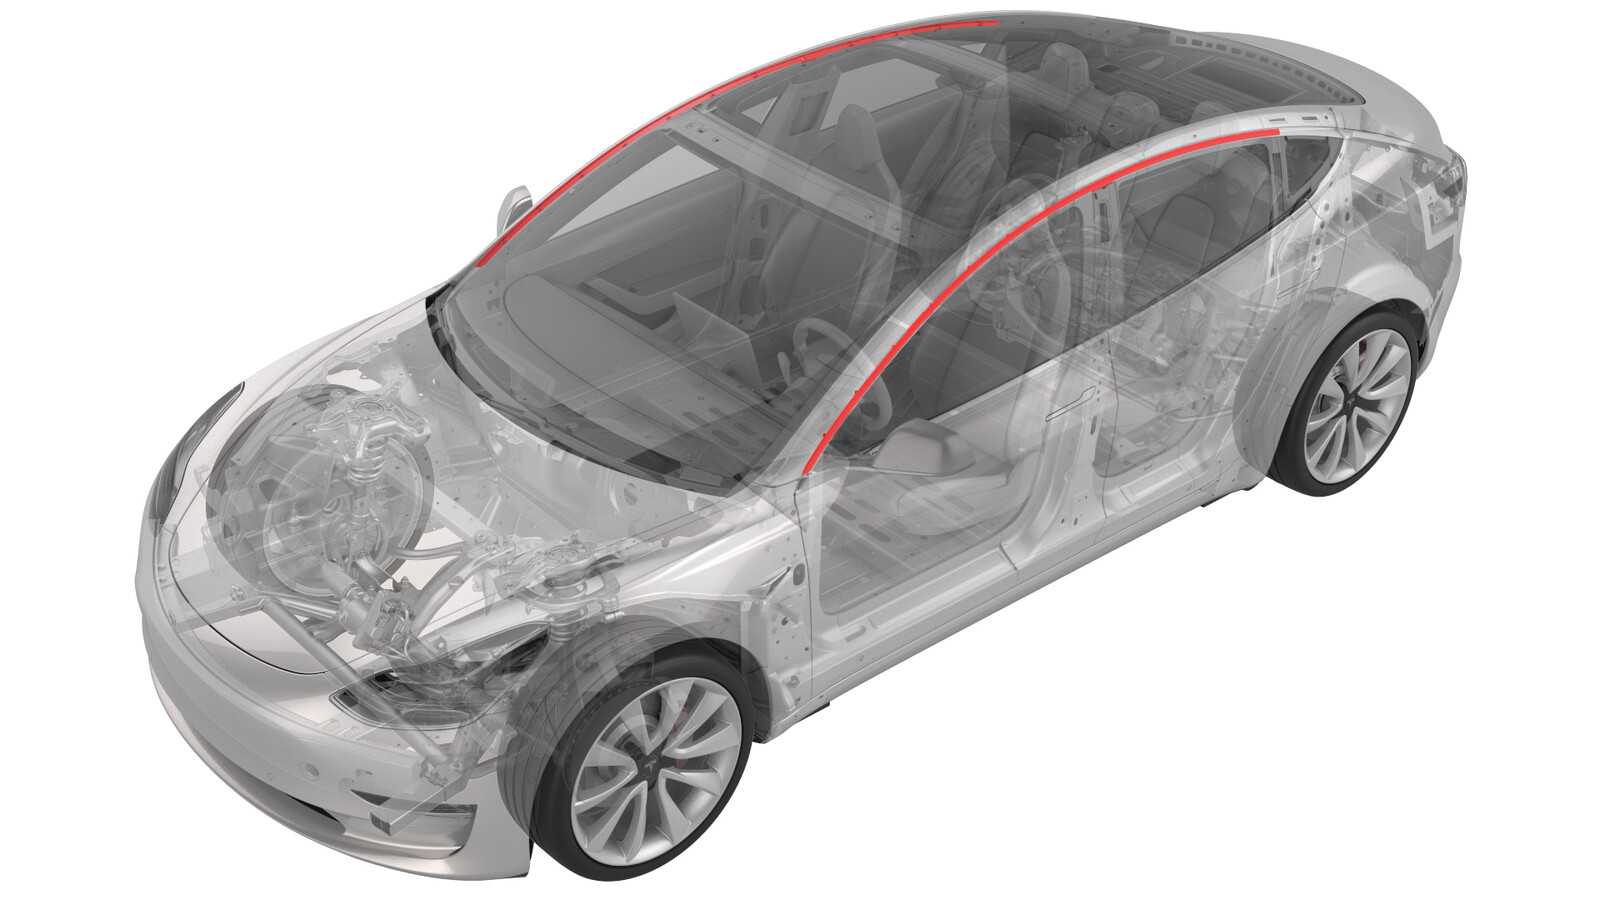
Brightwork - Upper - LH (Remove and Replace)
 Correction code
12200302
0.36
NOTE: Unless otherwise explicitly
stated in the procedure, the above correction code and FRT reflect all of the work
required to perform this procedure, including the linked procedures. Do not stack correction codes unless
explicitly told to do so.
NOTE: See Flat Rate
Times to learn more about FRTs and how they are created.
NOTE: See Personal Protection to make sure wearing proper PPE when
performing the below procedure. NOTE: See Ergonomic Precautions for safe and healthy working
practices.
Correction code
12200302
0.36
NOTE: Unless otherwise explicitly
stated in the procedure, the above correction code and FRT reflect all of the work
required to perform this procedure, including the linked procedures. Do not stack correction codes unless
explicitly told to do so.
NOTE: See Flat Rate
Times to learn more about FRTs and how they are created.
NOTE: See Personal Protection to make sure wearing proper PPE when
performing the below procedure. NOTE: See Ergonomic Precautions for safe and healthy working
practices.
Torque Specifications
| Description | Torque Value | Recommended Tools | Reuse/Replace | Notes |
|---|---|---|---|---|
| Screws that attach the brightwork to the body |
 1 Nm (.7 lbs-ft) |
|
Reuse | |
| Grommets | Replace | 1106827-00-C |
Remove
- Open the LH doors.
-
Pull down to release the
front and rear primary body seals from the LH upper brightwork.
NoteIt is not necessary to release the seals from the top of the B-pillar applique.
-
Remove the push rivet and
the screws (x10) that attach the LH upper brightwork to the body, and then
carefully remove the brightwork from the vehicle.
NoteWork from the front to the rear.CAUTIONUse an assistant to help remove the brightwork from the rear quarter glass, so as to minimize damage to the paint and trim.TIpUse of the following tool(s) is recommended:
- Torx T20 socket
-
Remove and discard the
grommets (x10) from the body.
Install
- Wipe where the grommets will install with an IPA wipe.
-
Install new grommets (x10)
into the body where the LH upper brightwork will install.
NoteThe number of grommets (1106827-00-C ) on newer vehicles may vary.
- Press the seals into the body at the B-pillar corners.
- With assistance, carefully install the LH upper brightwork into the rear quarter glass.
-
Install the LH upper
brightwork to the body, and then install the screws (x10) and push rivet
that attach the brightwork to the body.1 Nm (.7 lbs-ft)TIpUse of the following tool(s) is recommended:
- Torx T20 socket
NoteWork from the rear to the front. -
Press up to fasten the rear
and front primary body seals onto the LH upper brightwork.
NoteWork from the rear corner of each seal forward, and make sure that the seal fully engages the brightwork. When installed correctly, the seal edge is not visible.
-
Work each seal around the
opening so as to evenly distribute it.
NoteMake sure to push the seal into each corner.
- Close the LH doors.