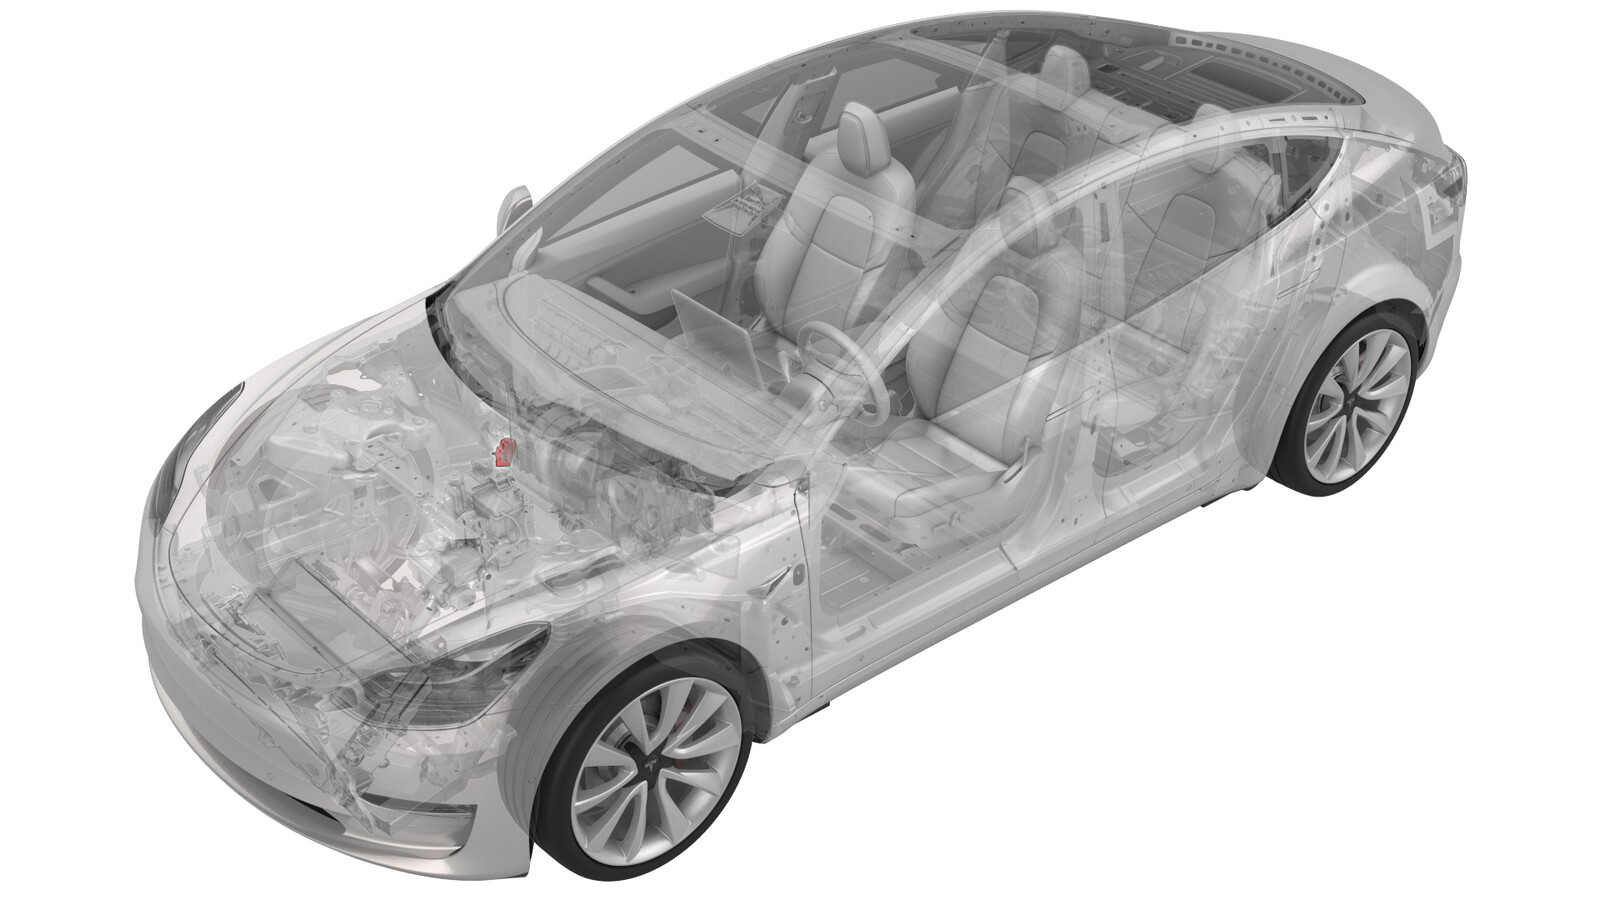
TXV Valve - Evaporator (Non-Heat Pump)(Remove and Replace)
 Correction code
18205002
0.48
NOTE: Unless otherwise explicitly
stated in the procedure, the above correction code and FRT reflect all of the work
required to perform this procedure, including the linked procedures. Do not stack correction codes unless
explicitly told to do so.
NOTE: See Flat Rate
Times to learn more about FRTs and how they are created.
NOTE: See Personal Protection to make sure wearing proper PPE when
performing the below procedure. NOTE: See Ergonomic Precautions for safe and healthy working
practices.
Correction code
18205002
0.48
NOTE: Unless otherwise explicitly
stated in the procedure, the above correction code and FRT reflect all of the work
required to perform this procedure, including the linked procedures. Do not stack correction codes unless
explicitly told to do so.
NOTE: See Flat Rate
Times to learn more about FRTs and how they are created.
NOTE: See Personal Protection to make sure wearing proper PPE when
performing the below procedure. NOTE: See Ergonomic Precautions for safe and healthy working
practices.
- 2025-04-10: Added Note to separately adding correction code 18200102 for refrigerant recovery/recharge and updated step related to running ODIN routine for thermal performance test.
Remove
- Disconnect 12V power. See 12V/LV Power (Disconnect and Connect).
- Remove the underhood storage unit. See Underhood Storage Unit (Remove and Replace).
-
Recover the A/C refrigerant. See A/C Refrigerant (Recovery and Recharge).
NoteThe following steps can be performed while the refrigerant is recovered.
- Remove the inner HVAC plenum duct. See Duct - HVAC Plenum - Inner (Remove and Replace).
- Remove the cover for the 12V positive terminal.
-
Loosen the nut that attaches
the positive terminal to the battery, and then remove the positive terminal
from the battery.
-
Release the clip that attaches the suction/liquid lines to the electrical harness near the TXV.
-
Disconnect the electrical harness from the TXV valve connector.
-
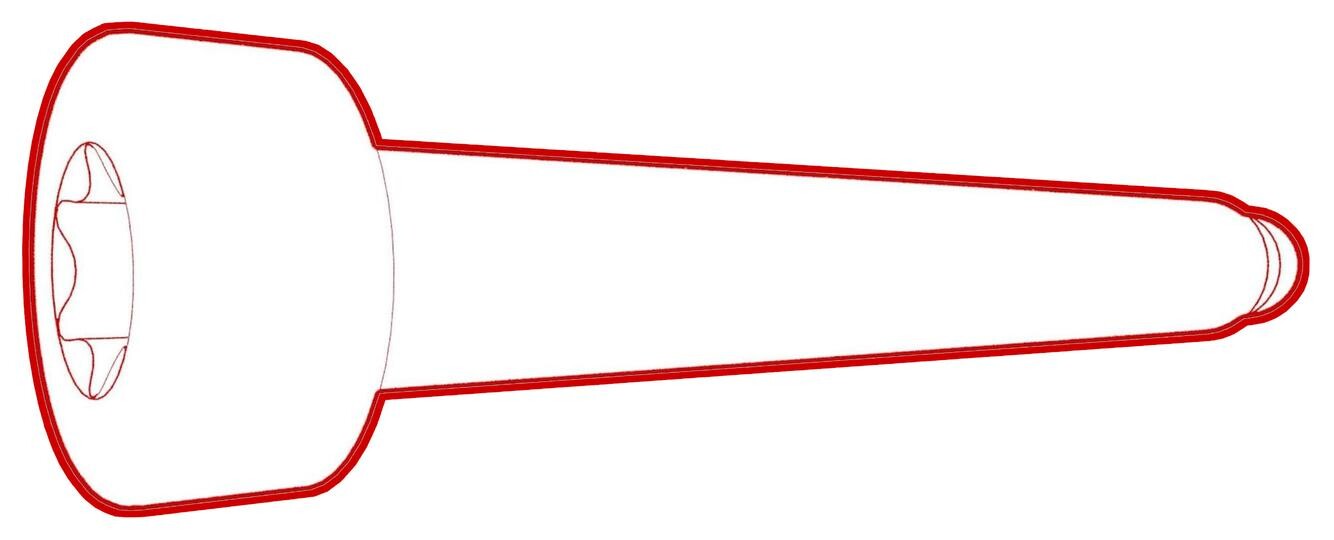
After the refrigerant has been fully recovered, remove the nut that attaches the suction/liquid lines fitting to the TXV valve, and then remove the fitting from the TXV valve.
- Remove and discard the o-rings (x2) from the suction/liquid lines fitting.
-
Remove the bolts that attach the TXV valve to the HVAC module, and then remove the TXV valve from the HVAC module.
- Remove and discard the o-rings (x2) from the HVAC module.
Install
- Install new o-rings (x2) onto the HVAC module.
-
Install the TXV valve onto the HVAC module, and then install the bolts that attach the TXV valve to the HVAC module.
 7.2 Nm (5.3 lbs-ft)
 - Install new o-rings (x2) onto the suction/liquid lines fitting.
-
Install the suction/liquid lines fitting into the TXV valve, and then install the nut that attaches the suction/liquid lines fitting to the TXV valve.
 22 Nm (16.2 lbs-ft)
 - Perform the A/C refrigerant recharge concurrently with the remainder of this procedure. See A/C Refrigerant (Recovery and Recharge).
-
Connect the electrical harness to the TXV valve connector.
-
Fasten the clip that attaches the suction/liquid lines to the electrical harness near the TXV.
-
Install the positive
terminal onto the battery, and tighten the nut that attaches the positive
terminal to the battery.
 6 Nm (4.4 lbs-ft)
 - Install the cover for the 12V positive terminal.
- Install the inner HVAC plenum duct. See Duct - HVAC Plenum - Inner (Remove and Replace).
-
Connect 12V power. See 12V/LV Power (Disconnect and Connect).
NoteDo not install the rear apron at this time.
- After the A/C refrigerant recharge has fully completed, verify the operation of the A/C system.
-
Perform the following
routine using Service Mode or Toolbox (see 0005 - Service Modes):
TEST-SELF_VCFRONT_X_THERMAL-PERFORMANCEvia Service Mode:Thermal ➜ Actions ➜ Test Thermal Performancevia Service Mode Plus:
- Drive Inverter ➜ Front Drive Inverter Replacement ➜ Thermal System Test
- Drive Inverter ➜ Rear Drive Inverter Replacement ➜ Thermal System Test
- Drive Inverter ➜ Rear Left Drive Inverter Replacement ➜ Thermal System Test
- Drive Inverter ➜ Rear Right Drive Inverter Replacement ➜ Thermal System Test
- Drive Unit ➜ Front Drive Unit Replacement ➜ Thermal System Test
- Drive Unit ➜ Rear Drive Unit Replacement ➜ Thermal System Test
- Install the underhood storage unit. See Underhood Storage Unit (Remove and Replace).