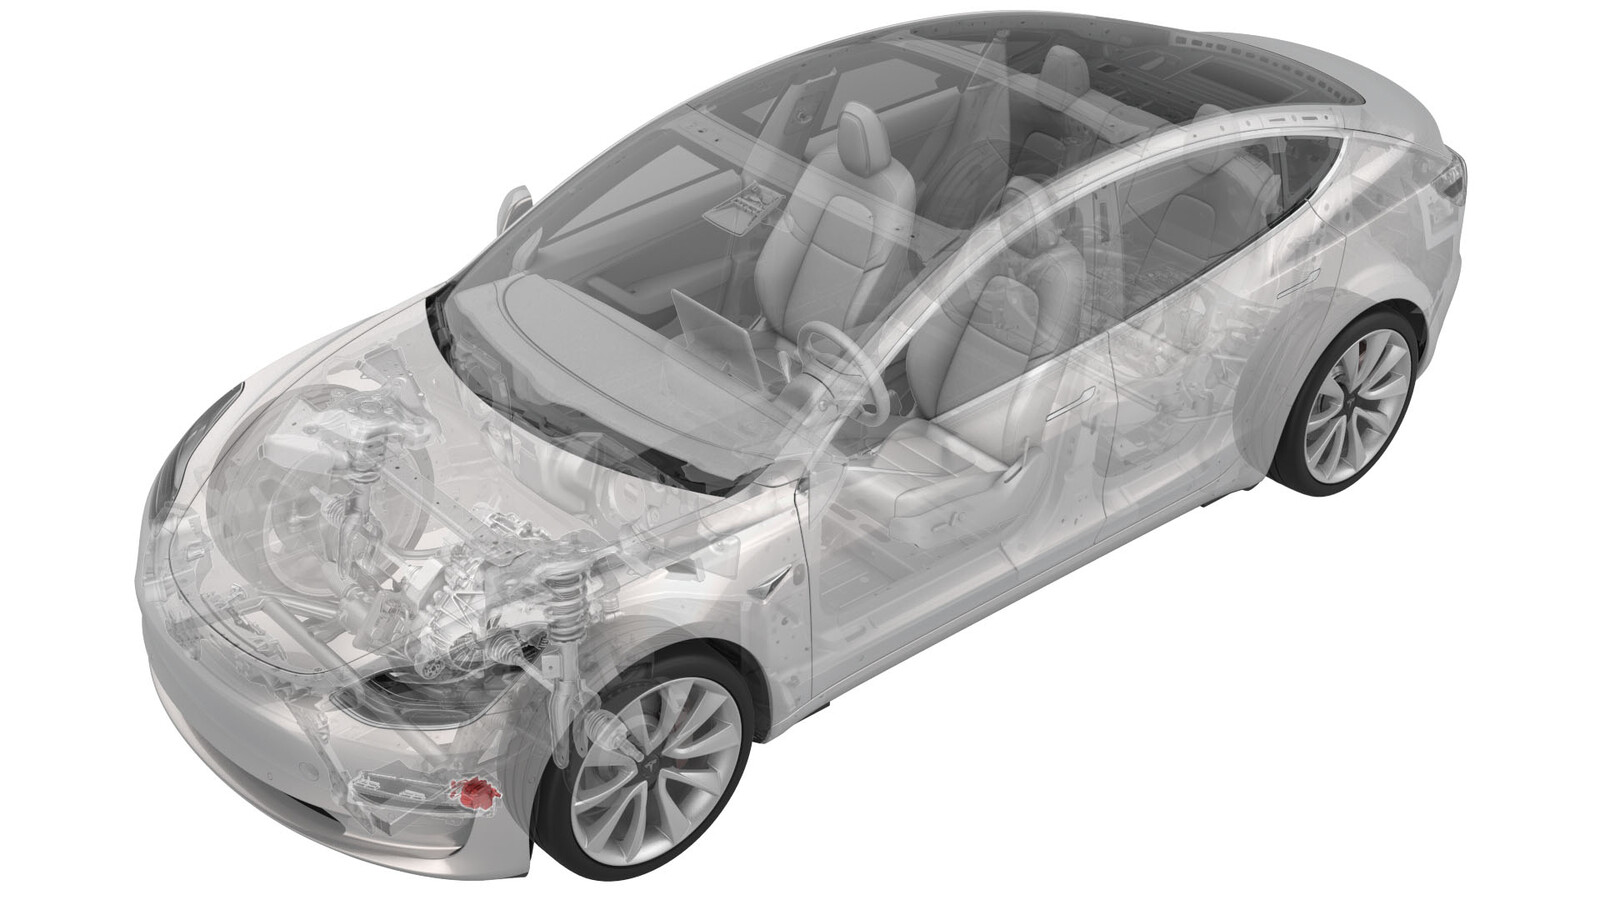
Lights - Fog - Front - Adjust (EMEA with LET Tool)
 Correction code
17400190
0.24
NOTE: Unless
otherwise explicitly stated in the procedure, the above correction code and
FRT reflect all of the work required to perform this procedure, including
the linked procedures. Do
not stack correction codes unless explicitly told to do so.
NOTE: See Flat Rate
Times to learn more about FRTs and how
they are created. To provide feedback on FRT values, email ServiceManualFeedback@tesla.com.
NOTE: See Personal Protection
to make sure wearing proper PPE when performing the below procedure.
NOTE: See Ergonomic Precautions for safe and
healthy working practices.
- 2025-08-01: Added MS, MX, MSP2 and MXP2 to procedure.
- 2025-07-25: Released new procedure.
Special tools required for this procedure:
| Supplier | Part Number | Description |
| Tesla | 1133367-00-B | LET Headlight Machine PLA |
Adjust the Fog Lights
- Park the vehicle on a level surface.
- Make sure that all tires are inflated to specification.
-
- Open the hood.
- Position the headlight aiming machine 15 cm in front of the front fascia.
-
Use the visor/laser to line
up the aiming machine perpendicular to the axis between the hood
struts.
NoteIf the headlight aiming machine can move between the LH and RH fog lights while maintaining the same laser angle projected onto the hood struts, the machine is set correctly (perpendicular) to the vehicle.
-
Remove the front clips (x3)
from the LH and RH side wheel arch liner.
Figure 1. LH side shown, RH side similar - Close the hood and turn on the fog lights.
- Cover both headlights.
- Turn on the headlight aiming machine.
-
Select the adjustment
(screwdriver) button on the headlight aiming machine, and then select the LH
fog light icon.
-
Select height to
<0.8m.
-
Move the headlight aiming
machine following the black arrows on the screen. Once the machine is
centered to the fog light, selecting the "X" button will direct you to the
adjustment screen.
-
Adjust the LH fog light in
the direction indicated on the headlight aiming machine. When values are in
spec, select the check mark.
CAUTIONTo prevent damage, apply a small amount of penetrating lubricant to the adjustment screw if the adjustment screw does not turn easily.
- Position the headlight aiming machine in front of the RH fog light.
-
Select the RH fog light icon on the headlight aiming machine.
-
Repeat steps 13 and 14 for the RH fog light.
-
When both the LH and RH fog
lights are adjusted to specification, select the check mark to see the
adjustment values.
- Turn off the headlight aiming machine.
-
Install the front clips (x3) to the LH and RH side wheel arch liner.
Figure 2. LH side shown, RH side similar