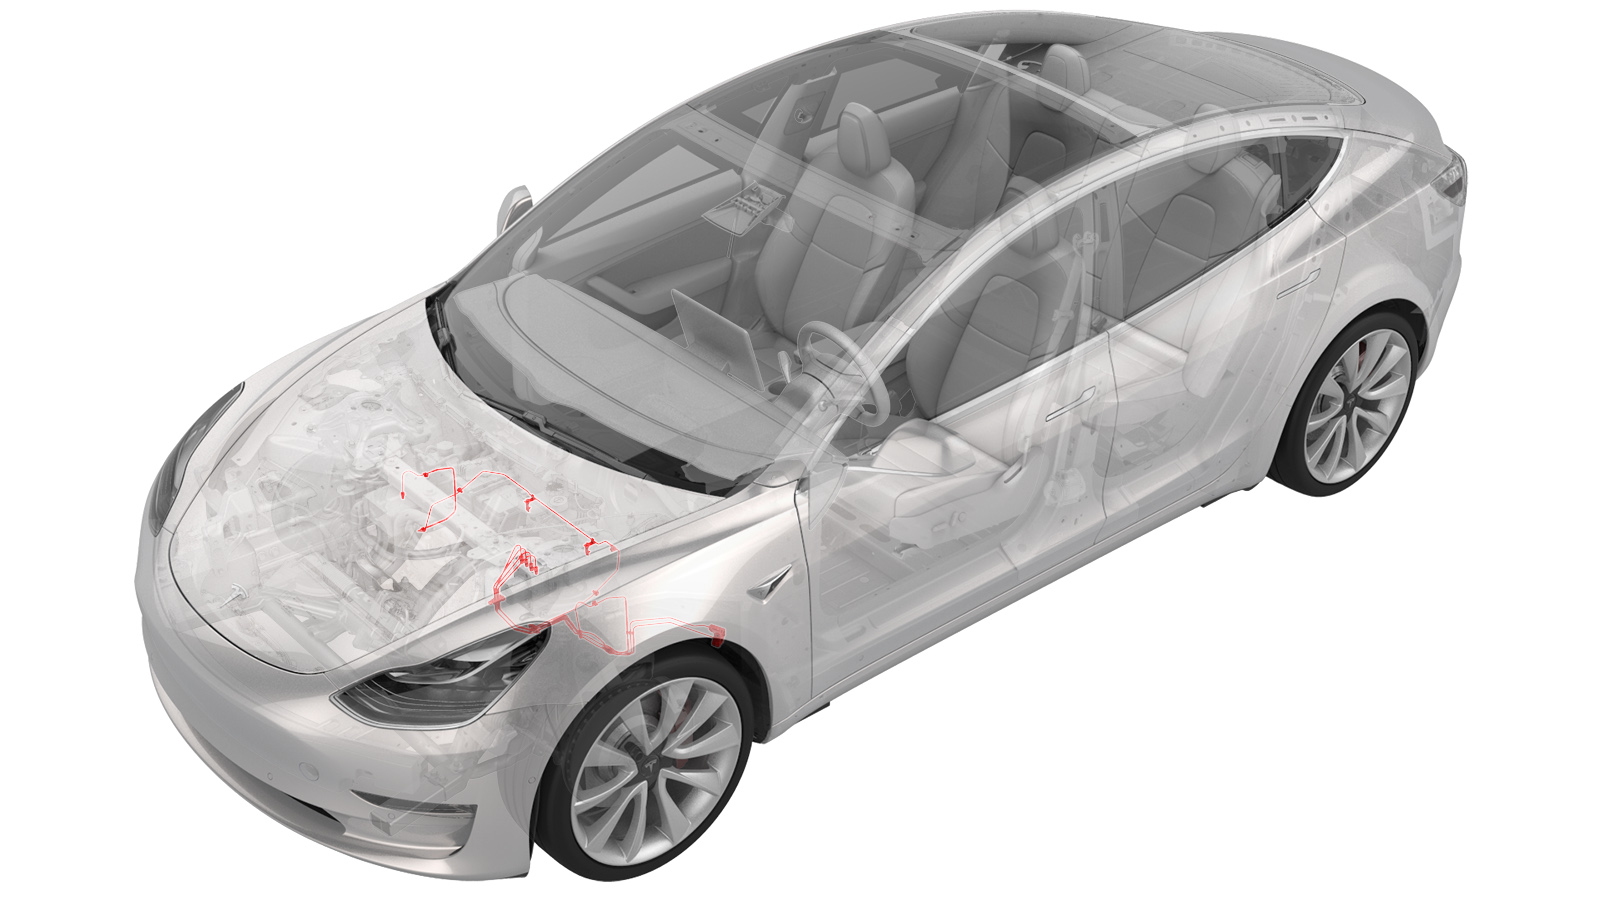
Brake Lines - 4 Tube Bundle - ABS to Wheels (RWD) (Remove and Replace)
 Correction code
33033902
2.94
NOTE: Unless otherwise explicitly
stated in the procedure, the above correction code and FRT reflect all of the work
required to perform this procedure, including the linked procedures. Do not stack correction codes unless
explicitly told to do so.
NOTE: See Flat Rate
Times to learn more about FRTs and how they are created.
NOTE: See Personal Protection to make sure wearing proper PPE when
performing the below procedure. NOTE: See Ergonomic Precautions for safe and healthy working
practices.
Correction code
33033902
2.94
NOTE: Unless otherwise explicitly
stated in the procedure, the above correction code and FRT reflect all of the work
required to perform this procedure, including the linked procedures. Do not stack correction codes unless
explicitly told to do so.
NOTE: See Flat Rate
Times to learn more about FRTs and how they are created.
NOTE: See Personal Protection to make sure wearing proper PPE when
performing the below procedure. NOTE: See Ergonomic Precautions for safe and healthy working
practices.
- 2023-06-29: Added "RWD" to title of procedure since there is a relevant difference in the procedure for DM variants.
Equipment:
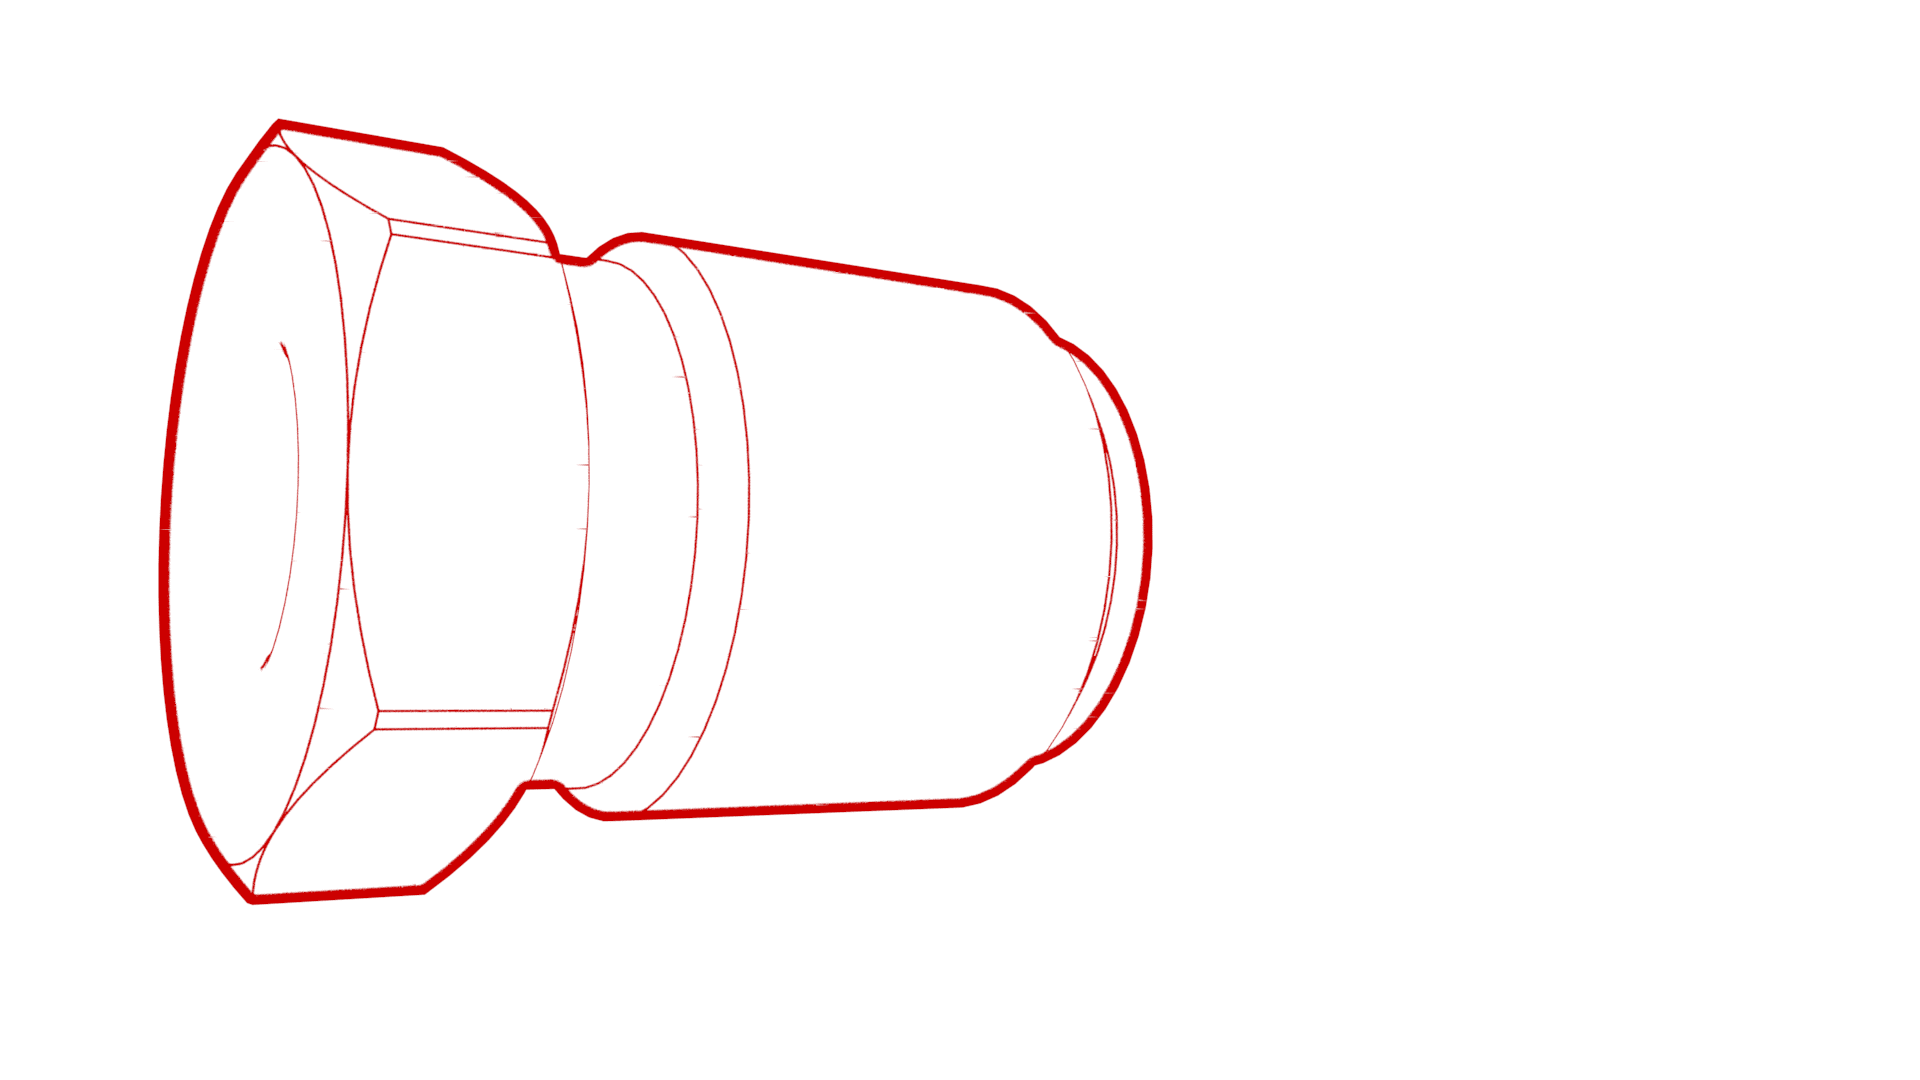
- 1079041-00-A Flare nut crowfoot set
Remove
-
CAUTION
Brake fluid dissolves paint. Have clean towels and plenty of water standing by to wash spilled brake fluid off painted surfaces.
NoteDispose of used brake fluid in a manner consistent with local environmental codes.
- Disconnect 12V power. See 12V/LV Power (Disconnect and Connect).
- Remove LH and RH front wheel arch liners. See Wheel Arch Liner - Front - LH (Remove and Replace).
- Remove the front HV battery skid plate. See Skid Plate - HV Battery - Front (Remove and Replace).
-
Release the clips that attach the electrical harness to the LH frame rail.
- Remove the 12V auxiliary battery. See 12V/LV Battery (Remove and Replace).
-
Disconnect the electrical harness from the ABS unit connector.
-
Release the clips (x5) that attach the LH front electrical harness to the LH front frame rail.
NoteDepending on build date, the vehicle may only have (x3) clips.
-
Remove and discard the bolts (x4) that attach the LH front electrical harness ground straps to the LH shock tower, and then move the electrical harness aside.
NoteDepending on build date, the vehicle may only have (x3) bolts.
- Position the oil drain under the ABS unit.
-
Remove the brake line tube nuts from the ABS unit, and allow the fluid to drain.
-
Release the clips that attach the brake lines to the front body.
-
Release the clips that attach the thermal beam hose to the body.
- Position the oil drain under the front brake line junction block.
-
Remove the brake line tube nuts from the junction block, and allow the fluid to drain.
-
Remove the nut that attaches the front junction block to the body.
-
Remove the junction block and lines from the vehicle.
NoteMove the lines forward, then to the LH side, and out through the LH wheel well.
- Position the oil drain under the front LH brake hose.
-
Remove the brake line tube nut from the brake hose at the jounce hose bracket, and allow the fluid to drain.
-
Remove the brake line from the vehicle.
NoteMove the line forward, then to the LH side, and out through the LH wheel well.
- Position the oil drain under the front RH brake hose.
-
Remove the brake line tube nut from the brake hose at the jounce hose bracket, and allow the fluid to drain.
-
Remove the brake line from the vehicle.
NoteMove the line forward, then to the RH side, and out through the subframe.
Install
- Remove the oil drain.
- Separate the front LH and front RH brake lines from the new bundle.
-
Install the RH front brake line into the vehicle.
NoteMove the RH front brake line in through the subframe from the RH side, then to the LH side, and then backward.
-
Insert the brake line into the brake hose at the jounce hose bracket, and then use a crowfoot extension to install the brake line tube nut into the brake hose.
 23 Nm (17.0 lbs-ft)
 -
Install the LH front brake line into the vehicle.
NoteMove the LH front brake line in through the LH wheel well, then to the RH side, and then backward.
-
Insert the brake line into the brake hose at the jounce hose bracket, and then use a crowfoot extension to install the brake line tube nut into the brake hose.
23 Nm (17.0 lbs-ft)
-
Install the front junction block and lines into the vehicle.
NoteMove the lines in through the LH wheel well, then to the RH side, and then backward.
-
Install the front junction block to the body, and then install the nut that attaches the junction block to the body.
 7 Nm (5.2 lbs-ft)
 -
Insert the LH sill brake lines into the front junction block, and then use a crowfoot extension to install the brake line tube nuts into the junction block.
23 Nm (17.0 lbs-ft)
-
Fasten the clips that attach the thermal beam hose to the body.
-
Fasten the clips that attach the brake lines to the front body.
-
Insert the brake lines into the ABS unit, and then use a crowfoot extension to install the brake line tube nuts into the ABS unit.
16 Nm (11.8 lbs-ft)
-
Move the LH front electrical harness back to the LH front shock tower, and then install the new bolts (x5) to attach the electrical harness ground straps to the shock tower.
 8 Nm (5.9 lbs-ft)NoteDepending on build date, the vehicle may only have (x4) bolts.
 -
Fasten the clips (x5) that attach the LH front electrical harness to the LH front frame rail.
NoteDepending on build date, the vehicle may only have (x3) clips.
-
Connect the electrical harness to the ABS unit connector.
- Install the 12V auxiliary battery. See 12V/LV Battery (Remove and Replace).
-
Fasten the clips that attach the electrical harness to the LH frame rail.
- Install the front HV battery skid plate. See Skid Plate - HV Battery - Front (Remove and Replace).
- Install LH and RH front wheel arch liners. See Wheel Arch Liner - Front - LH (Remove and Replace).
- Connect 12V power. See 12V/LV Power (Disconnect and Connect).
- Bleed the braking system. See Brake Fluid Bleed/Flush.