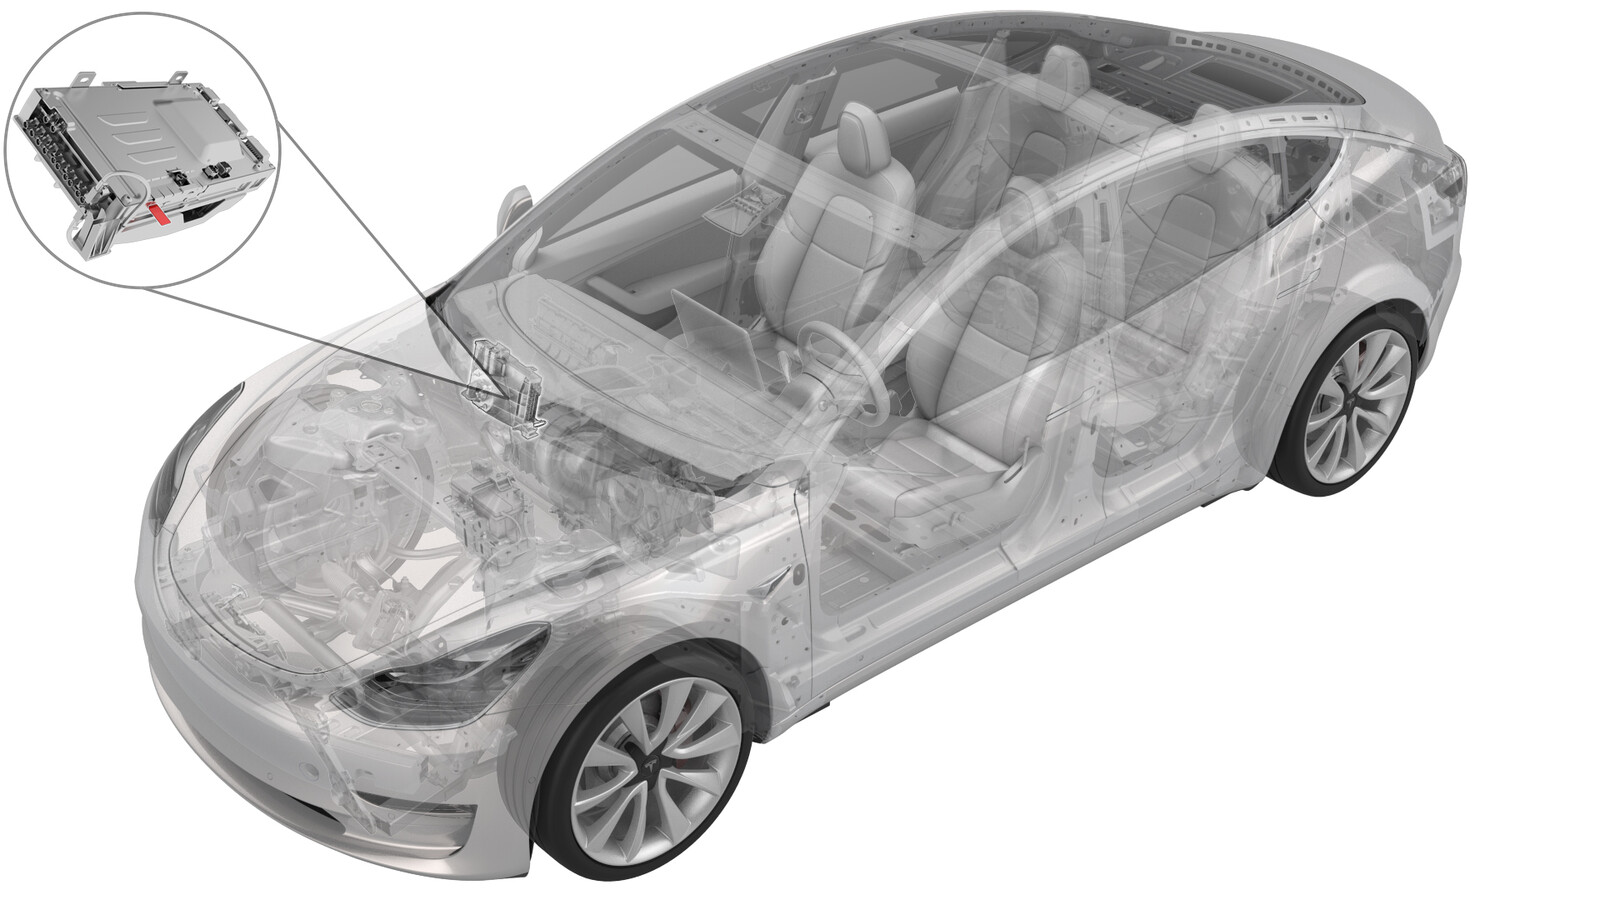
SIM Card - Car Computer (eCall) (Remove and Replace)
 Correction code
21152202
0.30
NOTE: Unless otherwise explicitly
stated in the procedure, the above correction code and FRT reflect all of the work
required to perform this procedure, including the linked procedures. Do not stack correction codes unless
explicitly told to do so.
NOTE: See Flat Rate
Times to learn more about FRTs and how they are created. To provide feedback on
FRT values, email ServiceManualFeedback@tesla.com.
NOTE: See Personal Protection to make sure wearing proper PPE when
performing the below procedure. See Ergonomic Precautions for safe and healthy working practices.
Remove
- Disconnect 12V power. See 12V/LV Power (Disconnect and Connect).
- Remove the passenger footwell cover. See Cover - Footwell - Passenger (LHD) (Remove and Replace).
-
Loosen for two revolutions the lower LH screw that attaches the car
computer to the bracket.
-
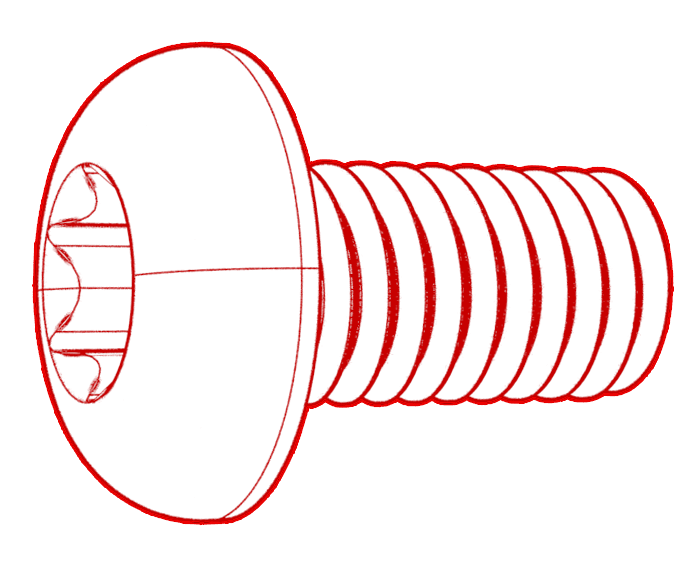
Remove and discard the screw
that attaches the EMI shield to the bottom of the car computer.
-
Lower the EMI shield.
-
Use a mirror and tweezers to move the catch to the right, and release the
SIM card from the slot in the car computer.
-
Use the tweezers to remove the SIM card from the car computer.
-
Destroy the SIM card by
cutting the card in half through the center of the gold pads, and then cut
each piece into half, resulting in 4 pieces.
CAUTIONIt is mandatory to destroy the SIM card to protect user data.
Install
-
Install the new SIM card
into the car computer slot with the notch up and the gold pads facing away
from the bulkhead.
NoteIf installing a non-Tesla SIM card, refer to Toolbox article 10088 for additional requirements. Additionally, customer must complete form SC-15-21-001.CAUTIONMake sure that the SIM card goes into the slot, before releasing your grip of the SIM card.
-
Carefully press the SIM card fully into the slot, so that the catch engages.
CAUTIONIf using a thin tool to press the SIM card in, use the tool as shown.
-
Raise the EMI shield.
-
Install a new screw to attach the EMI shield to the bottom of the car
computer.
 1 Nm (.7 lbs-ft)
 -
Tighten the lower LH screw
that attaches the car computer to the bracket.
 3.5 Nm (2.6 lbs-ft)
 - Install the passenger footwell cover. See Cover - Footwell - Passenger (LHD) (Remove and Replace).
- Connect 12V power. See 12V/LV Power (Disconnect and Connect).