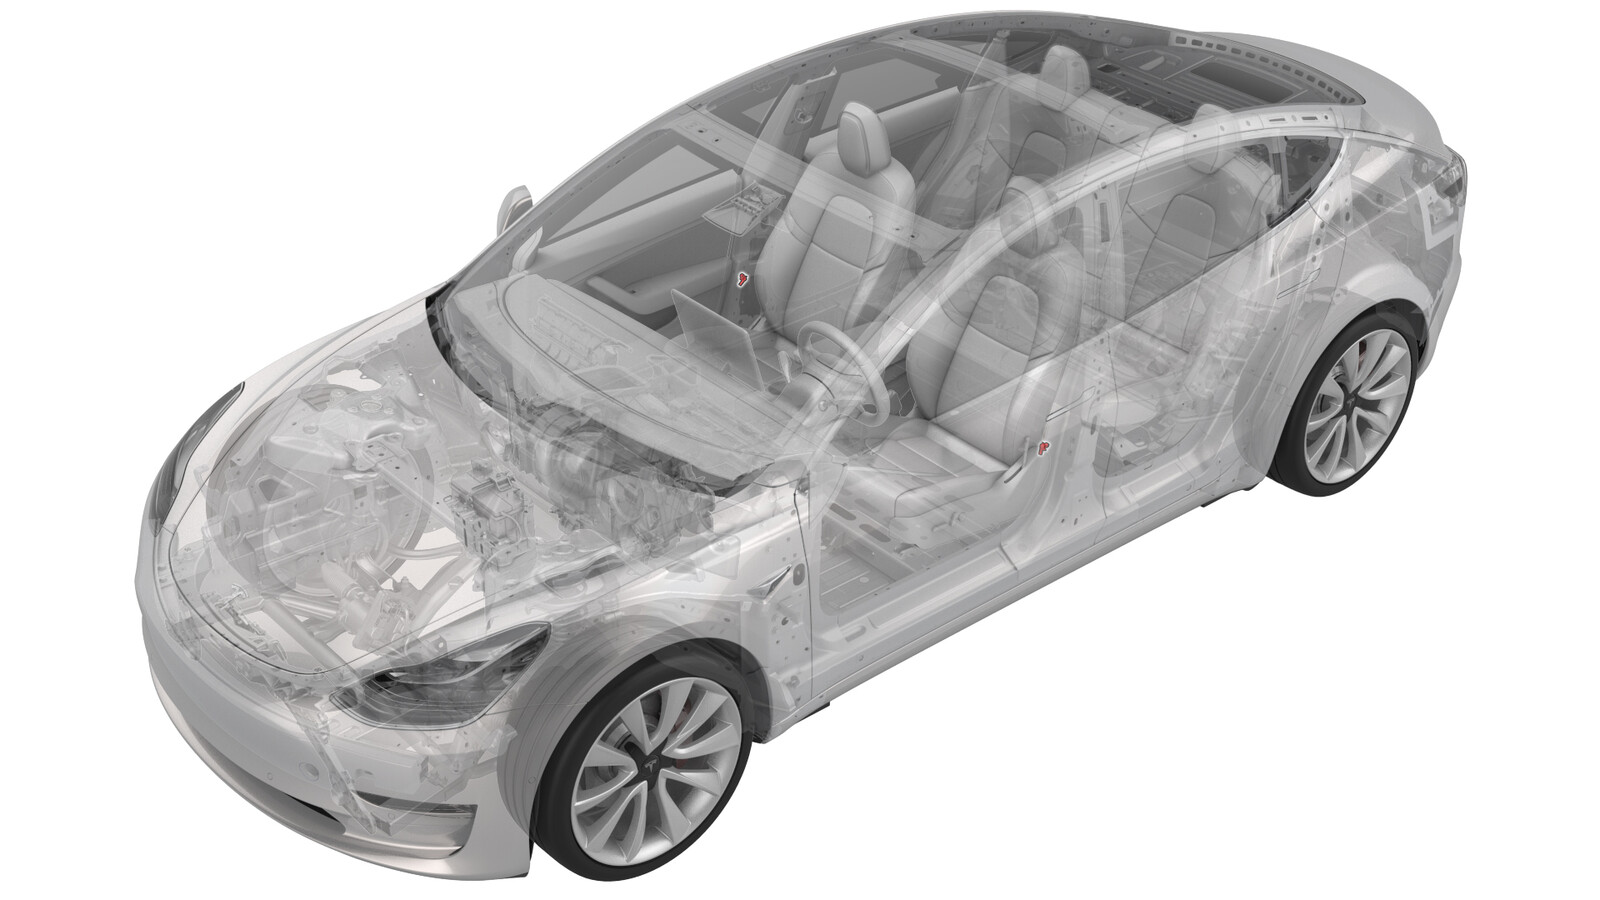
Sensor - Impact Accelerometer - B-Pillar - LH (Remove and Replace)
 Correction code
20200502
0.24
NOTE: Unless otherwise explicitly
stated in the procedure, the above correction code and FRT reflect all of the work
required to perform this procedure, including the linked procedures. Do not stack correction codes unless
explicitly told to do so.
NOTE: See Flat Rate
Times to learn more about FRTs and how they are created.
NOTE: See Personal Protection to make sure wearing proper PPE when
performing the below procedure. NOTE: See Ergonomic Precautions for safe and healthy working
practices.
Correction code
20200502
0.24
NOTE: Unless otherwise explicitly
stated in the procedure, the above correction code and FRT reflect all of the work
required to perform this procedure, including the linked procedures. Do not stack correction codes unless
explicitly told to do so.
NOTE: See Flat Rate
Times to learn more about FRTs and how they are created.
NOTE: See Personal Protection to make sure wearing proper PPE when
performing the below procedure. NOTE: See Ergonomic Precautions for safe and healthy working
practices.
Torque Specifications
| Description | Torque Value | Recommended Tools | Reuse/Replace | Notes |
|---|---|---|---|---|
| Bolt that attaches B-Pillar accelerometer to vehicle body |
 8 Nm (5.9 lbs-ft) |
|
Reuse |
Remove
- Open and latch the LH front and rear doors.
- Fully lower the LH front and rear windows.
- Remove the LH instrument panel end cap. See End Cap - Instrument Panel - LH (Remove and Replace).
- Remove the LH middle A-pillar trim. See Trim - A-Pillar - Middle - LH (Remove and Replace).
- Remove the LH lower A-pillar trim. See Trim - A-Pillar - Lower - LH (Remove and Replace).
- Move the driver seat fully forward.
- Remove the rear underhood apron. See Underhood Apron - Rear (Remove and Replace).
-
Disconnect 12V power. See 12V/LV Power (Disconnect and Connect).
CAUTIONAfter disconnecting 12V power, make sure at least 2 minutes have elapsed before disconnecting the B-Pillar accelerometer.
- Remove the LH 2nd row seat side bolster. See Bolster - Side - Seat - 2nd Row - LH (Remove and Replace).
- Remove the LH lower C-pillar trim. See GUID-DB75BFBB-980C-4767-844D-DD5FC4AEE1F0.html.
-
Release the clips that attach the LH upper B-pillar trim to the vehicle, and then set the trim aside.
NotePull the bottom of the LH upper B-pillar trim towards the inside of the vehicle to release the bottom clips, and then pull the top of the trim to release the remaining upper clips.NoteThe LH upper B-Pillar trim will still be attached to the seatbelt.
- Remove the LH lower B-pillar trim. See Trim - B-Pillar - Lower - LH (Remove and Replace).
-
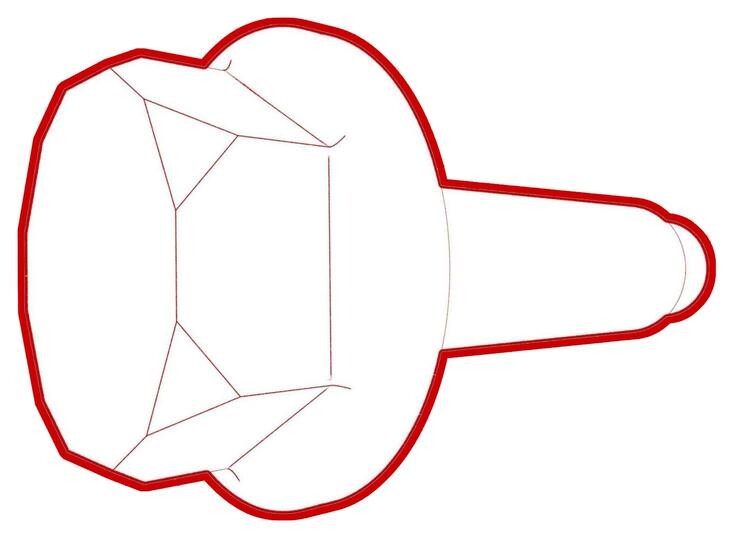
Disconnect the electrical connector from the B-pillar accelerometer.
NoteIf the connector has a red locking tab, pull the tab away from the connector, and then disconnect the connector.
-
Remove the bolt that attaches the B-pillar accelerometer to the body, and then remove the accelerometer from the vehicle.
 8 Nm (5.9 lbs-ft)TIpUse of the following tool(s) is recommended:
- 10 mm socket
- ¼ in std ratchet
Install
Installation procedure is the reverse of removal, except for the following:
- Adjust the seatbelt slider on the body-side B-Pillar so that it aligns with the seatbelt opening on the upper B-Pillar trim.
- Insert the upper edge of the upper B-Pillar trim under the headliner.
- Make sure that the upper B-Pillar trim is aligned with the lower B-Pillar trim.
- Make sure that the front and rear door seals overlap the upper B-Pillar trim.