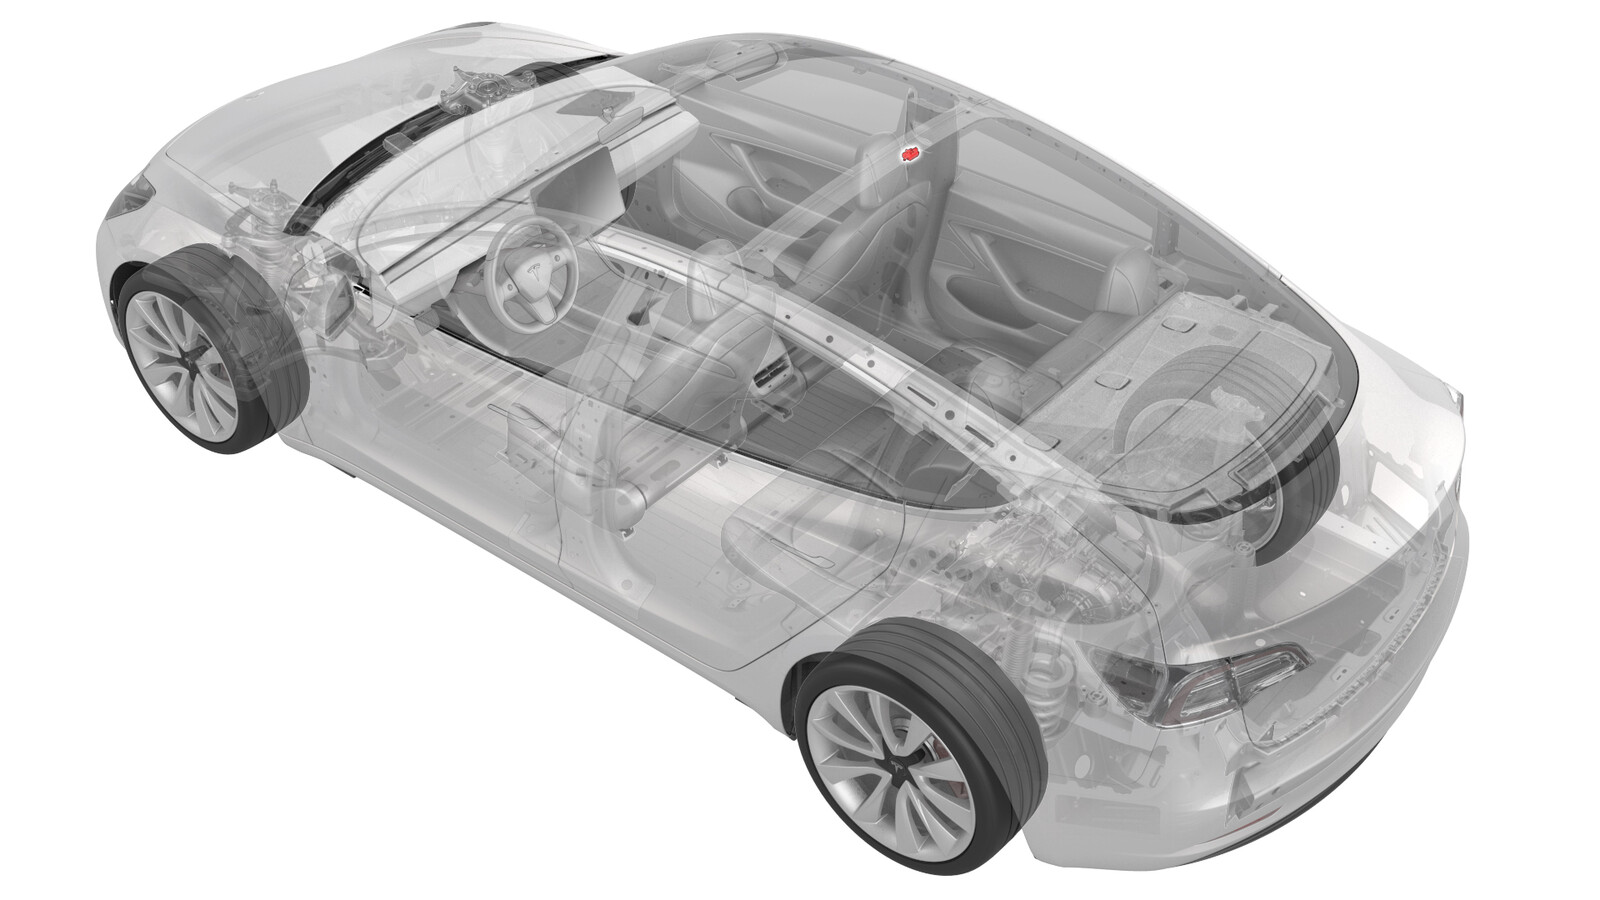
Antenna - Wi-Fi (Remove and Replace)
 Correction code
21330102
0.36
NOTE: Unless otherwise explicitly
stated in the procedure, the above correction code and FRT reflect all of the work
required to perform this procedure, including the linked procedures. Do not stack correction codes unless
explicitly told to do so.
NOTE: See Flat Rate
Times to learn more about FRTs and how they are created. To provide feedback on
FRT values, email ServiceManualFeedback@tesla.com.
NOTE: See Personal Protection to make sure wearing proper PPE when
performing the below procedure. See Ergonomic Precautions for safe and healthy working practices.
Remove
- Remove the LH and RH side rail trims. See Trim - Side Rail - LH (Remove and Install).
-
Open the LH and RH hook covers, and then release the clips that attach the screw covers to the LH and RH coat hooks.
-
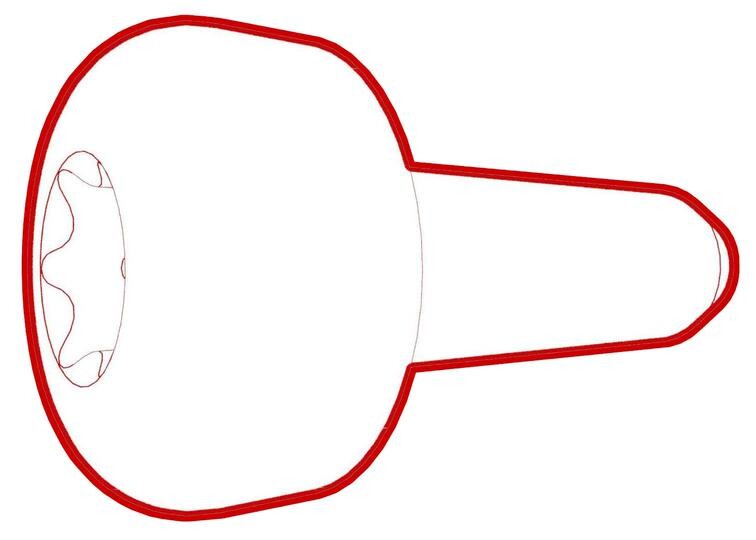
Remove the screws that attach the LH and RH rear coat hooks to the vehicle.
 2.5 Nm (1.8 lbs-ft)
 -
Release the clips that attach the LH and RH upper B-pillar trims to the vehicle, and then set the B-pillar trims aside. See Trim - B-Pillar - Upper - LH (Remove and Replace).
NoteIt is not necessary to completely remove the upper B-pillar trims from the vehicle. While still attached to the seatbelt, set the trim aside.
-
Release the clips (4x) that attach the rear end of the headliner to the vehicle, and then insert up a rolled up rag between the headliner and body for additional clearance.
CAUTIONTake care not to bend the headliner.
-
Disconnect the electrical connector from the Wi-Fi antenna.
-
Release the clips that attach the Wi-Fi antenna to the body, and then remove the antenna from the vehicle.
Install
Installation procedure is the reverse of removal.