Paint Protection Film - Rocker Panels (Retrofit)
 Correction code
12052006
0.24
NOTE: Unless otherwise explicitly
stated in the procedure, the above correction code and FRT reflect all of the work
required to perform this procedure, including the linked procedures. Do not stack correction codes unless
explicitly told to do so.
NOTE: See Flat Rate
Times to learn more about FRTs and how they are created.
NOTE: See Personal Protection to make sure wearing proper PPE when
performing the below procedure. NOTE: See Ergonomic Precautions for safe and healthy working
practices.
Correction code
12052006
0.24
NOTE: Unless otherwise explicitly
stated in the procedure, the above correction code and FRT reflect all of the work
required to perform this procedure, including the linked procedures. Do not stack correction codes unless
explicitly told to do so.
NOTE: See Flat Rate
Times to learn more about FRTs and how they are created.
NOTE: See Personal Protection to make sure wearing proper PPE when
performing the below procedure. NOTE: See Ergonomic Precautions for safe and healthy working
practices.
Procedure
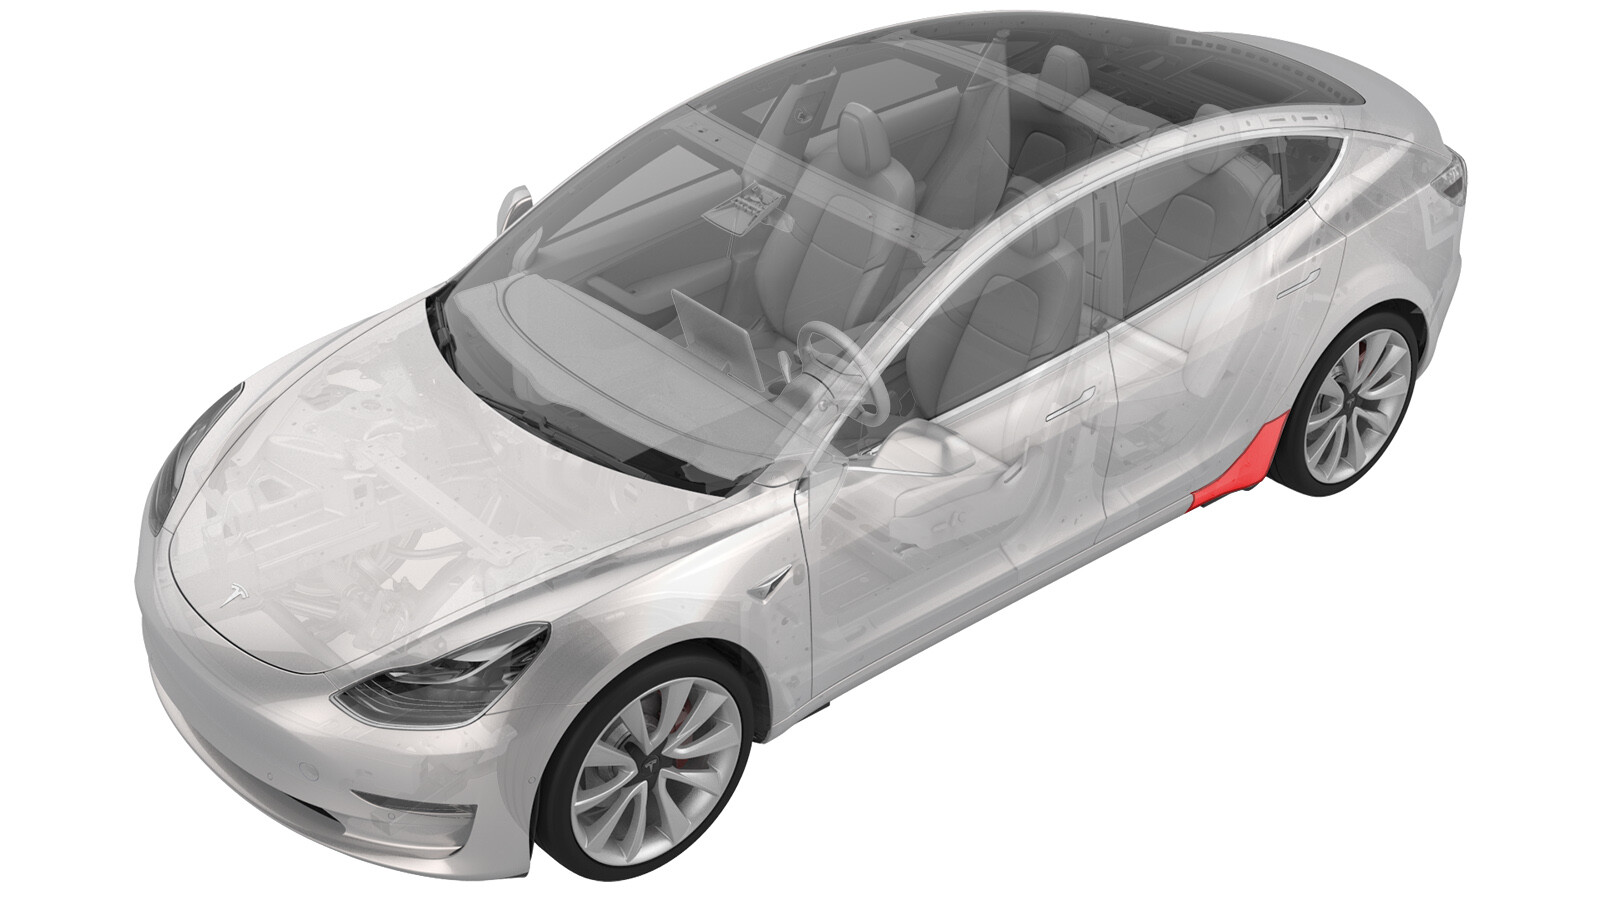
Review the following Cautions prior to installing the Paint Protection Film Kit to avoid premature wear or peeling:
- Clean the installation areas with automotive soap and water, and then dry with a clean microfiber towel. Make sure all dirt, grease, etc. is removed.
-
Create a slip solution by mixing approximately 85% water and 15% baby shampoo in a spray bottle or suitable container. Shake the container to make sure the solution is thoroughly mixed.
- Apply liberal amounts of the slip solution to the installation area and the LH lower and LH upper film pieces.
- Release the LH lower film from the backing, applying slip solution as it is released.
-
Adhere the LH lower film to the rocker panel, aligning the bottom of the sticker with the bottom of the rocker panel and the rear of the sticker with the rear quarter panel of the vehicle.
NoteApply slip solution as necessary to maneuver the film so that it is aligned with the contours of the body and the entire film is adhered to the paint.
-
Once the film is correctly positioned, use the squeegee to remove any air bubbles between the film and paint.
- Release the LH upper film from the backing, applying slip solution as it is released.
-
Adhere the LH upper film to the quarter panel, aligning the bottom of the sticker with the top of the LH lower sticker and the rear of the sticker with the rear quarter panel of the vehicle.
NoteApply slip solution as necessary to maneuver the film so that it is aligned with the contours of the body and the entire film is adhered to the paint.
-
Once the film is correctly positioned, use the squeegee to remove any air bubbles between the film and paint.
- Perform steps 3-9 on the RH side.