Antenna - MIMO - LH (Remove and Replace)
 Correction code
21331102
0.36
NOTE: Unless otherwise explicitly
stated in the procedure, the above correction code and FRT reflect all of the work
required to perform this procedure, including the linked procedures. Do not stack correction codes unless
explicitly told to do so.
NOTE: See Flat Rate
Times to learn more about FRTs and how they are created. To provide feedback on
FRT values, email ServiceManualFeedback@tesla.com.
NOTE: See Personal Protection to make sure wearing proper PPE when
performing the below procedure. See Ergonomic Precautions for safe and healthy working practices.
Remove
-
Open all the doors and lower all the
windows.
NoteIf vehicle is being powered down, latch the rear doors to prevent accidental closure.
- Move the front seats forward.
- Remove the LH side rail assembly. See Trim - Side Rail - LH (Remove and Install).
- Push to open the LH rear coat hook.
-
Pry open the LH rear coat hook screw
cover with a small flat head screwdriver.
-
Remove the screw that attaches the LH
rear coat hook to the body.
-
Release the clips that attach the LH
upper B-pillar trim to the vehicle, and then move the upper B-pillar trim aside. See
Trim - B-Pillar - Upper - LH (Remove and Replace).
NoteDo not remove the trim from the seat belt.
- Repeat step3 through step 7 for the RH side of the vehicle.
-
Release the clips (x4) that attach the
rear of the headliner to the vehicle, and then use an air bladder to separate the rear
portion of the headliner from the vehicle.
CAUTIONBe careful not to damage headliner.
-
Release the locking tabs, and then
disconnect the LH MIMO antenna connectors (x2).
-
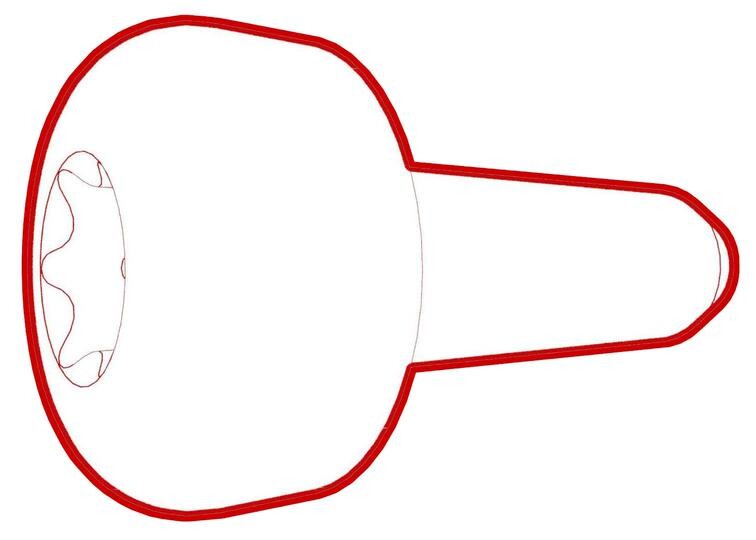
Remove the bolt that attaches the LH
MIMO antenna to the vehicle.
 10 Nm (7.4 lbs-ft)NoteThe bolt is captive in antenna housing and cannot be removed from the antenna.TIpUse of the following tool(s) is recommended:
- Torx T25 socket
-
Release the clips (x2) that attach the
LH MIMO antenna to the vehicle, and then remove the antenna from the vehicle.
Install
-
Install the LH MIMO antenna into the
vehicle.
-
Install the bolt that attaches the LH MIMO antenna to the vehicle.
 10 Nm (7.4 lbs-ft)NoteThe bolt is captive in antenna housing and cannot be removed from the antenna.TIpUse of the following tool(s) is recommended:
- Torx T25 socket
-
Connect the LH MIMO antenna connectors (x2), and then engage the locking tabs.
-
Position the rear of the headliner to
vehicle, and then secure the clips (x4) that attach the headliner to the vehicle.
NoteMake sure all the clips are fully engaged.
- Install the LH upper B-pillar trim, and then fasten the clips that attach the trim to the vehicle. See Trim - B-Pillar - Upper - LH (Remove and Replace).
-
Install the screw that attaches the LH rear coat hook to the body.
 2.5 Nm (1.8 lbs-ft)
 -
Close the LH rear coat hook screw cover.
- Close the LH rear coat hook.
- Install the LH side rail trim. See Trim - Side Rail - LH (Remove and Replace).
- Repeat step 5 through step 9 for the RH side of the vehicle.
- Move the front seats to original positions.
- Verify BT, WiFi, and LTE are functioning properly.
- Raise all the windows and close all the doors.