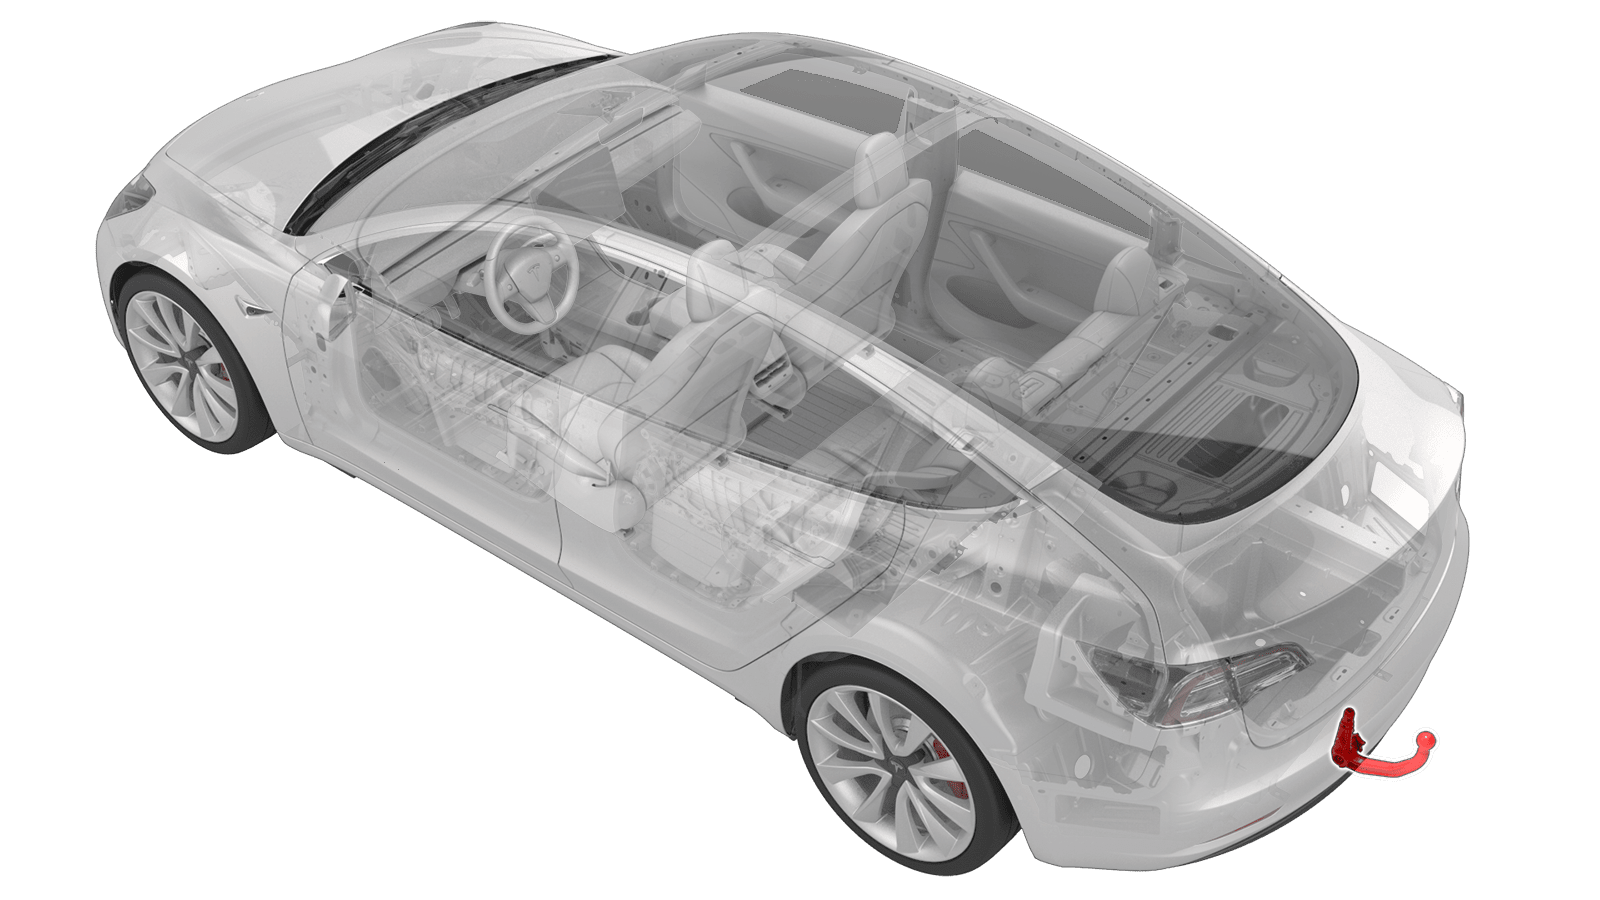
Ball Neck - Trailer Hitch (Remove and Replace)
 Correction code
12302302
0.12
NOTE: Unless otherwise explicitly
stated in the procedure, the above correction code and FRT reflect all of the work
required to perform this procedure, including the linked procedures. Do not stack correction codes unless
explicitly told to do so.
NOTE: See Flat Rate
Times to learn more about FRTs and how they are created. To provide feedback on
FRT values, email ServiceManualFeedback@tesla.com.
NOTE: See Personal Protection to make sure wearing proper PPE when
performing the below procedure. See Ergonomic Precautions for safe and healthy working practices.
- 123
Remove
-
Remove the key hole cover from the ball neck.
-
Insert the key into the locking cylinder and turn the key to align with the Unlock icon.
-
While firmly holding the bottom of the ball neck (to prevent it from dropping to the ground), pull the locking cylinder out approximately 0.5 cm, and turn it clockwise until the Lock icon shifts to the top. At this point, the locking cylinder is unlocked in the "open" position and the ball neck drops out of the trailer hitch housing.
WarningBe careful when turning the locking cylinder. If it does not lock into the "open" position, it automatically retracts into its original "closed" position and can pinch your fingers.
-
Remove the ball neck from the vehicle, and then remove the key from the locking cylinder.
Install
-
Insert the key into the locking cylinder and turn the key to align with the Unlock icon.
-
Pull the locking cylinder out approximately 0.5 cm, and turn it clockwise until the Lock icon shifts to the top. At this point, the locking cylinder is unlocked in the "open" position.
WarningBe careful when turning the locking cylinder. If it does not lock into the "open" position, it automatically retracts into its original "closed" position and can pinch your fingers.
-
Firmly grasp the ball neck from the bottom and align the top with the corresponding notches in the trailer hitch housing.
NoteDo not grasp the locking cylinder because it needs to rotate freely.
-
Push the ball neck into the trailer hitch housing until the locking cylinder quickly rotates counter-clockwise and automatically locks into the "closed" position.
-
Turn the key so the arrows align with the Lock icon on the locking cylinder, and then remove the key.
- Pull down on the ball neck to confirm that it is locked into place.
-
Insert the key hole cover onto the ball neck.