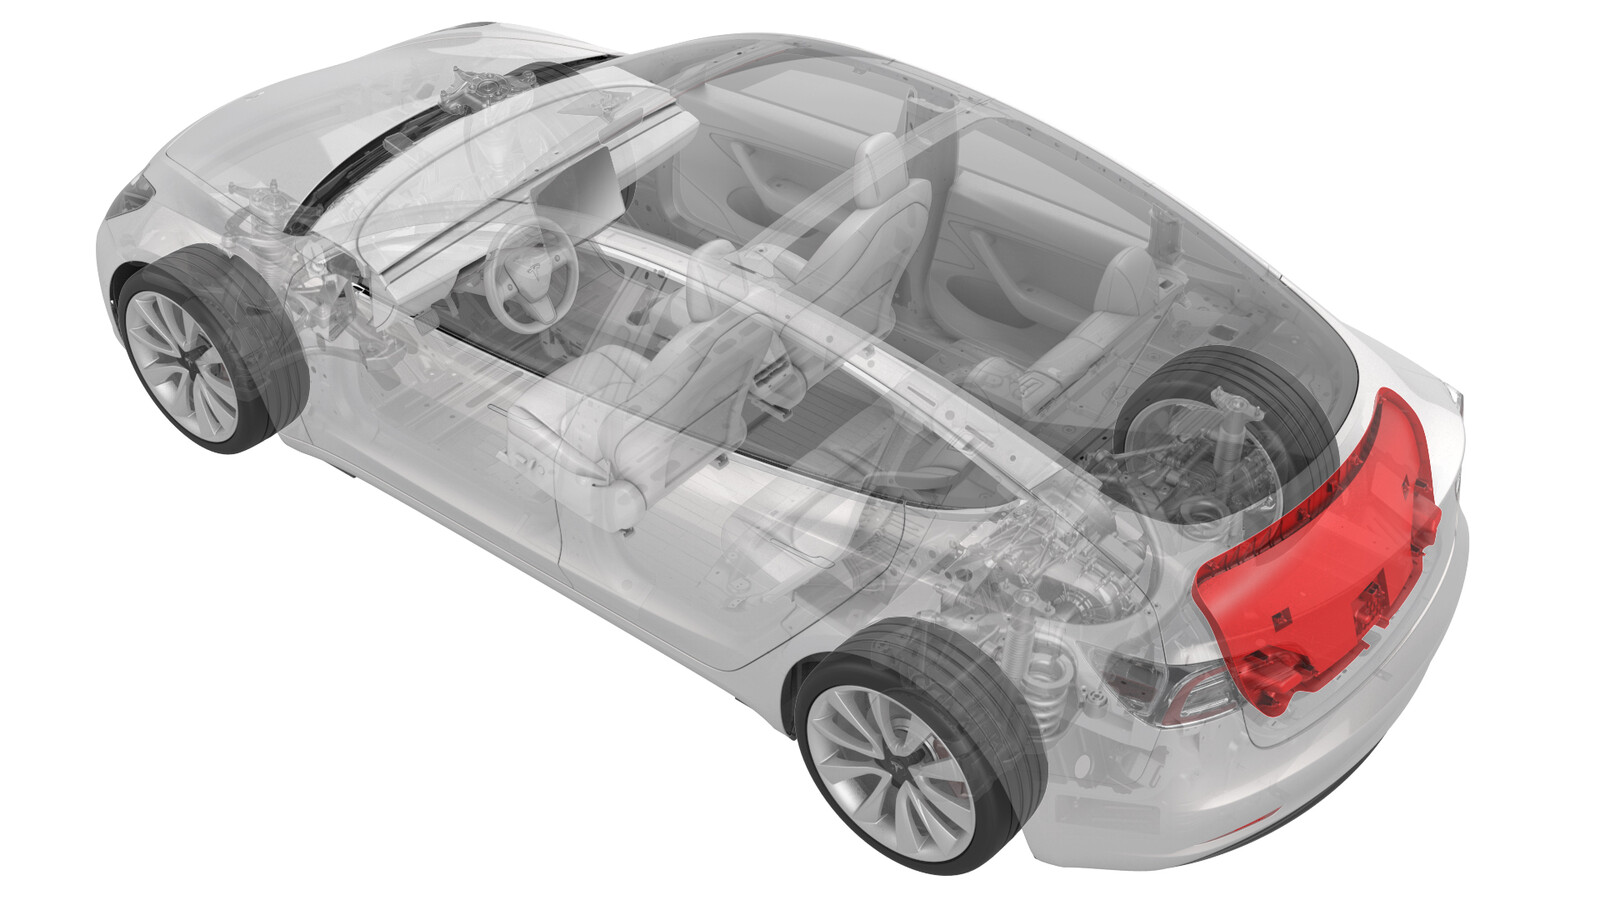
Trim - Lid - Power Trunk (Remove and Replace)
 Correction code
15110202
0.06
NOTE: Unless otherwise explicitly
stated in the procedure, the above correction code and FRT reflect all of the work
required to perform this procedure, including the linked procedures. Do not stack correction codes unless
explicitly told to do so.
NOTE: See Flat Rate
Times to learn more about FRTs and how they are created. To provide feedback on
FRT values, email ServiceManualFeedback@tesla.com.
NOTE: See Personal Protection to make sure wearing proper PPE when
performing the below procedure. See Ergonomic Precautions for safe and healthy working practices.
Remove
- Open the trunk.
-
Release the clips at the
upper corners, then work around the trim to release the clips that attach
the trunk trim to the trunk lid.
CAUTIONSupport the trim while releasing the clips, as the power trunk switch harness is still connected to the trim.NoteThe clips (x4) closest to the rear window have a higher retention force; use a clip prytool, if necessary. Remove any broken clips from the trunk lid.
-
Disconnect the electrical
harness from the power trunk switch on the trunk trim.
- Remove the trunk lid trim from the trunk lid, and then remove any remaining clips from the trunk lid and trunk lid trim.
Install
-
Install new clips onto the
trim.
NoteThe trunk lid trim uses two different style clips.
-
Connect the electrical
harness to the power trunk switch, align the trunk lid trim tabs with the
slots on the trunk lid, and then press the clips into the trunk lid.
NoteMake sure all clips are fully seated.