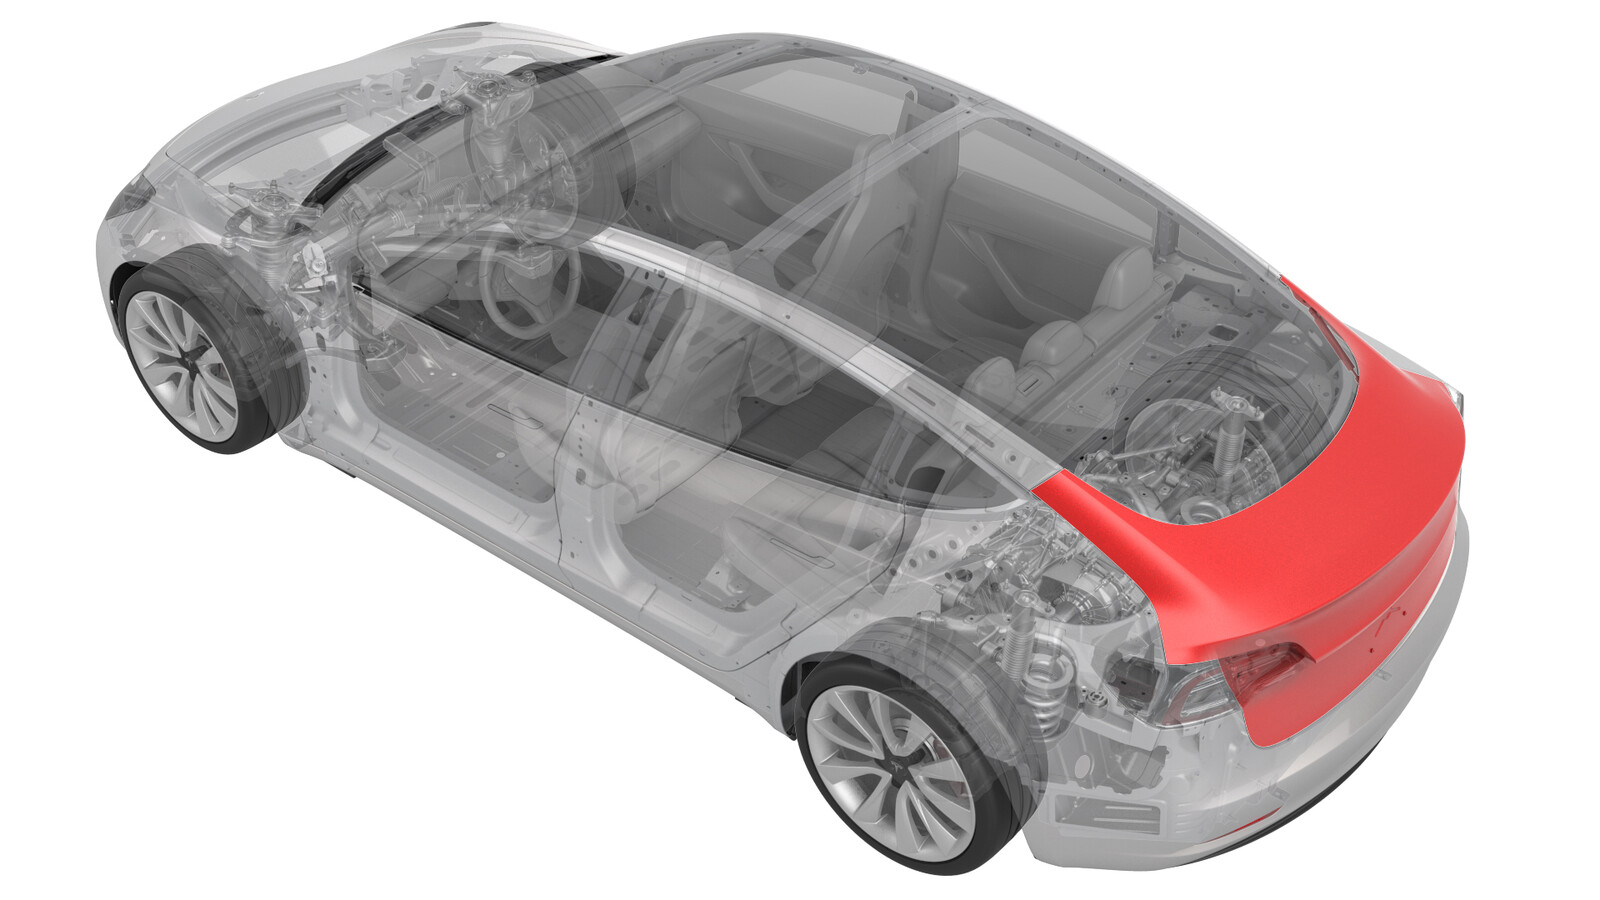
Trunk (Remove and Install)
 Correction code
10107001
0.54
NOTE: Unless otherwise explicitly
stated in the procedure, the above correction code and FRT reflect all of the work
required to perform this procedure, including the linked procedures. Do not stack correction codes unless
explicitly told to do so.
NOTE: See Flat Rate
Times to learn more about FRTs and how they are created.
NOTE: See Personal Protection to make sure wearing proper PPE when
performing the below procedure. NOTE: See Ergonomic Precautions for safe and healthy working
practices.
Correction code
10107001
0.54
NOTE: Unless otherwise explicitly
stated in the procedure, the above correction code and FRT reflect all of the work
required to perform this procedure, including the linked procedures. Do not stack correction codes unless
explicitly told to do so.
NOTE: See Flat Rate
Times to learn more about FRTs and how they are created.
NOTE: See Personal Protection to make sure wearing proper PPE when
performing the below procedure. NOTE: See Ergonomic Precautions for safe and healthy working
practices.
Remove
- Remove the trunk lid trim. See Trim - Lid - Trunk (Remove and Replace).
-
Disconnect the LH and RH rear fog/reverse light electrical connectors.
-
Disconnect the rear facing camera electrical connector.
-
Disconnect the trunk exterior release switch electrical connector.
-
Disconnect the LH and RH license plate light electrical connectors.
Figure 1. LH shown, RH similar -
Disconnect the trunk latch electrical connector.
-
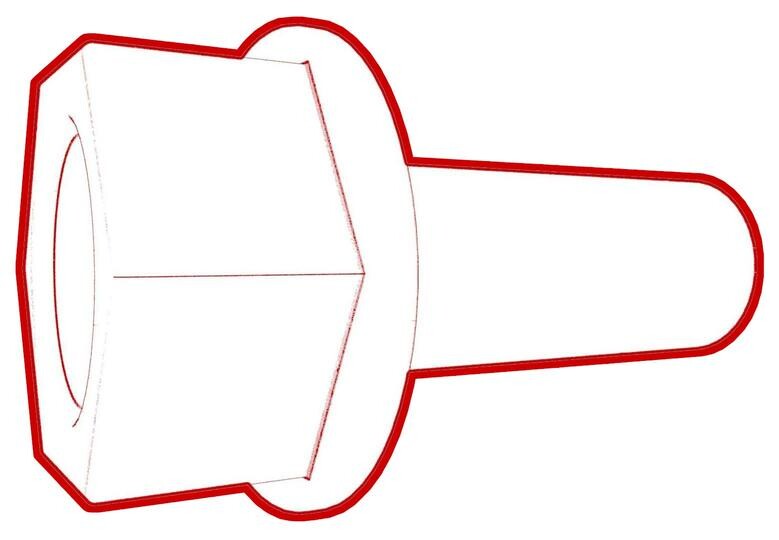
Remove and discard the bolts (x2) that attach the trunk harness ground straps to the trunk lid.
-
Release the clips that attach the trunk harness to the trunk lid.
-
Push the trunk harness through the trunk bulkhead and out of the trunk lid.
- Use a dry erase marker to mark the position of the trunk hinges on the trunk lid.
-
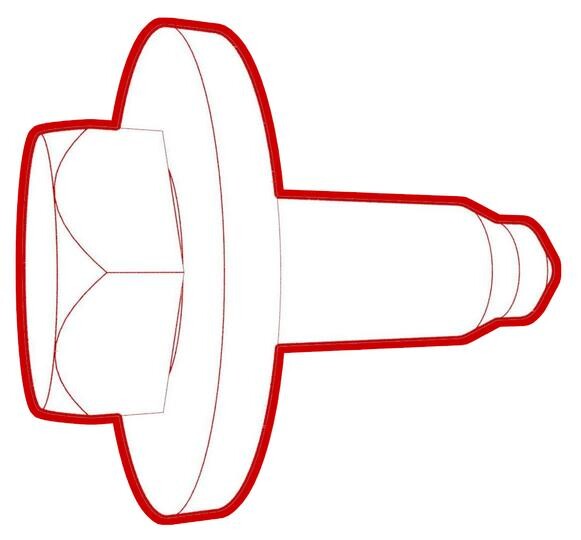
Remove the bolts that attach the hinges to the trunk lid.
Figure 2. RH shown, LH similar -
With an assistant, remove the lid from the vehicle, and then place it on a padded surface.
Install
- With an assistant, position and align the trunk lid to the trunk hinges, and then hand-tighten the bolts that attach the hinges to the trunk lid.
- Push the trunk harness through the trunk bulkhead.
-
Install the clips that attach the trunk harness to the trunk lid.
-
Install new bolts (x2) to attach the trunk harness ground straps to the trunk lid.
 8 Nm (5.9 lbs-ft)
 -
Connect the trunk latch electrical connector.
-
Connect the LH and RH license plate light electrical connectors.
Figure 3. LH shown, RH similar -
Connect the trunk exterior release switch electrical connector.
-
Connect the rear facing camera electrical connector.
-
Connect the LH and RH rear fog/reverse light electrical connectors.
- With an assistant, perform the gap and flush measurement of the trunk assembly.
-
Tighten the bolts that attach the hinges to the trunk lid.
 24 Nm (17.7 lbs-ft)
Figure 4. RH shown, LH similar -
Tighten the bolts that attach the trunk latch to the trunk lid.
 8 Nm (5.9 lbs-ft)
 - Install the trunk lid trim. See Trim - Lid - Trunk (Remove and Replace).
- Clean the marks of the dry erase marker from the hinges.