Trim - Cushion - Front Seat - LH (Remove and Replace)
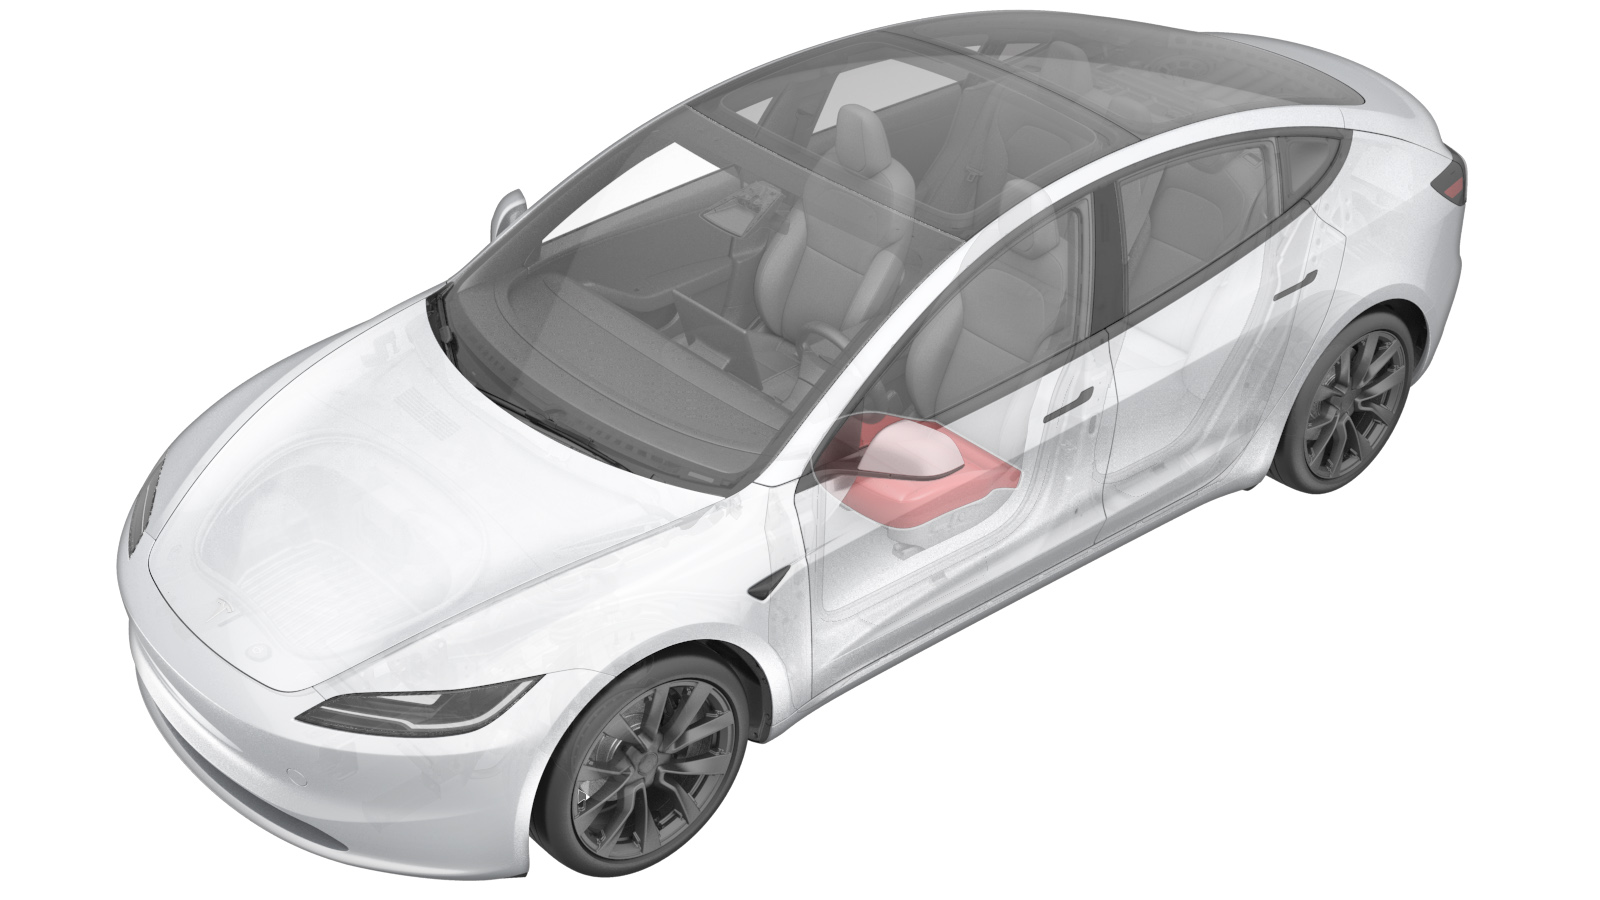 Correction code
1307010092
FRT
0.60
NOTE: Unless
otherwise explicitly stated in the procedure, the correction code and its
associated FRT reflect all of the work required to perform this procedure,
including the linked procedures. Do not stack correction
codes unless explicitly told to do so.
NOTE: See Flat Rate Times to
learn more about FRTs and how they are created.
NOTE: See Personal Protection to make
sure you are wearing proper PPE when performing the procedure below.
NOTE: See Ergonomic Precautions for safe and healthy
working practices.
Correction code
1307010092
FRT
0.60
NOTE: Unless
otherwise explicitly stated in the procedure, the correction code and its
associated FRT reflect all of the work required to perform this procedure,
including the linked procedures. Do not stack correction
codes unless explicitly told to do so.
NOTE: See Flat Rate Times to
learn more about FRTs and how they are created.
NOTE: See Personal Protection to make
sure you are wearing proper PPE when performing the procedure below.
NOTE: See Ergonomic Precautions for safe and healthy
working practices.
- 2026-08-11: Updated the steps for completely removing the seat to steps for tilting the seat.
Equipment:
- 1082477-03-A - Needle Nose Pliers
- 1501599-00-A - Pliers, Hog Ring
Remove
- Open the LH doors and lower the LH windows.
- On the touchscreen, tap the vehicle icon at the bottom left corner, then tap , and use the left steering wheel roller to adjust the steering column to the highest and most inward position.
- Remove the LH instrument panel end cap. See End Cap - Instrument Panel - LH (Remove and Replace).
- Remove the LH lower A-pillar trim. See Trim - A-Pillar - Lower - LH (Remove and Replace).
- Remove and discard the bolts (x4) that secure the driver seat assembly. See Seat Assembly - 1st Row - LH (Remove and Replace).
-
Release the clips that attach the LH
front seat harness to the sill trim.
-
Pull the LH front seat harness from under the LH front cabin carpet.
- Use cloth to cover the center console and the rear seat to prevent damage.
- Tilt the LH front seat backward.
-
Remove the driver seat outboard side
shield. See Side Shield - Outboard - LH (Remove and Replace).
NoteIt is not necessary to remove the seat cushion button switch, the recliner button switch and the 8 way switch.
-
Unhook the clips (x2) that attach the
lower section of the seat back cover and move the seat back flap away from the working
area.
-
Disconnect the seat back heater
connector, and then separate the heater connector from the seat underside.
-
Disconnect the seat pad heater
connector, and then separate the connector from the seat underside..
-
Disconnect the LH front seat occupancy
sensor connector and set the harness aside.
-
Disconnect the seat occupancy sensor
connector, and then release the clip that attaches the sensor to the seat
underside.
-
Release the clips (x2) that attach the
seat cushion to the seat suspension.
-
Remove the front retaining clip that attaches the front side of the seat trim to the
frame.
-
Remove the inboard retaining clip that attaches the front of the inboard side shield
to the frame.
NoteMay need to start with a hook tool. Pull the clip away from the frame to release.
-
Remove the cushion pad assembly from the seat frame assembly.
NoteLift the cushion straight off. Ensure the heating pad and seat occupied sensor harnesses are clear of the seat frame.
-
Release the strap that attaches the
seat cushion cover to the foam pad.
-
Remove the Velcro strips (x4) and hog
rings (x8) that attach the seat cushion cover to the foam pad, and then remove the cover
from the foam pad.
CAUTIONBe cautious while releasing the Velcro strips to avoid any damage on the foam pad. During removal, press the foam-side Velcro with fingers and remove it gradually to prevent the Velcro from separating from the foam.NoteUse 1082477-03-A to help remove the hog rings.
Install
-
Install the Velcro strips
(x4) and hog rings (x8) that attach the seat cushion cover onto the seat
cushion foam pad.
NoteMassage the Velcro to make sure the cover and the foam pad are perfectly fit.
-
Attach the strap that
attaches the seat cushion cover to the foam pad.
-
Place the cushion pad assembly onto
the seat cushion frame.
NoteInsert the rear of the seat cushion to the seat bottom frame, ensuring the rear portion of foam is seated over the rear seat cushion rail. Make sure that the wiring harness are routed through the back of seat frame.
- Maneuver the seat to gain access to the underside.
-
Fasten the clips (x2) that attach the seat cushion to the seat
suspension.
-
Install the inboard retaining clip that attaches the front of the inboard side shield
to the frame.
NoteFold the clip over towards the frame. The open end should engage the seat frame. Line up one end of the clip strip opening with the seat frame and press down until the clip is fully seated onto the frame.
-
Install the front retaining clip that attaches the front side of the seat trim to the
frame.
NoteFold the clip over towards the frame. The open end should engage the seat frame. Line up one end of the clip strip opening with the seat frame and press down until the clip is fully seated onto the frame.
-
Install the seat occupied
sensor to the seat underside, and then fasten the clip that attaches the
sensor to the seat underside.
-
Connect the electrical
wiring harness to the seat occupied sensor connector.
-
Fasten the clip that
attaches the seat pad heater connector to the seat underside, and then
connect the electrical wiring harness to the seat pad heater
connector.
-
Fasten the clip that attaches the seat back heater connector to the seat
underside, and then connect the electrical wiring harness to the seat back
heater connector.
-
Attach the clips (x2) that
attach the lower section of the seat back cover to the seat
suspension..
-
Install the driver seat outboard side
shield. See Side Shield - Outboard - LH (Remove and Replace).
NoteIt is not necessary to install the seat cushion button switch, the recliner button switch and the 8 way switch.
- Position the driver seat assembly in the upright position.
- Remove the protection cloth.
- Install the LH front seat harness under the LH front cabin carpet.
-
Position the 1st row LH seat harness
in the sill trim harness guide, and then install the clips that attach the harness to
the harness guide.
- Install new bolts (x4) that secure the driver seat assembly. See Seat Assembly - 1st Row - LH (Remove and Replace).
- Install the LH lower A-pillar trim. See Trim - A-Pillar - Lower - LH (Remove and Replace).
- Install the LH instrument panel end cap. See End Cap - Instrument Panel - LH (Remove and Replace).
- Move the LH front seat to its original position.
- Move the steering wheel to its original position.
- Raise the LH windows and close the LH doors.