2026-05-25
Light - Trunk Lid - LH (Remove and Replace)
 Correction code
1740020032
FRT
0.24
NOTE: Unless otherwise explicitly stated in the procedure, the correction code and FRT listed above reflect all of the work required to perform this procedure, including the linked procedures. Do not stack correction codes unless explicitly told to do so.
NOTE: See Flat Rate Times to learn more about FRTs and how they are created.
NOTE: See Personal Protection to make sure you
are wearing proper PPE when performing the procedure below.
NOTE: See Ergonomic Precautions for safe and healthy working practices.
Correction code
1740020032
FRT
0.24
NOTE: Unless otherwise explicitly stated in the procedure, the correction code and FRT listed above reflect all of the work required to perform this procedure, including the linked procedures. Do not stack correction codes unless explicitly told to do so.
NOTE: See Flat Rate Times to learn more about FRTs and how they are created.
NOTE: See Personal Protection to make sure you
are wearing proper PPE when performing the procedure below.
NOTE: See Ergonomic Precautions for safe and healthy working practices.
- 2025-12-26: Added the trunk latch cover steps.
Warning
The video(s)
included in this procedure are meant as an overview for supplemental purposes only.
Follow all of the steps listed in the procedure to avoid damage to components and/or
personal
injury.
Torque Specifications
| Description | Torque Value | Recommended Tools | Reuse/Replace | Notes |
|---|---|---|---|---|
| Nut and bolts (x2) that attach the taillight to the body |
 3.2 Nm (2.4 lbs-ft) |
|
Reuse |
Remove
- Remove the trunk latch cover. See Cover - Latch - Trunk (Remove and Replace).
- Remove the trunk lid trim. See Trim - Lid - Trunk (Remove and Replace).
-
Release the connector lock, and then disconnect the electrical harness from
the taillight connector.
CAUTIONDO NOT push down on the red locking tab. Pull the tab away from the connector until the connector is unlocked, and then continue pulling the main body of the connector to fully disconnect it.CAUTIONIf the taillight must be replaced because of water ingress, place a shop towel under the taillight connector to prevent damage to other electrical components.
-
Remove the nut and the bolts
(x2) that attach the taillight to the body.
TIpUse of the following tool(s) is recommended:
- 8 mm deep socket
WarningThe video(s) included in this procedure are meant as an overview for supplemental purposes only. Follow all of the steps listed in the procedure to avoid damage to components and/or personal injury.NoteApply strong pressure to stud with right hand to remove the headlamp evenly. -
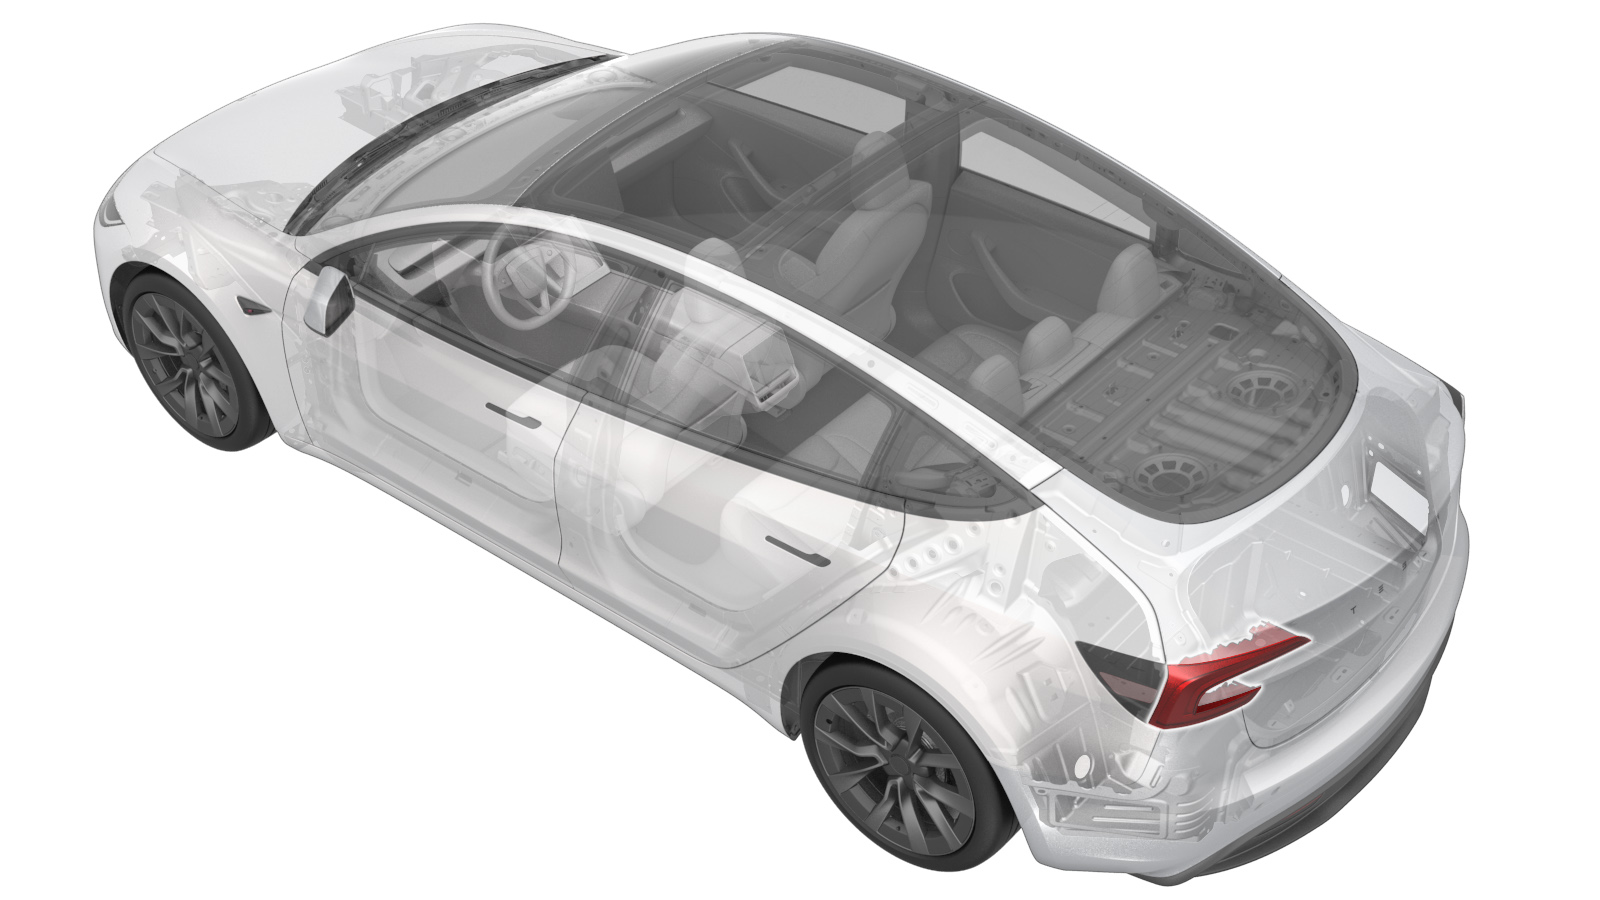
Release the stud and clips
(x2) that attach the LH taillight to the body, and then remove the LH
taillight assembly from the vehicle.
CAUTIONDo not only pull the lamp from left side , pull both sides evenly and horizontally, otherwise the light might be damaged.
Install
-
Position the LH taillight
stud into the grommet, and then install the taillight onto the body.
-
Install the nut and the
bolts (x2) that attach the taillight to the vehicle.3.2 Nm (2.4 lbs-ft)TIpUse of the following tool(s) is recommended:
- 8 mm deep socket
-
Connect the electrical harness to the taillight connector, and then engage the connector
lock.
CAUTIONIf the connector has a red locking tab: Push the red locking tab into the connector to engage the connector lock.
- Install the trunk lid trim. See Trim - Lid - Trunk (Remove and Replace).
- Install the trunk latch cover. See Cover - Latch - Trunk (Remove and Replace).
- Locally connect a laptop with Toolbox to the vehicle. See Toolbox (Connect and Disconnect).
- In Toolbox, click the Actions tab, and then choose from the followings:
- Disconnect the laptop from the vehicle.
-
Press and hold the
Exit Service Mode
button on the UI to exit Service Mode Plus. - Raise the LH front window and close the LH front door.