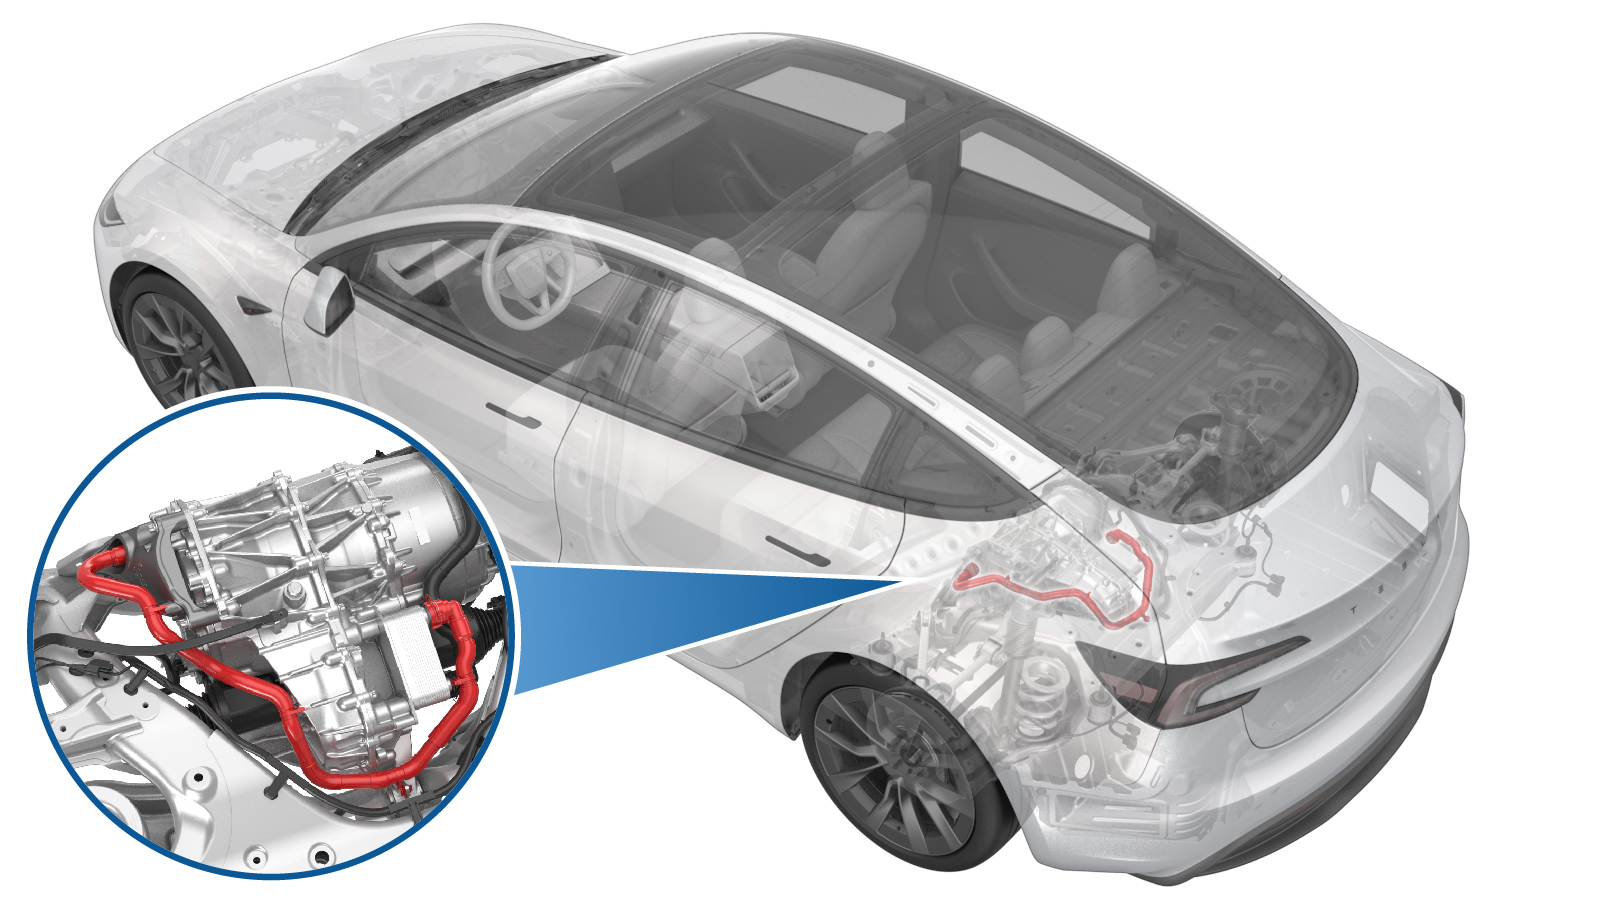
Hose - Rear Drive Unit to Oil Coller (Remove and Replace)
 Correction code
1830020022
FRT
1.98
NOTE: Unless
otherwise explicitly stated in the procedure, the above correction code and
FRT reflect all of the work required to perform this procedure, including
the linked procedures. Do
not stack correction codes unless explicitly told to do so.
NOTE: See Flat Rate
Times to learn more about FRTs and how
they are created. To provide feedback on FRT values, email ServiceManualFeedback@tesla.com.
NOTE: See Personal Protection
to make sure wearing proper PPE when performing the below procedure.
NOTE: See Ergonomic Precautions for safe and
healthy working practices.
Remove
- Remove the rear subframe assembly. See Subframe Assembly - Rear (Remove and Replace).
-
Partially lower the rear subframe and drive unit assembly.
-
Tilt the subframe fixture
forward.
NoteAdjust the powertrain lift and tilt it forward in order to access motor mount fasteners.
-
Release the rear drive unit inverter
to oil cooler hose.
Note1x hose clip, Image zoomed in for clarity.
-
Release the rear drive unit inverter
coolant hose from heat exchanger.
NoteUse a foldable funnel as required.
-
Release clips (x4) that attach the
rear drive unit inverter to oil cooler hose and remove the hose.
Install
-
Position and secure the clips (x4)
that secure the rear drive unit inverter to coolant hose.
-
Secure the rear drive unit inverter to
oil cooler hose onto the heat exchanger.
NoteClean excess coolant from the area. Perform a push-pull-push test to make sure the hose is fully engaged.
-
Secure the inverter to cooler hose to
inverter.
NotePerform a push-pull-push test to make sure the hose is fully engaged.
-
Tilt the subframe fixture backwards to
original position.
-
Raise the partially lowered
subframe.
CAUTIONUse caution to not damage components while raising the subframe.
- Install the rear subframe assembly. See Subframe Assembly - Rear (Remove and Replace).