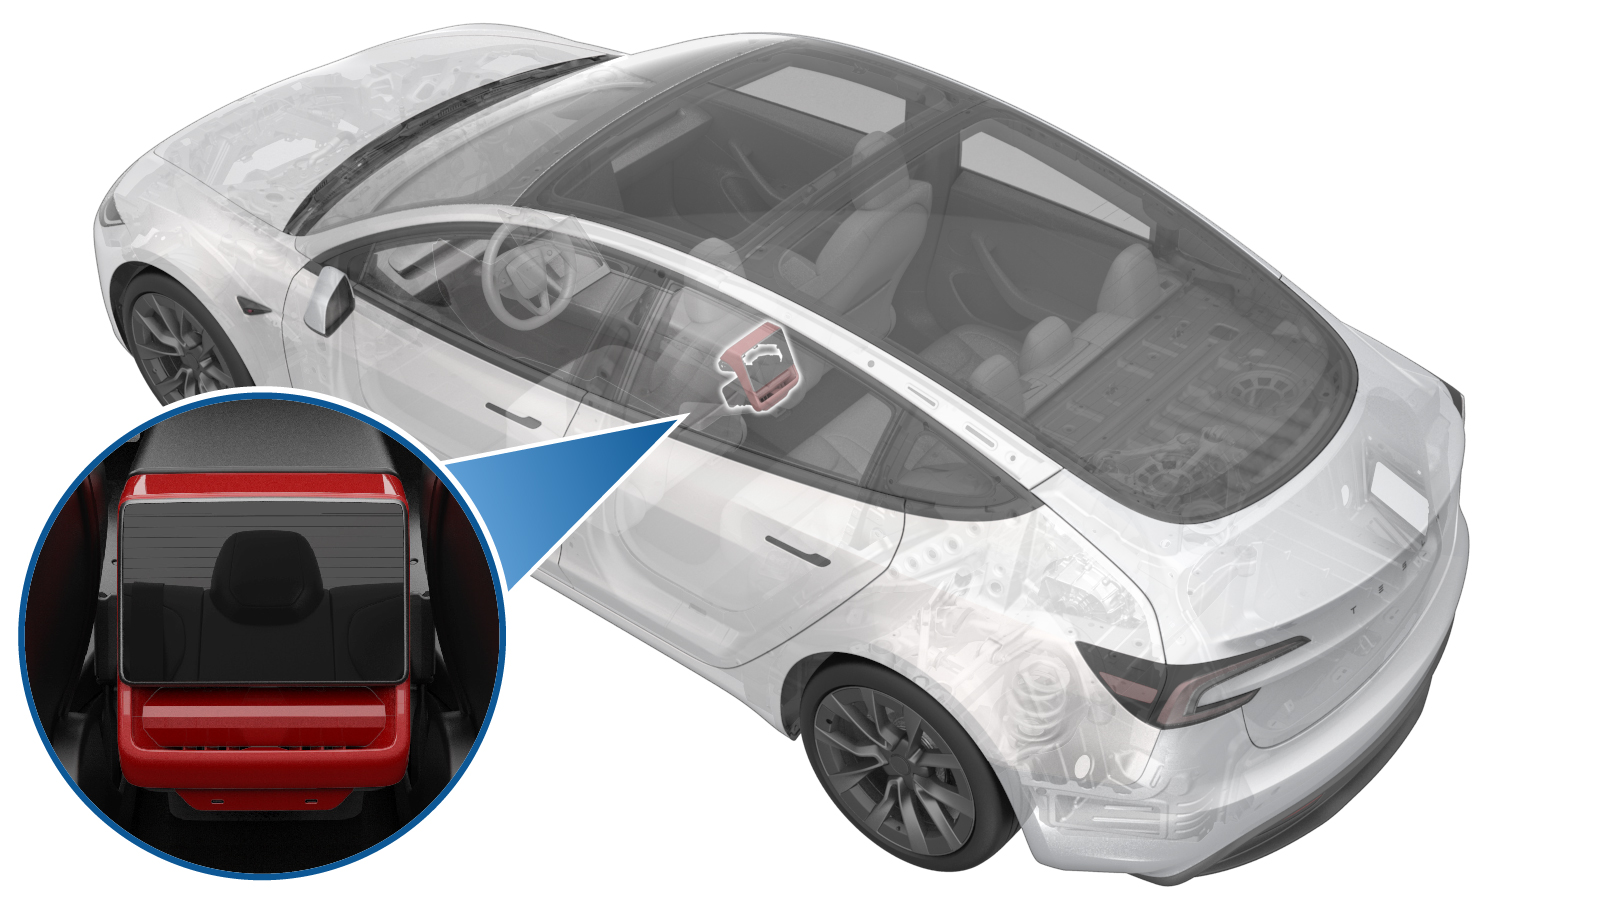
Module - Rear End - Center Console (Remove and Replace)
 Correction code
1519010132
FRT
0.42
NOTE: Unless
otherwise explicitly stated in the procedure, the above correction code and
FRT reflect all of the work required to perform this procedure, including
the linked procedures. Do
not stack correction codes unless explicitly told to do so.
NOTE: See Flat Rate
Times to learn more about FRTs and how
they are created. To provide feedback on FRT values, email ServiceManualFeedback@tesla.com.
NOTE: See Personal Protection
to make sure wearing proper PPE when performing the below procedure.
NOTE: See Ergonomic Precautions for safe and
healthy working practices.
- 2025-11-13: Changed the bolt that attaches the ground harness to the rear end module to a consumable part, and added the part number.
Torque Specifications
| Description | Torque Value | Recommended Tools | Reuse/Replace | Notes |
|---|---|---|---|---|
| Screws (x6) that attach the rear end module to the center console |
 1 Nm (.7 lbs-ft) |
|
Reuse | |
| Bolt that attaches the ground harness to the rear end module |
 1 Nm (.7 lbs-ft) |
|
Replace | 1096312-00-A |
Remove
- Remove the center console phone deck. See Phone Dock (Clip) - Center Console (Remove and Replace).
- Remove the rear end panel. See Panel - Rear End - Center Console (Remove and Replace).
- Remove the LH rear side panel. See Panel - Rear Side - Center Console - LH (Remove and Replace).
- Remove the LH front side panel. See Carpet - Side - Center Console - LH (Remove and Replace).
- Remove the LH décor trim. See Decor Trim - Center Console - LH (with a Clip-secured Phone Dock) (Remove and Replace).
- Repeat step 3through step 5 on the RH side of the vehicle.
- Disconnect LV battery power. See LV Power (Disconnect and Connect)
-
Remove the screws (x6) that attach the
rear end module assembly to the center console.
WarningThe video(s) included in this procedure are meant as an overview for supplemental purposes only. Follow all of the steps listed in the procedure to avoid damage to components and/or personal injury.TIpUse of the following tool(s) is recommended:
- Torx T20 socket
Figure 1. LH Shown, RH Similar -
Release the datums (x2) that attach
the rear end module assembly to the center console.
Figure 2. LH Shown, RH Similar -
Disconnect the rear end module
electrical connectors (x2).
-
Remove and discard the bolt that
attaches the ground harness to the rear end module assembly, then remove the rear end
module assembly from the vehicle.
TIpUse of the following tool(s) is recommended:
- Torx T20 socket
Install
-
Install a new bolt that attaches the
ground harness to the rear end module assembly.
 1 Nm (.7 lbs-ft)TIpUse of the following tool(s) is recommended:
- Torx T20 socket
-
Connect the rear end module electrical
connectors (x2).
-
Fasten the datums (x2) that attach the
rear end module assembly to the center console.
Figure 3. LH Shown, RH Similar -
Install the screws (x6) that attach
the rear end module assembly to the center console.
 1 Nm (.7 lbs-ft)TIpUse of the following tool(s) is recommended:
- Torx T20 socket
Figure 4. LH Shown, RH Similar - Connect LV battery power. See LV Power (Disconnect and Connect)
- Install the LH décor trim. See Decor Trim - Center Console - LH (with a Clip-secured Phone Dock) (Remove and Replace).
- Install the LH front side panel. See Carpet - Side - Center Console - RH (Remove and Replace).
- Install the LH rear side panel. See Panel - Rear Side - Center Console - LH (Remove and Replace).
- Repeat step 6 through step 8 on the RH side of the vehicle.
- Install the rear end panel. See Panel - Rear End - Center Console (Remove and Replace).
- Install the center console phone deck. See Phone Dock (Clip) - Center Console (Remove and Replace).
- Connect a laptop with Toolbox to the vehicle. See Toolbox (Connect and Disconnect).
-
In Toolbox, click the Actions tab, type
"PING-BASH_DISPLAY" into the search field, click PING-BASH_DISPLAYvia Toolbox: (link), select
rear
for thePoppyseed Display Test Arg
field, change the timeout to20
, and then click Run and allow the routine to complete. - Disconnect the laptop with Toolbox from the vehicle. See Toolbox (Connect and Disconnect).