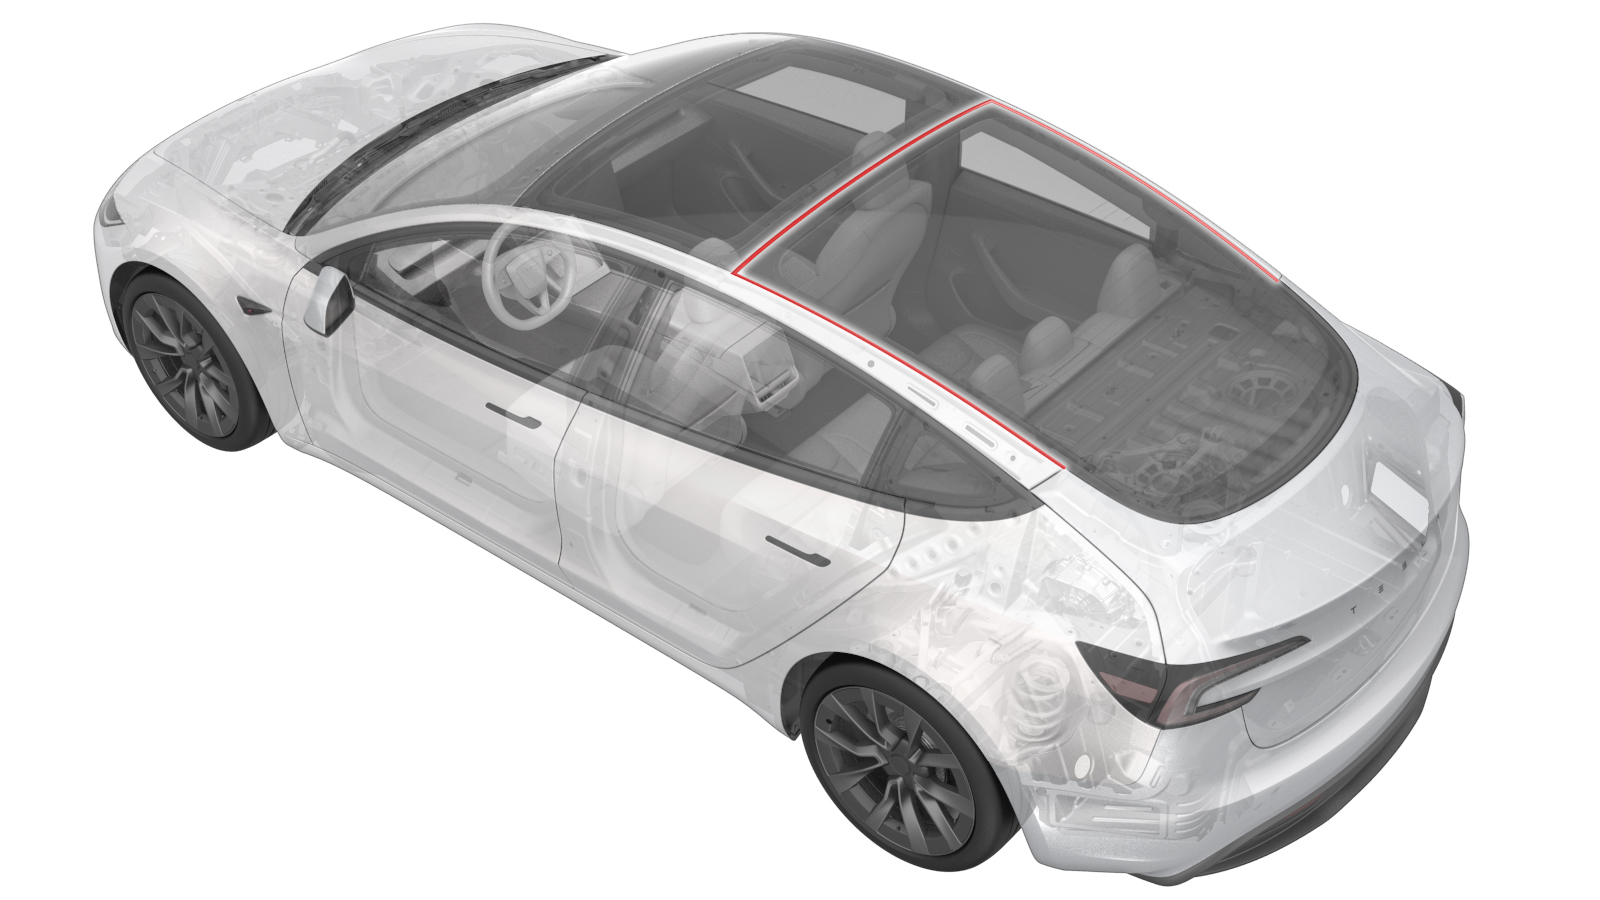
Seal - Upper Perimeter - Backlight (Remove and Replace)
 Correction code
1020030022
FRT
2.04
NOTE: Unless
otherwise explicitly stated in the procedure, the above correction code and
FRT reflect all of the work required to perform this procedure, including
the linked procedures. Do
not stack correction codes unless explicitly told to do so.
NOTE: See Flat Rate
Times to learn more about FRTs and how
they are created. To provide feedback on FRT values, email ServiceManualFeedback@tesla.com.
NOTE: See Personal Protection
to make sure wearing proper PPE when performing the below procedure.
NOTE: See Ergonomic Precautions for safe and
healthy working practices.
Remove
- Remove the backlight glass. See Glass - Backlight (Remove and Replace).
-
Use a razor blade to
carefully remove the old upper perimeter seal from the backlight
glass.
NoteUse an IPA wipe to clean the residue on the surface of the backlight glass, and allow the surface to dry.
-
Use a razor blade to carefully remove the old trunk flip seal from the
backlight glass.
NoteUse an IPA wipe to clean the residue on the surface of the backlight glass, and allow the surface to dry.
- Use a razor blade to carefully remove the old urethane from the backlight glass.
- Use IPA wipes to clean the urethane path and the backlight glass.
Install
-
Tape the LH and RH backlight glass antenna connectors to the backlight
glass.
-
Starting from one of the
corners, remove a part of the backing tape from the new upper perimeter
seal, and then slowly apply the backing to the old adhesive path on the
backlight glass.
NoteWork your way around until the whole seal is installed.NoteFirmly press the seal onto the backlight glass.NoteEnsure that the adhesive backing is installled as close to the edge of the backlight glass as possible.
-
Starting by installing the trunk flip seal where the upper perimeter seal
ends, remove a part of the backing tape from the new trunk flip seal, and
then slowly apply the backing to the old adhesive path on the backlight
glass.
NoteWork your way around until the whole seal is installed.NoteFirmly press the seal onto the backlight glass.NoteEnsure that the adhesive backing is installled as close to the edge of the backlight glass as possible.
-
Cut off any overlap length
of the trunk flip seal to match the upper perimeter seal.
-
Use the teflon tape rectangles to install the new net pads to the four
sides of the backlight glass.
NoteCut teflon tape into rectangles having dimensions 5mm x 20mm.NoteThe net pads' number may vary as needed.
- Install the backlight glass. See Glass - Backlight (Remove and Replace).