2026-02-27
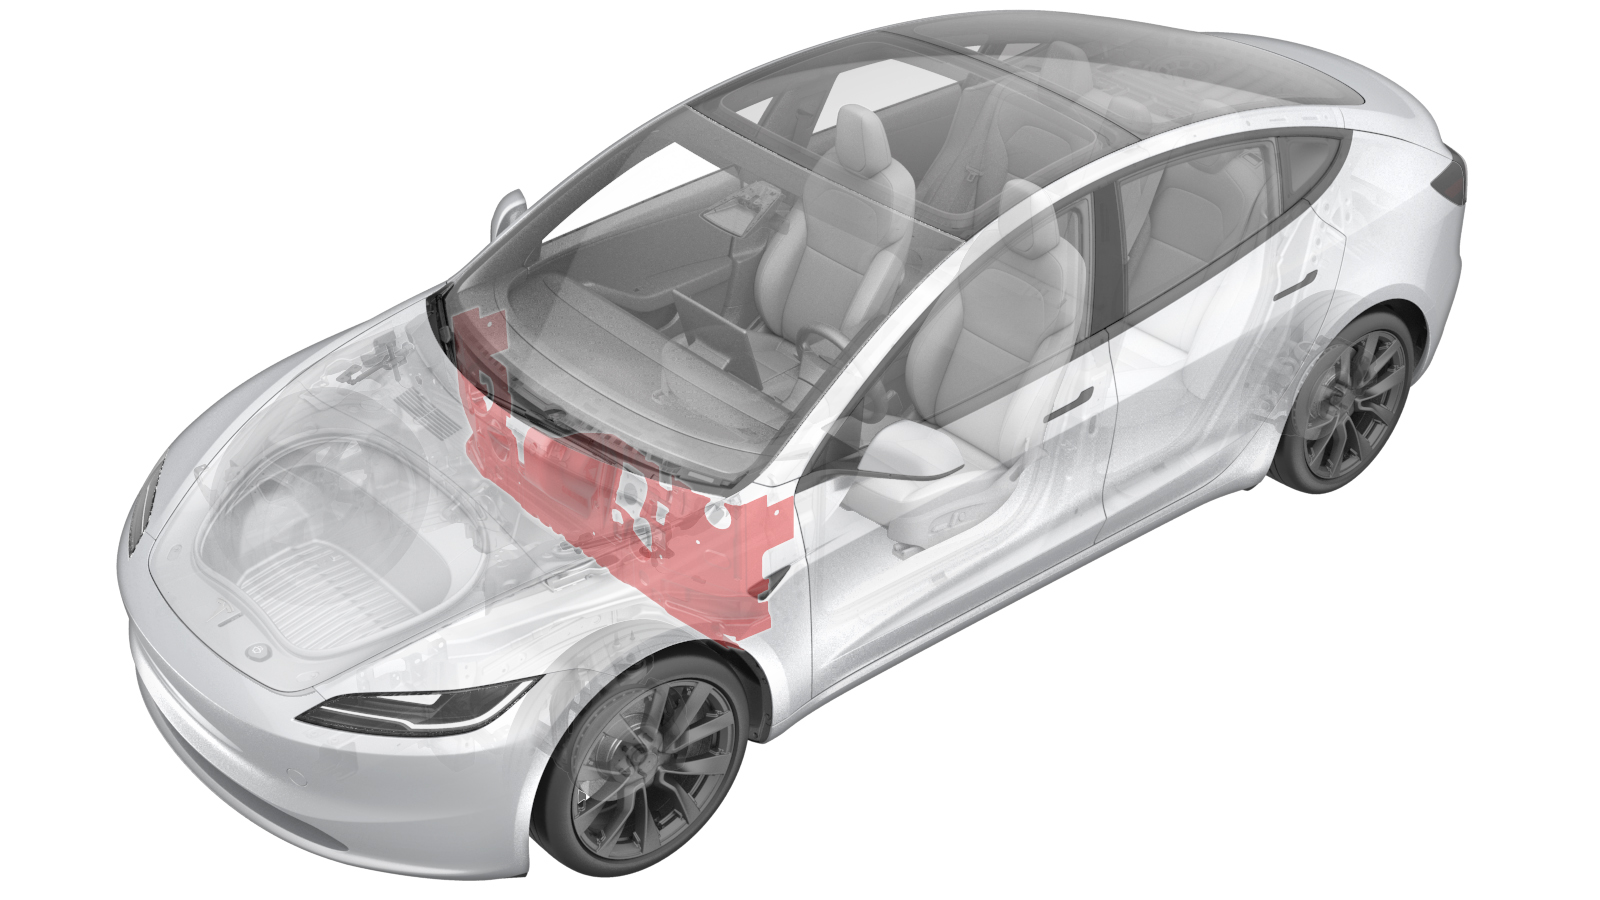
Insulator - Dash (Remove and Replace)
 Correction code
1530010012
FRT
4.56
NOTE: Unless otherwise explicitly stated in the procedure, the correction code and FRT listed above reflect all of the work required to perform this procedure, including the linked procedures. Do not stack correction codes unless explicitly told to do so.
NOTE: See Flat Rate Times to learn more about FRTs and how they are created.
NOTE: See Personal Protection to make sure you
are wearing proper PPE when performing the procedure below.
NOTE: See Ergonomic Precautions for safe and healthy working practices.
Correction code
1530010012
FRT
4.56
NOTE: Unless otherwise explicitly stated in the procedure, the correction code and FRT listed above reflect all of the work required to perform this procedure, including the linked procedures. Do not stack correction codes unless explicitly told to do so.
NOTE: See Flat Rate Times to learn more about FRTs and how they are created.
NOTE: See Personal Protection to make sure you
are wearing proper PPE when performing the procedure below.
NOTE: See Ergonomic Precautions for safe and healthy working practices.
Equipment:
- 1711245-00-A Snap On Ecotechnics Dual GAS AC Machine
- 1501412-00-A Mastercool R1234YF Oil Injector
| Description | Torque Value | Recommended Tools | Reuse/Replace | Notes |
|---|---|---|---|---|
| Bolt that attaches the car computer ground strap to the vehicle body |
 10 Nm (7.4 lbs-ft) |
|
Reuse |
Remove
- Set up the AC machine.
- Open all doors and lower all windows.
- Unlock the vehicle gateway. See Gateway Unlock.
- On the touchscreen, tap the Service Mode "wrench" (at the bottom of the touchscreen UI), and then tap , and allow the routine to complete.
- Remove the HVAC assembly. See HVAC Assembly (Remove and Replace).
- Remove the brake pedal assembly. See Pedal Assembly (LHD) (Remove and Replace).
- Remove the car computer from the vehicle. See .
-
Release the clips (x2) that attach the windshield heater connector to the
body, and then disconnect the windshield heater connector.
-
Release the clips (x2) that secure the harness behind the RH shock
tower.
-
Release the grommet, and then remove the RH front harness from the
passenger side compartment.
-
Remove the bolt that attaches the car computer ground strap to the vehicle
body.
TIpUse of the following tool(s) is recommended:
- 10 mm socket
- Remove the RH body controller. See Module - Body Controller - RH (Remove and Replace).
- Remove the LH body controller. See Module - Body Controller - LH (Remove and Replace).
-
Remove the dash insulator from the vehicle.
Install
-
Install a new dash insulator to the vehicle.
- Install the LH body controller. See Module - Body Controller - LH (Remove and Replace).
- Install the RH body controller. See Module - Body Controller - RH (Remove and Replace).
-
Install the bolt that attaches the car computer ground strap to the vehicle
body.10 Nm (7.4 lbs-ft)TIpUse of the following tool(s) is recommended:
- 10 mm socket
-
Push the RH front harness into the passenger side compartment, and then
secure the grommet.
-
Install the clips (x2) that secure the harness behind the RH shock
tower.
-
Connect the windshield heater connector, and then secure the clips (x2)
that attach the windshield heater connector to the body.
- Install the car computer. See .
- Install the brake pedal assembly. See Pedal Assembly (LHD) (Remove and Replace).
- Install the HVAC assembly. See HVAC Assembly (Remove and Replace).
- Raise all windows and close all doors.