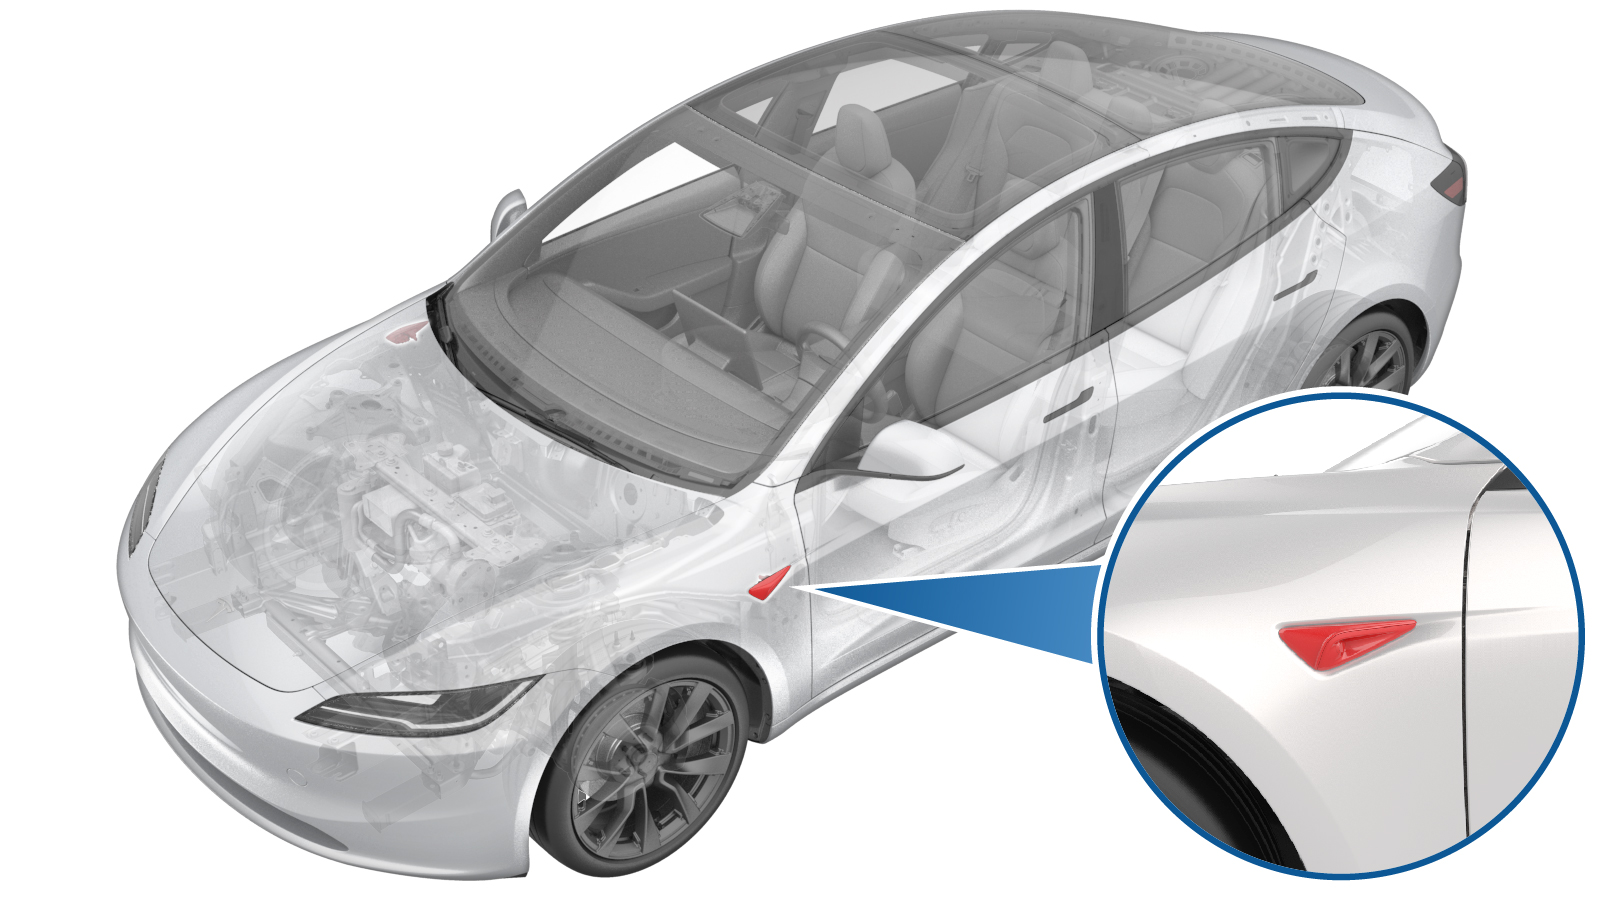
Side Repeater Assembly - LH (Remove and Replace)
 Correction code
1740010052
FRT
0.24
NOTE: Unless
otherwise explicitly stated in the procedure, the above correction code and
FRT reflect all of the work required to perform this procedure, including
the linked procedures. Do
not stack correction codes unless explicitly told to do so.
NOTE: See Flat Rate
Times to learn more about FRTs and how
they are created. To provide feedback on FRT values, email ServiceManualFeedback@tesla.com.
NOTE: See Personal Protection
to make sure wearing proper PPE when performing the below procedure.
NOTE: See Ergonomic Precautions for safe and
healthy working practices.
- 2025-06-06: Updated ODIN routines.
- 2024-02-05: Added a caution to wrap the terminals of the camera and wiring harness to prevent them from coming into contact with water or other solutions that could cause damage.
Remove
- Open the LH front door and lower the LH front window.
- Press the brake pedal to turn on the drive rail and turn the steering wheel fully to the left.
-
Apply protective tape to the
LH front fender around the LH front side repeater assembly.
WarningThe video(s) included in this procedure are meant as an overview for supplemental purposes only. Follow all of the steps listed in the procedure to avoid damage to components and/or personal injury.
-
Release the clips (x4) to
partially remove the LH front wheel arch liner to gain access to the working
area, as illustrated.
-
Release the tabs (x3) that
attach the LH front side repeater assembly to the LH front fender, and then
separate the light from the fender.
NoteRelease the rearmost tab first.CAUTIONIf reinstalling the same side repeater, take care not to damage the mounting tabs.WarningThe video(s) included in this procedure are meant as an overview for supplemental purposes only. Follow all of the steps listed in the procedure to avoid damage to components and/or personal injury.
-
Disconnect the LH front side
repeater assembly connectors (x2), and then remove the assembly from the
vehicle.
CAUTIONWrap the terminals of the camera and wiring harness to prevent them from coming into contact with water or other solutions that could cause damage.
Install
-
Connect the LH front side
repeater assembly connectors (x2).
NoteRemove the tape first, if present.
-
Secure the upper portion of
the LH front side repeater assembly into the LH front fender, and then
fasten the tabs (x3) that attach the assembly to the fender.
CAUTIONIf reinstalling the same side repeater, make sure the mounting tabs are not damaged. If any of the tabs are damaged, replace the repeater.NoteAfter installation, confirm that the tabs are firmly engaged.WarningThe video(s) included in this procedure are meant as an overview for supplemental purposes only. Follow all of the steps listed in the procedure to avoid damage to components and/or personal injury.
- Remove the protective tape from the LH fender around the LH front side repeater assembly.
-
Install the clips (x4) that attach the LH front wheel arch liner.
- Press the brake pedal to turn on the drive rail and turn the steering wheel to the center position.
- Unlock the vehicle gateway. See Gateway Unlock.
-
Perform the following
routine using Service Mode or Toolbox (see 0005 - Service Modes):
PROC_DAS_X_CLEAR-CALIBRATIONvia Toolbox: (link)via Service Mode:
- Driver Assist ➜ Cameras ➜ Clear Camera Calibration
- Driver Assist ➜ Driverless ➜ Clear Calibration
- Perform the following routine using Service Mode or Toolbox (see 0005 - Service Modes): PROC_DAS_X_ENTER-CALIBRATION-MODEvia Toolbox: (link)
-
Perform the following
routine using Service Mode or Toolbox (see 0005 - Service Modes):
PING-HTTP_DAS_L_REPEATER-CAMERA-SCRIPTvia Toolbox: (link)
NoteFor RH side repeater, use ODIN routine PING-HTTP_DAS_R_REPEATER-CAMERA-SCRIPTvia Toolbox: (link)
- Exit Service Mode. See Service Mode.
-
Inform the customer that
manual driving is now required to self-calibrate the camera.
NoteSelf-calibration can take up to 100 miles (160 km) of manual driving, depending upon the road type and condition. Until self-calibration is complete, the message "Autopilot Features Currently Unavailable: Manual Driving Required While Camera Is Calibrating" is displayed if an attempt is made to engage an Autopilot feature.