2025-12-03
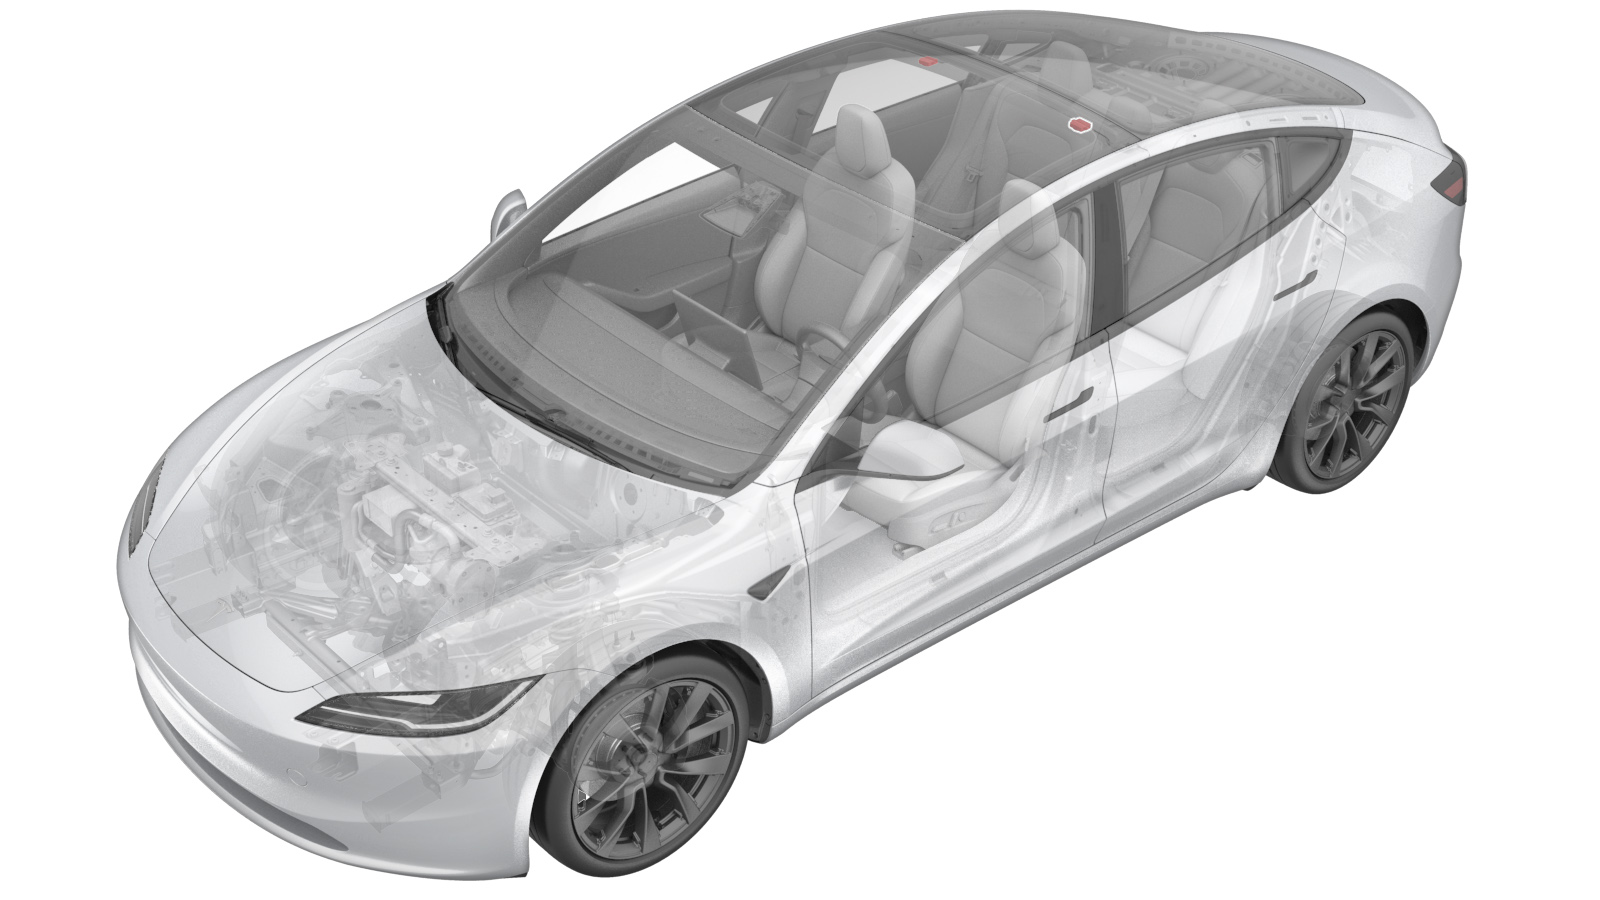
Map Light - Rear (Remove and Replace)
 Correction code
1520010062
FRT
0.30
NOTE: Unless otherwise explicitly stated in the procedure, the above correction code and FRT reflect all of the work required to perform this procedure, including the linked procedures. Do not stack correction codes unless explicitly told to do so.
NOTE: See Flat Rate Times to learn more about FRTs and how they are created. To provide feedback on FRT values, email ServiceManualFeedback@tesla.com.
NOTE: See Personal Protection to make sure wearing proper PPE when performing the below procedure.
NOTE: See Ergonomic Precautions for safe and healthy working practices.
- 2025-12-03: Added the step to install the disposable tether hooks and added its part number 1771862-00-C.
- 2025-03-18: Updated the torque value of the LH map lamp from 0.3Nm to 0.55Nm.
- 2024-08-16: Added steps to run TEST-SELF_VCLEFT_REAR-DOME-LIGHTS routine.
- 2024-08-08: Modified procedure to replace map lamp without full removal of headliner.
- 2024-01-22: Added the step of reinstalling the firmware at the end of the installation procedure.
Torque Specifications
| Description | Torque Value | Recommended Tools | Reuse/Replace | Notes |
|---|---|---|---|---|
| LH coat hook screw |
 2.5 Nm (1.8 lbs-ft) |
|
Reuse | |
| Bolt that attaches the LH rear map light to the headliner |
 0.55 Nm (5 lbs-in) |
|
Reuse |
Remove
- Remove the LH side rail assembly. See Trim - Side Rail - LH (Remove and Replace).
-
Remove and discard the tether hooks
(x2) from the LH body.
-
Push the LH coat hook open.
-
Remove the LH coat hook screw
cover.
-
Remove the LH coat hook screw.
TIpUse of the following tool(s) is recommended:
- Torx T25 socket
-
Remove the LH map lamp bezel from the headliner.
WarningThe video(s) included in this procedure are meant as an overview for supplemental purposes only. Follow all of the steps listed in the procedure to avoid damage to components and/or personal injury.
-
Partially remove/lower the
headliner.
NoteRelease 2x clips and 1x locating pin. Pull the headliner trim at the rear LH side no more than 10cm (4in) to get access to the map light.
-
Disconnect the electrical connector from the LH map lamp.
-
Remove the bolt that attaches the LH
rear map light to the headliner.
TIpUse of the following tool(s) is recommended:
- Torx T10 bit
- Digital Torque Screwdriver 0.10Nm - 2.0Nm
-
Release the tabs (x2) that attach the
LH map light to the headliner, and then remove the LH map light from the
headliner.
Install
-
Position the LH map light to the
headliner, and then install the tabs (x2) that attach the LH map light to the
headliner.
-
Install the bolt that attaches the LH
rear map light to the headliner.
 0.55 Nm (5 lbs-in)TIpUse of the following tool(s) is recommended:
- Torx T10 bit
- Digital Torque Screwdriver 0.10Nm - 2.0Nm
-
Connect the electrical connector to the LH map lamp.
-
Install the partially removed
headliner.
Note2x clips, 1x locating pin. First push the locating pin in the hole and then push the headliner until the clips engage.
-
Align the LH map light bezel pin, and
then install the tabs (x2) that attach the LH map light bezel to the headliner.
NoteMake sure that the bezel alignment pin is fully seated into the map light.
-
Install the LH coat hook screw.
 2.5 Nm (1.8 lbs-ft)TIpUse of the following tool(s) is recommended:
- Torx T25 socket
-
Close the LH coat hook screw
cover.
-
Close the LH coat hook cover.
-
Install new tether hooks (x2) (1771862-00-C) onto the LH side rail assembly.
- Install the LH side rail assembly. See Trim - Side Rail - LH (Remove and Replace).
- Connect a laptop with Toolbox to the vehicle. See Toolbox (Connect and Disconnect).
- In Toolbox, click the Actions tab, and then search for "Rear Dome Lights".
- Click TEST-SELF_VCLEFT_REAR-DOME-LIGHTSvia Toolbox: (link), and then click Run and allow the routine to complete.
- Disconnect Toolbox and remove the laptop from the vehicle. See Toolbox (Connect and Disconnect).
- Reinstall the vehicle firmware. See Software Reinstall - Touchscreen.