2023-10-17
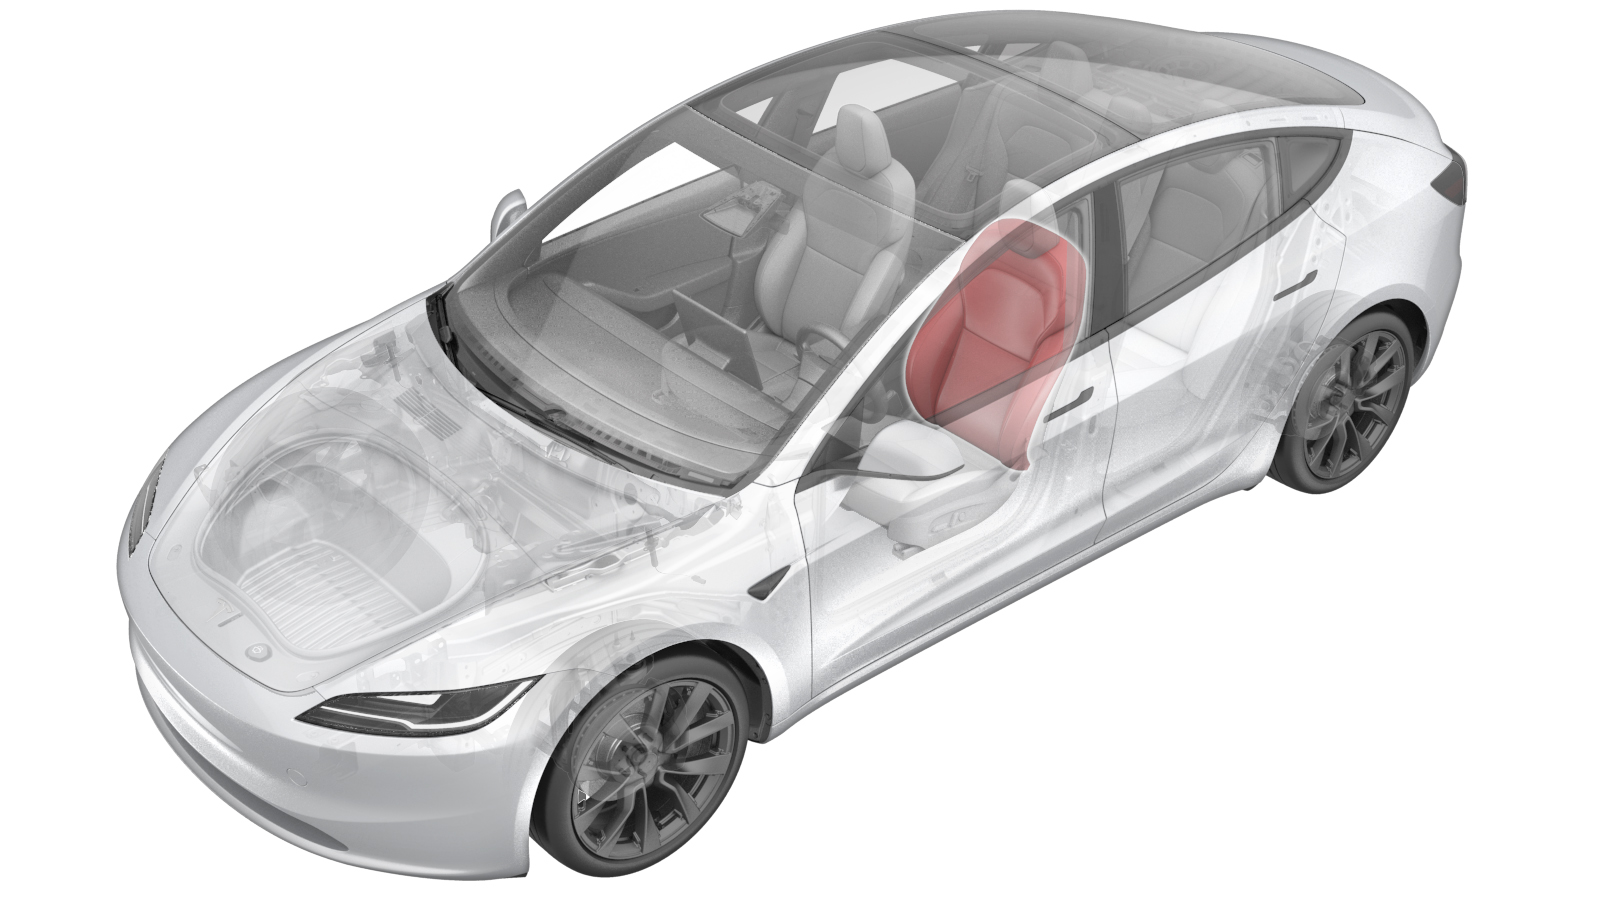
Trim - Seat Back - Front Seat - LH (Remove and Replace)
 Correction code
1307010042
FRT
0.90
NOTE: Unless otherwise explicitly stated in the procedure, the correction code and FRT listed above reflect all of the work required to perform this procedure, including the linked procedures. Do not stack correction codes unless explicitly told to do so.
NOTE: See Flat Rate Times to learn more about FRTs and how they are created.
NOTE: See Personal Protection to make sure you
are wearing proper PPE when performing the procedure below.
NOTE: See Ergonomic Precautions for safe and healthy working practices.
Correction code
1307010042
FRT
0.90
NOTE: Unless otherwise explicitly stated in the procedure, the correction code and FRT listed above reflect all of the work required to perform this procedure, including the linked procedures. Do not stack correction codes unless explicitly told to do so.
NOTE: See Flat Rate Times to learn more about FRTs and how they are created.
NOTE: See Personal Protection to make sure you
are wearing proper PPE when performing the procedure below.
NOTE: See Ergonomic Precautions for safe and healthy working practices.
Warning
Seat base edges are
sharp and can cause personal injury. Wear cut resistant gloves when removing the seat
from the vehicle, and while performing procedures that involve work on or near the seat
base.
Torque Specifications
| Description | Torque Value | Recommended Tools | Reuse/Replace | Notes |
|---|---|---|---|---|
| Bolt that attaches the bottom of the lumbar support to the seat back frame |
 5 Nm (3.7 lbs-ft) |
|
Reuse | |
| Nuts (x2) that attach the driver seat side airbag to the seat back frame |
5.4 Nm (4.0 lbs-ft) |
|
Replace | |
| Nuts (x2) that attach the FSAB to the seat back frame |
5.4 Nm (4.0 lbs-ft) |
|
Replace |
Remove
- Remove the driver seat from the vehicle. See Seat Assembly - 1st Row - LH (Remove and Replace).
- Remove the driver headrest trim. See Headrest - Front Seat - LH (Remove and Replace).
- Remove the driver seat back shell. See Shell - Seat Back - Front Seat - LH (Remove and Replace).
-
Remove the upper and lower flaps
covering the outboard side of the seat back frame.
NotePull the flaps out of the metal retaining tabs to release them.
-
Remove the upper and lower flaps
covering the inboard side of the seat back frame.
NotePull the flaps out of the metal retaining tabs to release them.
-
Release the driver seat back trim
retainers (x7) from the driver seat back frame and then untie the locking flaps that
cover the upper part of the seat back frame.
-
Pull the seat upholstery away from the side air bag to gain access to the air bag
electrical connector.
-
Press and hold the black tabs on both
sides and pull them down to disconnect the airbag electrical connector.
-
Pull the seat upholstery away from the
FSAB to gain access to the air bag electrical connector.
-
Press and hold the black tabs on both sides and pull them down to disconnect the seat
FSAB electrical connector.
-
Remove the bolt that attaches the
bottom of the lumbar support to the seat back frame.
NoteThe bolt is located below the lumbar ECU. Removing this bolt allows ease of access for the following step.TIpUse of the following tool(s) is recommended:
- 2 in extension
- 10 mm socket
- Cordless 1/4in Dr Ratchet
- Electronic torque wrench (for installation only)
-
Release the tabs (x2) that attach the
bottom of the lumbar support to the seat back frame.
-
Remove the nuts (x2) that attach the
driver seat side airbag to the seat back frame.
NoteDo not use impact tool. Discard the nuts after removal.TIpUse of the following tool(s) is recommended:
- 10 mm socket
- Ratchet/torque wrench
-
Carefully pull the driver seat side
airbag chute away from the seat back frame.
CAUTIONDo not remove the airbag from the airbag chute.
-
Remove the nuts (x2) that attach the
driver seat FSAB to the seat back frame.
NoteDo not use impact tool. Discard the nuts after removal.TIpUse of the following tool(s) is recommended:
- 10 mm socket
- Ratchet/torque wrench
-
Carefully pull the FSAB and fasteners away from the seat back frame.
CAUTIONDo not remove the airbag from the airbag chute.
-
Remove the seat upholstery by pulling the bottom of the seat back trim away from the
seat back frame.
NoteMake sure the heater harness and the seat back trim is clear of the seat back frame.
-
Slide the side airbag chute with the
airbag still inside through the seatback foam, and then carefully remove the airbag from
the airbag chute.
CAUTIONMake sure that the driver side airbag mounting studs do not catch in the holes of the airbag chute.CAUTIONHandle the airbag with extreme care when removing it from the airbag chute. The airbag is configured/folded in a specific manner and will need to be replaced if it is dropped, altered or manipulated in any way.
-
Slide the FSAB chute with the airbag still inside through the seatback foam, and then
carefully remove the airbag from the airbag chute.
CAUTIONMake sure that the driver FSAB mounting studs do not catch in the holes of the airbag chute.CAUTIONHandle the airbag with extreme care when removing it from the airbag chute. The airbag is configured/folded in a specific manner and will need to be replaced if it is dropped, altered or manipulated in any way.
-
Remove the heater harness from the seat back trim assembly.
-
Release the straps that attach the
driver seat seat back trim to the seat back foam and remove the driver seat seat back
trim from the seat back foam.
CAUTIONBe careful when releasing the straps to avoid damage.
Install
- Install the driver seat seat back trim to the seat back foam.
-
Install the straps that attach the
driver seat seat back trim to the seat back foam.
NoteMake sure the straps are secured.
-
Install the heater harness to the seat back trim assembly.
-
Install the driver FSAB into the airbag chute, and then insert the airbag chute with
the airbag inside through the slot in the seat back foam.
CAUTIONMake sure that the driver FSAB mounting studs extend out of the holes of the chute.CAUTIONHandle the airbag with extreme care when installing it into the airbag chute. The airbag is configured/folded in a specific manner and will need to be replaced if it is dropped, altered or manipulated in any way.
-
Install the driver side airbag into
the airbag chute, and then insert the airbag chute with the airbag inside through the
slot in the seat back foam.
CAUTIONMake sure that the driver side airbag mounting studs extend out of the holes of the chute.CAUTIONHandle the airbag with extreme care when installing it into the airbag chute. The airbag is configured/folded in a specific manner and will need to be replaced if it is dropped, altered or manipulated in any way.
-
Install the driver seat seat back and
foam onto the seat back frame.
NoteStart by sliding the foam trim straight onto the seat back frame. Ensure the posts for the headrests engage the seat back foam. Ensure the heater harness and lower trim that engages the frame are pushed through to the back side of the frame.
-
Position the driver side air bag studs
into the seat frame and install the nuts (x2) that attach the driver seat airbag to the
seat back frame.5.4 Nm (4.0 lbs-ft)TIpUse of the following tool(s) is recommended:
- 10 mm socket
- Ratchet/torque wrench
-
Connect the driver seat side air bag electrical connector.
-
Position the driver FSAB studs into the seat frame and install the nuts (x2) that
attach the FSAB to the seat back frame.5.4 Nm (4.0 lbs-ft)TIpUse of the following tool(s) is recommended:
- 10 mm socket
- Ratchet/torque wrench
-
Connect the driver seat FSAB electrical connector.
-
Install the tabs(x2) that attach the
bottom of the lumbar support to the seat back frame.
-
Install the bolt that attaches the
bottom of the lumbar support to the seat back frame.5 Nm (3.7 lbs-ft)NoteThe bolt is located below the lumbar ECU.TIpUse of the following tool(s) is recommended:
- 2 in extension
- 10 mm socket
- Cordless 1/4in Dr Ratchet
- Electronic torque wrench (for installation only)
-
Install the lower and upper flaps covering the inboard side of the seat back
frame.
NotePull the flaps over the metal retaining tabs to secure them.
-
Install the lower and upper flaps
covering the outboard corner of the seat back frame.
NotePull the flaps over the metal retaining tabs to secure them.
-
Tie the locking flaps that cover the upper part of the seat back frame and then
install the driver seat back trim retainers (x7) to the driver seat back frame.
- Install the seat back shell onto the seat. See Shell - Seat Back - Front Seat - LH (Remove and Replace).
- Install the driver headrest trim. See Headrest - Front Seat - LH (Remove and Replace).
- Install the driver seat into the vehicle. See Seat Assembly - 1st Row - LH (Remove and Replace).