2023-10-17
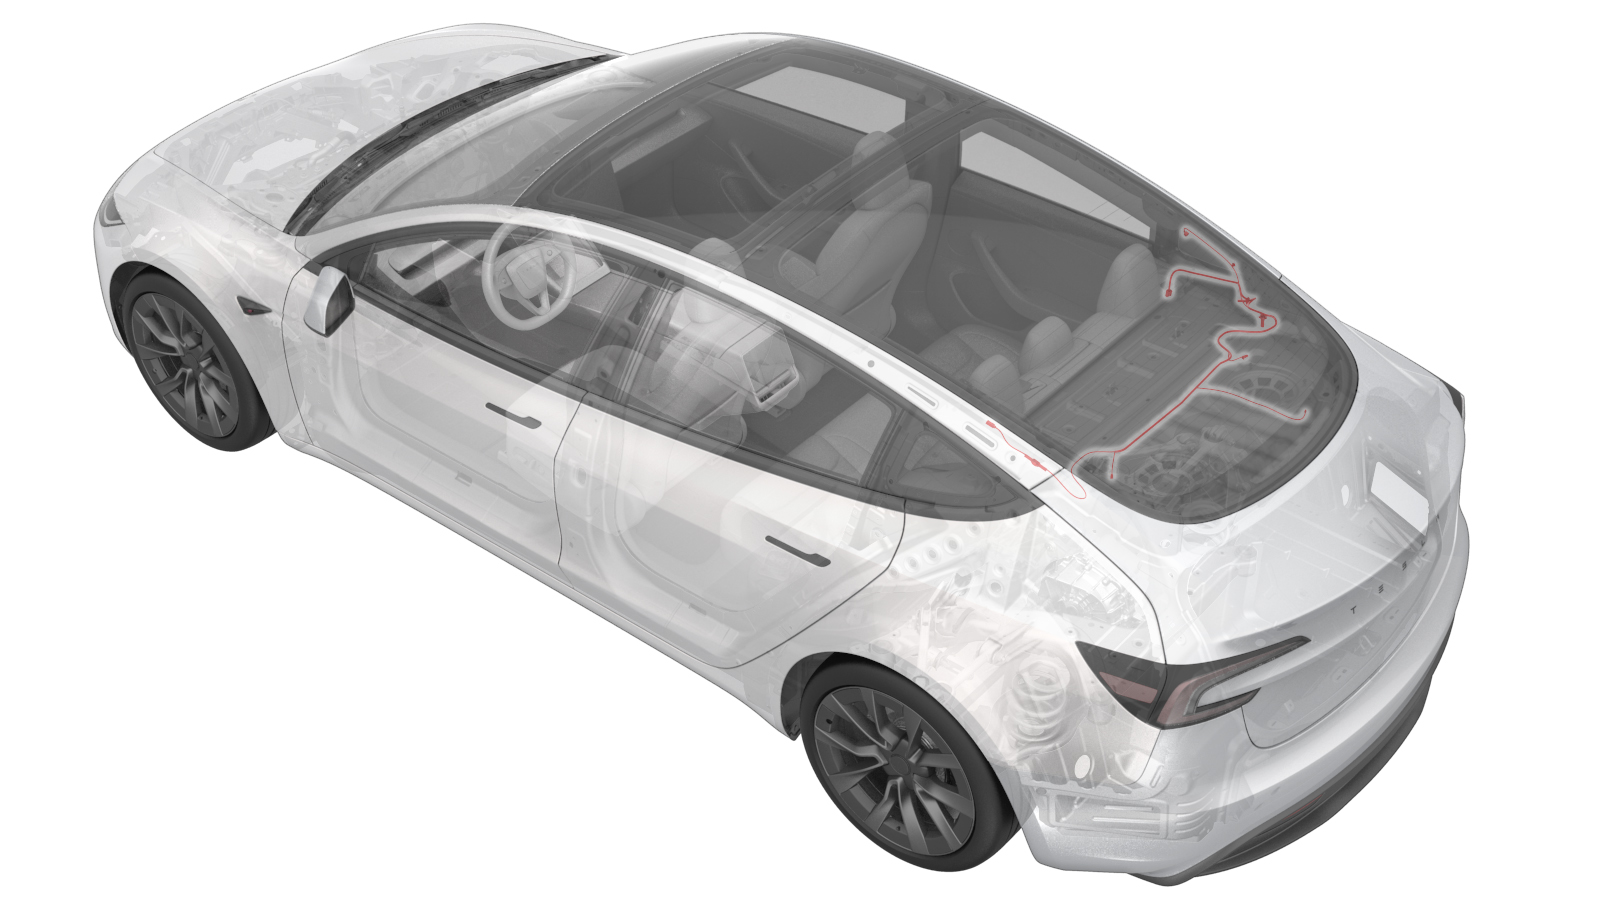
Harness - Parcel Shelf (Gen 2) (EU) (Remove and Replace)
 Correction code
1710100012
FRT
0.54
NOTE: Unless otherwise explicitly stated in the procedure, the above correction code and FRT reflect all of the work required to perform this procedure, including the linked procedures. Do not stack correction codes unless explicitly told to do so.
NOTE: See Flat Rate Times to learn more about FRTs and how they are created. To provide feedback on FRT values, email ServiceManualFeedback@tesla.com.
NOTE: See Personal Protection to make sure wearing proper PPE when performing the below procedure.
NOTE: See Ergonomic Precautions for safe and healthy working practices.
- 1111306-00-A GLUE GUN
Remove
- Remove the LH and RH side rail trims. See Trim - Side Rail - LH (Remove and Replace).
- Remove the LH and RH side bolsters. See Bolster - Side - Seat - 2nd Row - LH (Remove and Replace).
-
Remove the LH and RH
C-pillar trims. See Trim - C-Pillar - LH (Remove and Replace).
NoteNo need to remove the bolts that attach the seatbelt anchors to the body.
- Remove the package tray trim. See Trim - Package Tray (Premium) (Remove and Replace).
-
Disconnect the electrical connector from the LH parcel shelf speaker.
-
Disconnect the electrical connector from the RH parcel shelf speaker.
-
Disconnect the electrical connector from the high mounted brake
light.
-
Remove the sound insulation cotton.
NoteOnly remove the soundproof cotton which covers the harness.
-
Remove the tree clips (x2) and clips (x6) that attach the parcel shelf
harness to the parcel shelf, and then remove the harness from the
vehicle.
Install
-
Fasten the tree clips (x2) and clips (x6) that attach the parcel shelf
harness to the parcel shelf.
-
Connect the electrical connector to the LH parcel shelf speakers.
-
Connect the electrical connector to the RH parcel shelf speakers.
-
Connect the electrical connector to the center high mounted brake
light.
-
Use a glue gun to apply hot glue adhesive to the original position and
install the sound insulation cotton.
NoteOnly install the soundproof cotton which covers the harness.
- Install the package tray trim. See Trim - Package Tray (Premium) (Remove and Replace).
-
Install the LH and RH
C-pillar trims. See Trim - C-Pillar - LH (Remove and Replace).
NoteNo need to install the bolts that attach the seatbelt anchors to the body.
- Install the LH and RH side bolsters. See Bolster - Side - Seat - 2nd Row - LH (Remove and Replace).
- Install the LH and RH side rail trims. See Trim - Side Rail - LH (Remove and Replace).