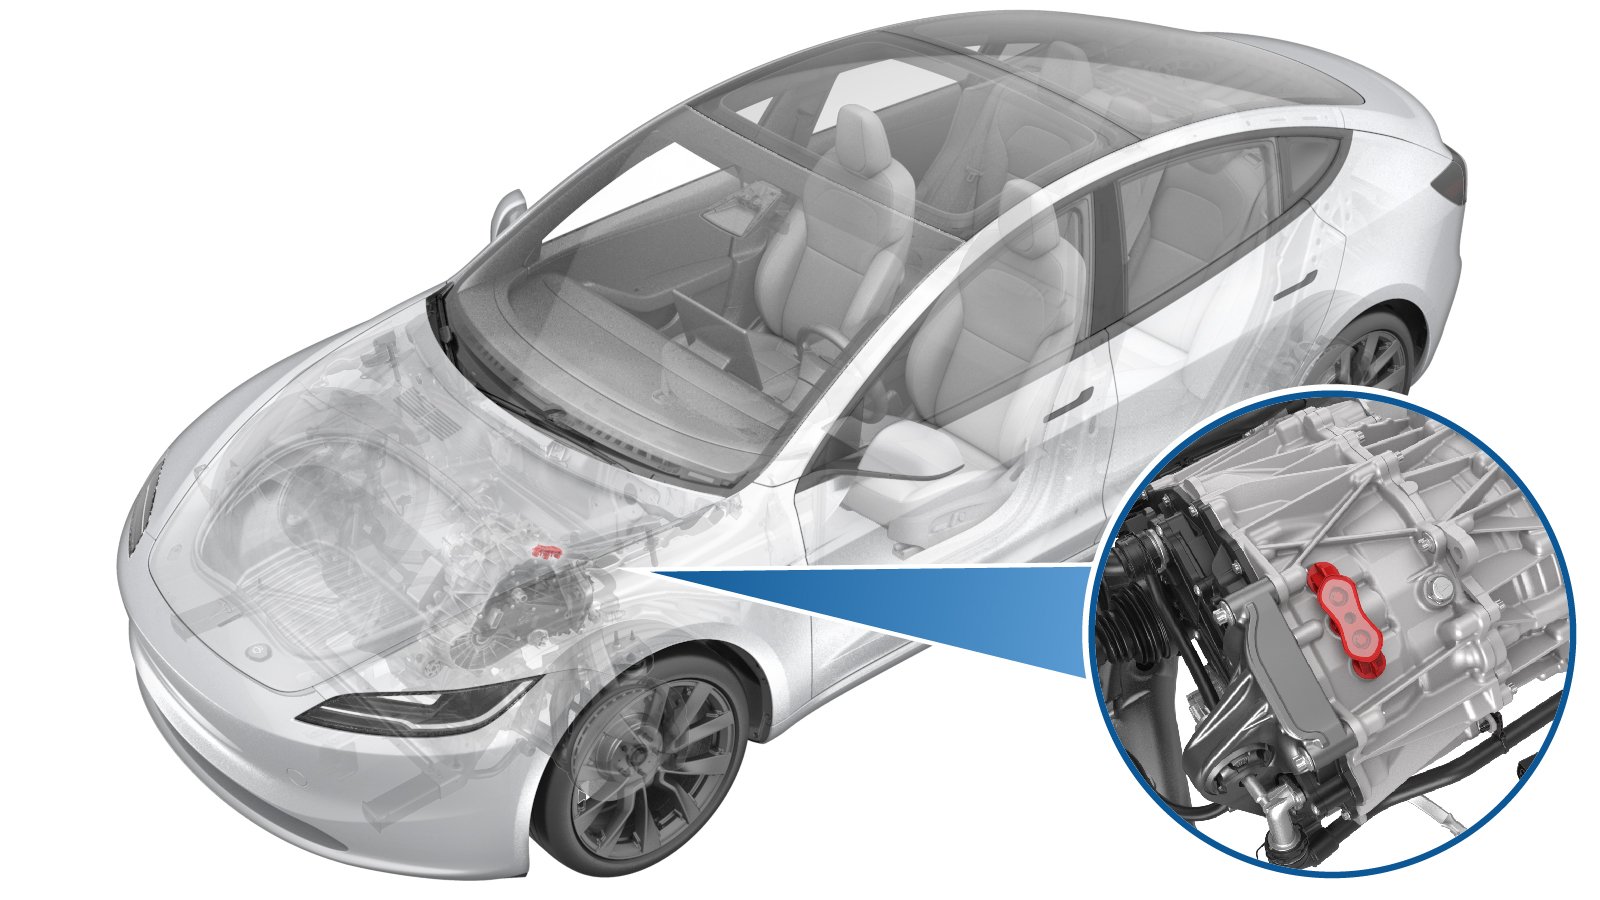
Cover Assembly - Phase Out - Front Dreive Unit (3DU) (Remove and Replace)
 Correction code
3901010052
FRT
0.72
NOTE: Unless
otherwise explicitly stated in the procedure, the above correction code and
FRT reflect all of the work required to perform this procedure, including
the linked procedures. Do
not stack correction codes unless explicitly told to do so.
NOTE: See Flat Rate
Times to learn more about FRTs and how
they are created. To provide feedback on FRT values, email ServiceManualFeedback@tesla.com.
NOTE: See Personal Protection
to make sure wearing proper PPE when performing the below procedure.
NOTE: See Ergonomic Precautions for safe and
healthy working practices.
| Description | Torque Value | Recommended Tools | Reuse/Replace | Notes |
|---|---|---|---|---|
| Bolts that attach the front harness bracket to the vehicle |
 9 Nm (6.6 lbs-ft) |
|
Reuse | |
| Bolts that secure the phase out cover |
 14 Nm (10.3 lbs-ft) |
|
Reuse |
Remove
- Open the LH front door and lower all windows.
- Move the front seats forward.
- Perform Vehicle HV Disablement Procedure. See Vehicle HV Disablement Procedure (Test/Adjust).
- Remove the front body controller. See Module - Body Controller - Front (Gen 3) (Remove and Replace).
-
Remove the bolts (x2) that attach the front harness bracket to the
vehicle.
TIpUse of the following tool(s) is recommended:
- Ratchet/torque wrench
- 10 mm socket
- 2 in extension
-
Remove and discard the front
drive unit phase out cover label.
-
Remove the bolts (x2) that secure the phase out cover.
TIpUse of the following tool(s) is recommended:
- Socket 3/8in Dr EP10
- Cordless 1/4in Dr Ratchet
- 2 in extension
- Ratchet/torque wrench
- 4 in extension
- ¼ in to 3/8 in adapter
- ESD Strap
-
Remove the phase out cover.
NoteUse a plastic trim tool as needed. If the phase out cover or the O-rings are damaged, replace with a new unit.
Install
-
Install the phase out cover.
NoteIf the phase out cover or the O-rings are damaged, replace with a new unit.
-
Install the bolts (x2) that secure the phase out cover.
 14 Nm (10.3 lbs-ft)TIpUse of the following tool(s) is recommended:
- Socket 3/8in Dr EP10
- Cordless 1/4in Dr Ratchet
- 2 in extension
- Ratchet/torque wrench
- 4 in extension
- ¼ in to 3/8 in adapter
- ESD Strap
-
Apply a new front drive unit
inverter phase out cover label.
-
Install the bolts (x2) that attach the front harness bracket to the
vehicle.
 9 Nm (6.6 lbs-ft)TIpUse of the following tool(s) is recommended:
- Ratchet/torque wrench
- 10 mm socket
- 2 in extension
- Install the front body controller. See Module - Body Controller - Front (Gen 3) (Remove and Replace).
- Move the front seats to the original position.
- Raise all windows and close the LH front door.