2025-03-17
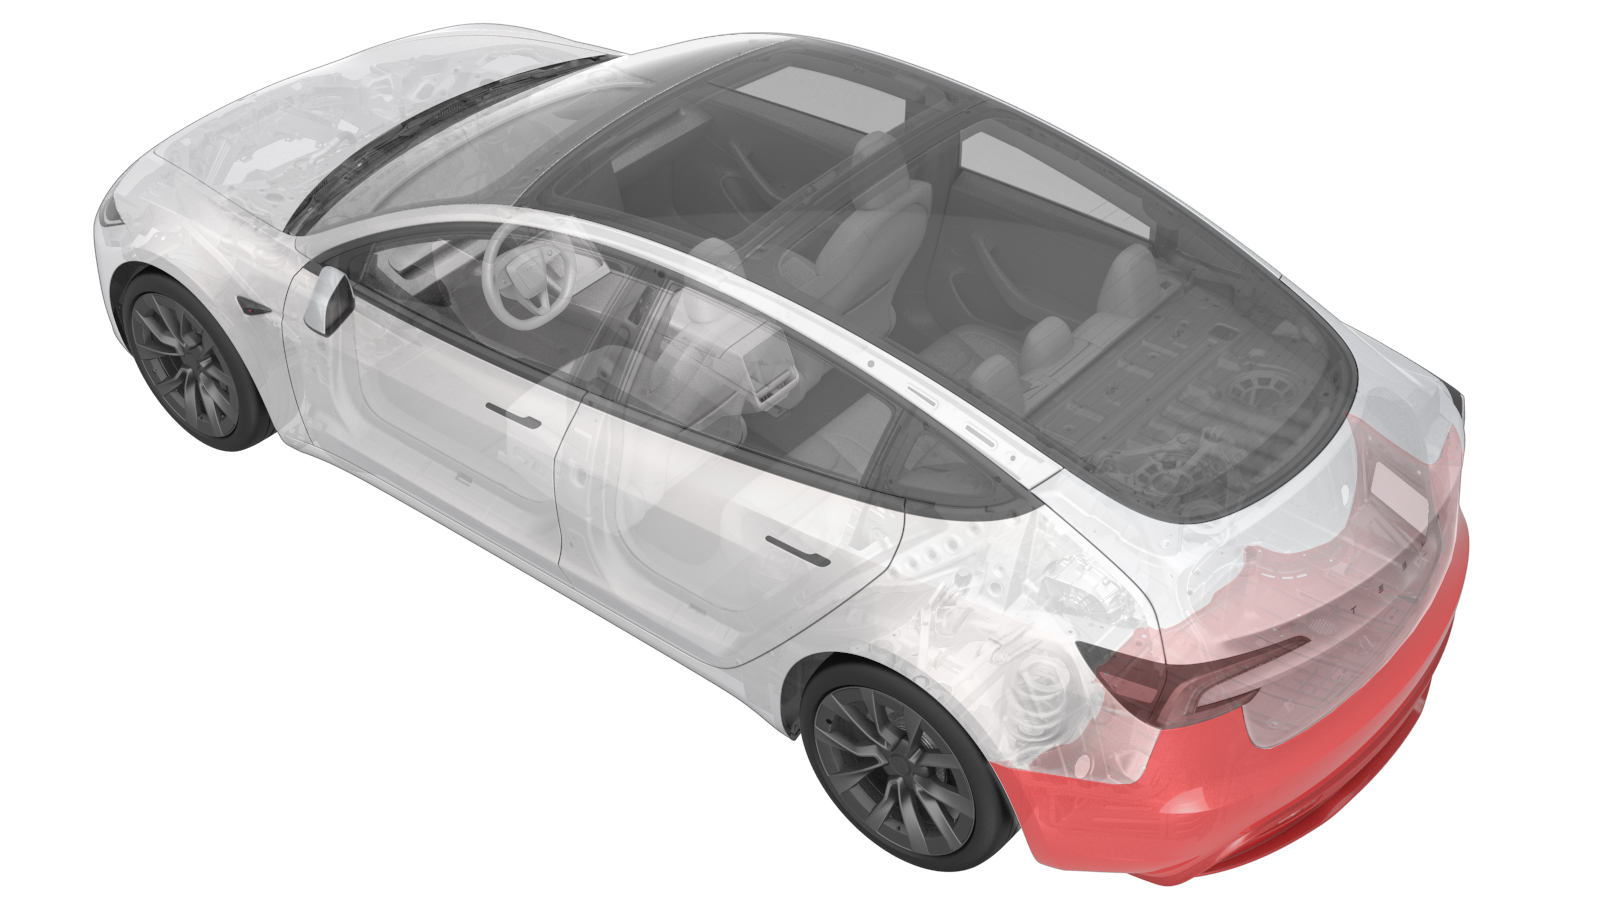
Fascia Assembly - Rear (Remove and Install)
 Correction code
10013001
FRT
0.36
NOTE: Unless otherwise explicitly stated in the procedure, the correction code and FRT listed above reflect all of the work required to perform this procedure, including the linked procedures. Do not stack correction codes unless explicitly told to do so.
NOTE: See Flat Rate Times to learn more about FRTs and how they are created.
NOTE: See Personal Protection to make sure you
are wearing proper PPE when performing the procedure below.
NOTE: See Ergonomic Precautions for safe and healthy working practices.
Correction code
10013001
FRT
0.36
NOTE: Unless otherwise explicitly stated in the procedure, the correction code and FRT listed above reflect all of the work required to perform this procedure, including the linked procedures. Do not stack correction codes unless explicitly told to do so.
NOTE: See Flat Rate Times to learn more about FRTs and how they are created.
NOTE: See Personal Protection to make sure you
are wearing proper PPE when performing the procedure below.
NOTE: See Ergonomic Precautions for safe and healthy working practices.
- 2025-03-18: Added a tip for the trough trim clips removal.
Torque Specifications
| Description | Torque Value | Recommended Tools | Reuse/Replace | Notes |
|---|---|---|---|---|
| Bolts (x2) that attach the LH and RH trough trims to the body |
 1.2 Nm (.9 lbs-ft) |
|
Reuse | |
| Bolts (x2) that attach the LH and RH corners of the rear fascia to the body |
4 Nm (2.9 lbs-ft) |
|
Reuse | |
| Bolts (x5) that attach the rear portion of the mid aero shield to the vehicle |
5 Nm (3.7 lbs-ft) |
|
Reuse | |
| Bolts (x4) that attach the rear diffuser to the vehicle |
4 Nm (2.9 lbs-ft) |
|
Reuse | |
| Screws and U-nuts that attach the rear fascia to the quarter panel |
2 Nm (1.5 lbs-ft) |
|
Reuse |
Remove
-
Place the vehicle on the
2-post lift.
TIpEnsure the vehicle is not charging.
- Open the liftgate.
-
Remove the clips (x6) and
the bolts (x2) that attach the LH and RH trough trims to the body.
NoteAvoid damaging the clip seal when prying the trim. If necessary, release the clip from inside to avoid the damage.TIpUse of the following tool(s) is recommended:
- Torx T25 socket
Figure 1. LH Shown, RH Similar -
Remove the bolts (x2) that
attach the LH and RH corners of the rear fascia to the body.
TIpUse of the following tool(s) is recommended:
- 10 mm socket
Figure 2. LH shown, RH similar - Raise the vehicle.
-
Use a clip pry tool to
remove the clips (x3) that attach the LH rear wheel arch liner to the rear
fascia, then repeat this step on the RH side.
Figure 3. LH shown, RH similar -
Remove the bolts (x5) that attach the rear portion of the mid aero shield
to the vehicle.
TIpUse of the following tool(s) is recommended:
- 10 mm socket
-
Remove the bolts (x4) that attach the rear diffuser to the vehicle.
TIpUse of the following tool(s) is recommended:
- 10 mm socket
- Lower the vehicle.
-
Remove the screw and U-nut that attach the rear fascia to the LH quarter
panel, then repeat this step on the RH side.
TIpUse of the following tool(s) is recommended:
- Torx T25 socket
Figure 4. LH shown, RH similar -
With assistance, disconnect
the electrical connectors (x2), and then remove the rear fascia assembly and
place it on a padded surface.
Install
-
With an assistant, position
the rear fascia onto the vehicle, then connect the electrical connectors
(x2).
- Raise the vehicle.
-
Apply a thin bead of Loctite
222 to the threads of the bolts (x5) that attach the rear portion of the mid
aero shield to the vehicle.5 Nm (3.7 lbs-ft)TIpUse of the following tool(s) is recommended:
- 10 mm socket
-
Apply a thin bead of Loctite
222 to the threads of the bolts (x4) that attach the rear diffuser to the
vehicle.4 Nm (2.9 lbs-ft)TIpUse of the following tool(s) is recommended:
- 10 mm socket
- Lower the vehicle.
-
Install the screw and U-nut
that attach the rear fascia to the LH quarter panel, then repeat this step
on the RH side.2 Nm (1.5 lbs-ft)TIpUse of the following tool(s) is recommended:
- Torx T25 socket
Figure 5. LH shown, RH similar -
Install the clips (x3) that attach the LH rear wheel arch liner to the rear
fascia, then repeat this step on the RH side.
Figure 6. LH shown, RH similar - Lower the vehicle to the ground.
-
Install the bolts (x2) that
attach the LH and RH corners of the rear fascia to the body.4 Nm (2.9 lbs-ft)TIpUse of the following tool(s) is recommended:
- 10 mm socket
Figure 7. LH shown, RH similar -
Install the clips (x6) and
bolts (x2) that attach the LH and RH trough trims to the body.1.2 Nm (.9 lbs-ft)TIpUse of the following tool(s) is recommended:
- Torx T25 socket
Figure 8. LH shown, RH similar - Remove the vehicle from the 2-post lift.