2026-05-13
Wiper Module (LHD) (Remove and Replace)
 Correction code
1750011012
FRT
0.42
NOTE: Unless otherwise explicitly stated in the procedure, the correction code and FRT listed above reflect all of the work required to perform this procedure, including the linked procedures. Do not stack correction codes unless explicitly told to do so.
NOTE: See Flat Rate Times to learn more about FRTs and how they are created.
NOTE: See Personal Protection to make sure you
are wearing proper PPE when performing the procedure below.
NOTE: See Ergonomic Precautions for safe and healthy working practices.
Correction code
1750011012
FRT
0.42
NOTE: Unless otherwise explicitly stated in the procedure, the correction code and FRT listed above reflect all of the work required to perform this procedure, including the linked procedures. Do not stack correction codes unless explicitly told to do so.
NOTE: See Flat Rate Times to learn more about FRTs and how they are created.
NOTE: See Personal Protection to make sure you
are wearing proper PPE when performing the procedure below.
NOTE: See Ergonomic Precautions for safe and healthy working practices.
- 2026-05-13: Added pinch point warning.
| Description | Torque Value | Recommended Tools | Reuse/Replace | Notes |
|---|---|---|---|---|
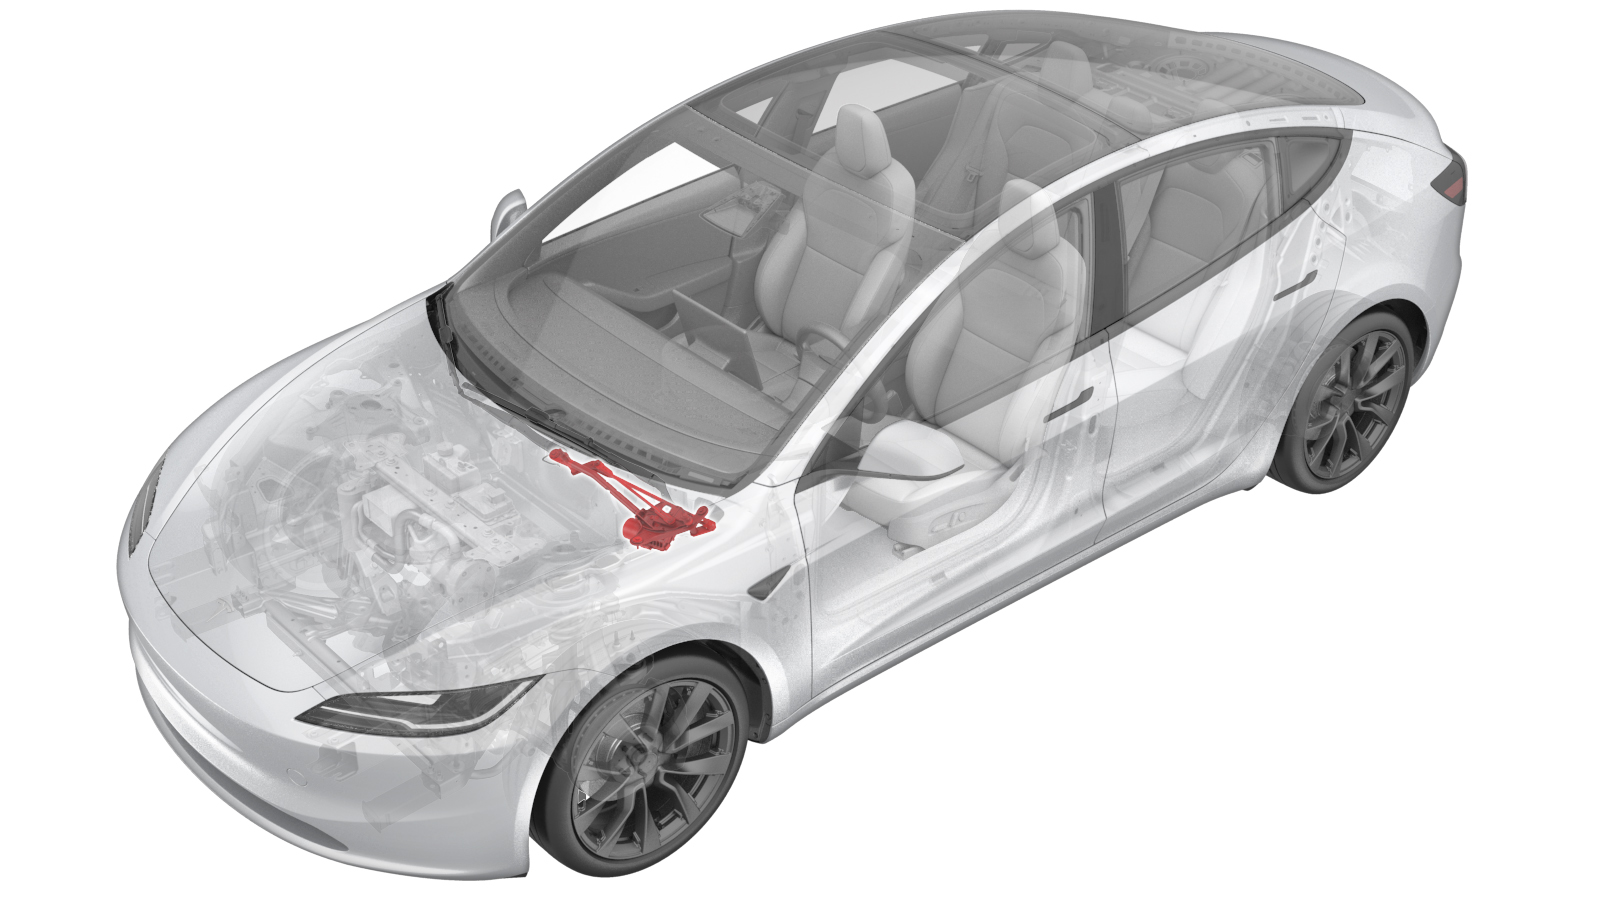
| Bolts (x3) that attach the wiper module to the body |
 7 Nm (5.2 lbs-ft) |
|
Reuse |
Remove
- Open the LH front door and lower the LH front window.
- Remove the underhood storage unit. See Underhood Storage Unit (Remove and Replace).
- Remove the wiper arms. See Wiper Arm - Driver Side (Remove and Replace).
- Remove the cowl screen panel. See Panel - Cowl Screen (Remove and Replace).
-
Disconnect the wiper module connector.
NoteDo not place the limbs within the linkage movement area as the wiper arms will automatically transition to parking mode.
-
Remove the bolts (x3) that attach the wiper module to the body, and then
remove the wiper module from the vehicle.
TIpUse of the following tool(s) is recommended:
- 10 mm socket
Install
-
Install the bolts (x3) that attach the wiper module to the body.7 Nm (5.2 lbs-ft)WarningKeep your fingers away from any potential pinch points and moving parts while connecting and installing the wiper module. Do not attempt to test the module until it is fully installed in the vehicle.TIpUse of the following tool(s) is recommended:
- 10 mm socket
-
Connect the wiper module connector.
NoteDo not place the limbs within the linkage movement area as the wiper arms will automatically transition to parking mode.
- Install the cowl screen panel. See Panel - Cowl Screen (Remove and Replace).
- Install the wiper arms. See Wiper Arm - Driver Side (Remove and Replace).
- Install the underhood storage unit. See Underhood Storage Unit (Remove and Replace).
- Raise the LH front window and close the LH front door.