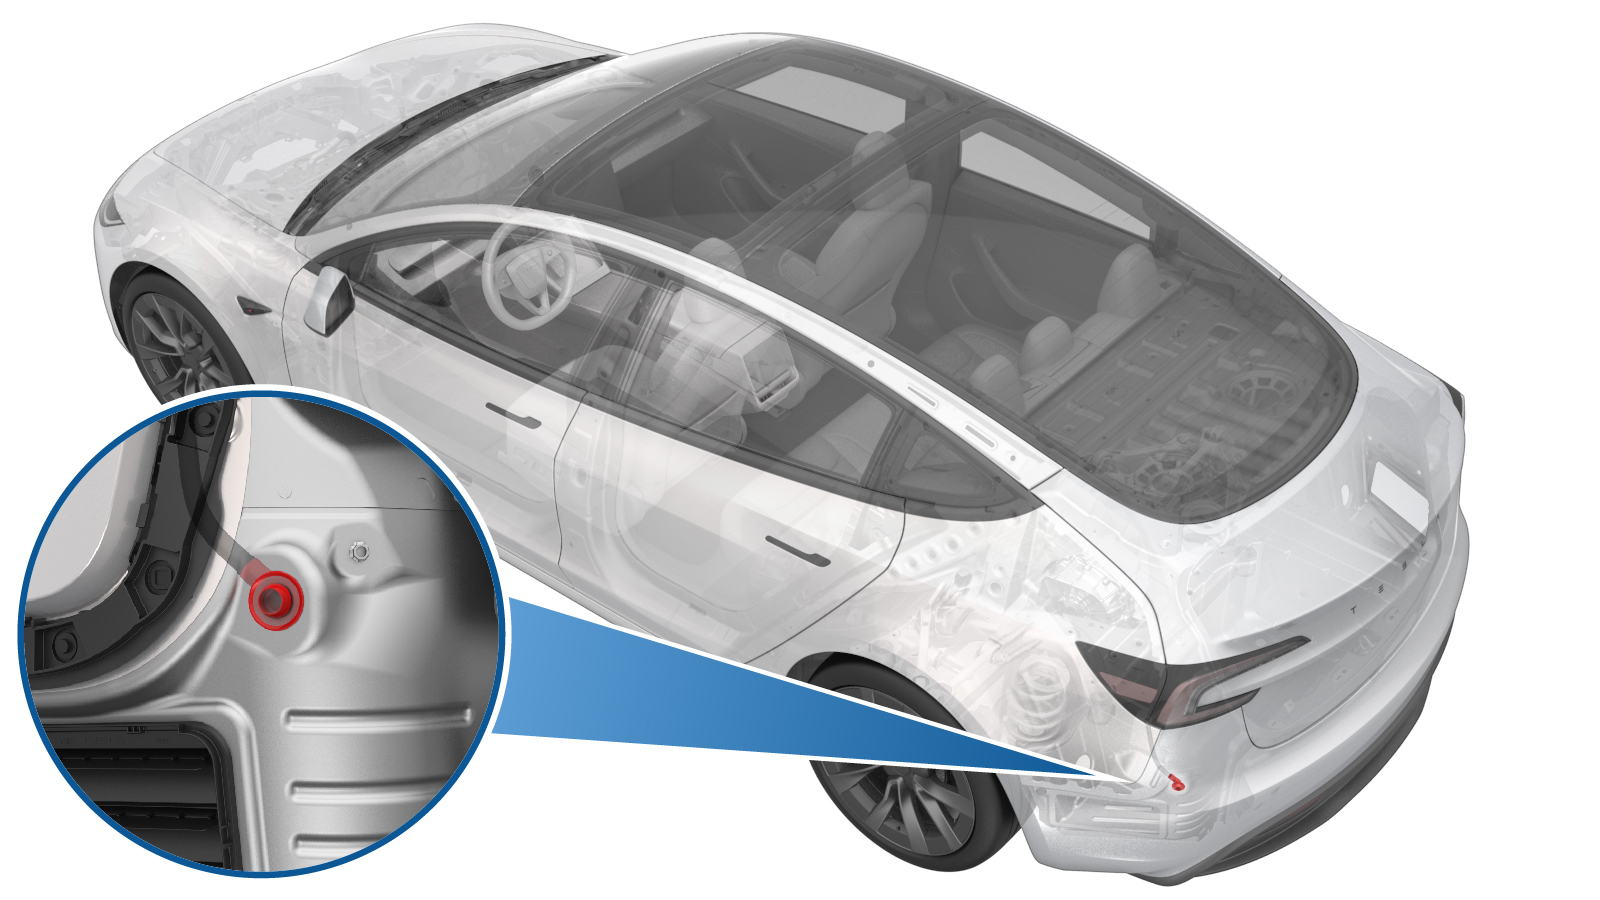
Elbow - Drain Tube Assembly (Remove and Replace)
 Correction code
4401010012
FRT
0.18
NOTE: Unless
otherwise explicitly stated in the procedure, the above correction code and
FRT reflect all of the work required to perform this procedure, including
the linked procedures. Do
not stack correction codes unless explicitly told to do so.
NOTE: See Flat Rate
Times to learn more about FRTs and how
they are created. To provide feedback on FRT values, email ServiceManualFeedback@tesla.com.
NOTE: See Personal Protection
to make sure wearing proper PPE when performing the below procedure.
NOTE: See Ergonomic Precautions for safe and
healthy working practices.
Remove
- Remove the rear trunk load floor. See Load Floor - Trunk (Remove and Replace).
- Remove the trunk garnish. Garnish - Trunk (Remove and Replace).
- Remove the trunk sill trim. See Trim - Trunk Sill (Remove and Replace).
- Remove the LH trunk load floor bracket. See Bracket - Trunk Load Floor - LH (Remove and Replace).
-
Disconnect the LH trunk task
light connector.
-
Use a pry tool to remove the
clip that attaches the LH trunk side trim to the vehicle.
-
Move the LH trunk side trim
aside to gain access to the working area.
CAUTIONAvoid excessive folding which may leads to creasing.
-
Remove the elbow from the
vehicle.
-
Remove the elbow from the charge port outlet hose.
Install
-
Install the elbow to the charge port outlet hose.
NoteMake sure to install the corresponding side of the elbow to the charge port outlet hose.
-
Install the elbow to the vehicle.
NoteMake sure the elbow is fully seated.
- Move the LH trunk side trim back to its original position.
-
Connect the LH trunk task light electrical connector.
-
Install the clip that attaches the LH trunk side trim to the vehicle.
- Install the trunk garnish. Garnish - Trunk (Remove and Replace).
- Install the LH trunk load floor bracket. See Bracket - Trunk Load Floor - LH (Remove and Replace).
- Install the trunk sill trim. See Trim - Trunk Sill (Remove and Replace).
- Install the LH trunk load floor. See Load Floor - Trunk (Remove and Replace).