2026-02-24
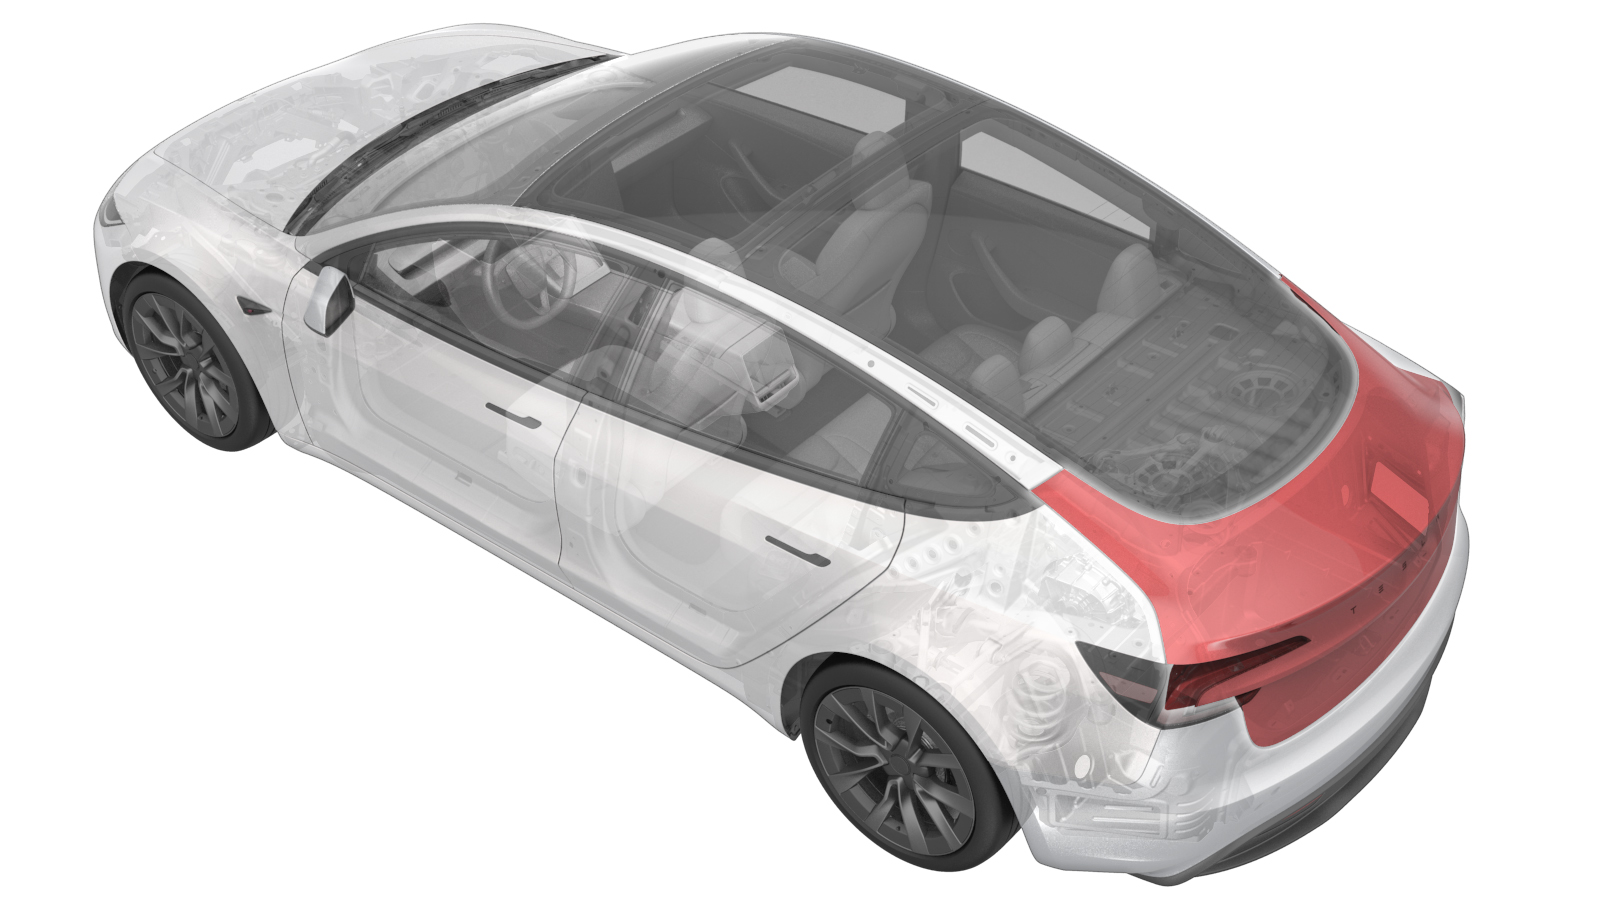
Trunk (Remove and Install)
 Correction code
1010025011
FRT
0.48
NOTE: Unless otherwise explicitly stated in the procedure, the correction code and FRT listed above reflect all of the work required to perform this procedure, including the linked procedures. Do not stack correction codes unless explicitly told to do so.
NOTE: See Flat Rate Times to learn more about FRTs and how they are created.
NOTE: See Personal Protection to make sure you
are wearing proper PPE when performing the procedure below.
NOTE: See Ergonomic Precautions for safe and healthy working practices.
Correction code
1010025011
FRT
0.48
NOTE: Unless otherwise explicitly stated in the procedure, the correction code and FRT listed above reflect all of the work required to perform this procedure, including the linked procedures. Do not stack correction codes unless explicitly told to do so.
NOTE: See Flat Rate Times to learn more about FRTs and how they are created.
NOTE: See Personal Protection to make sure you
are wearing proper PPE when performing the procedure below.
NOTE: See Ergonomic Precautions for safe and healthy working practices.
| Description | Torque Value | Recommended Tools | Reuse/Replace | Notes |
|---|---|---|---|---|
| Bolt that attaches the trunk harness ground strap to the trunk lid |
 8 Nm (5.9 lbs-ft) |
|
Replace | Inspect bolt: if it is a self tapping tri-lobular bolt (1128269-00-A) then discard, If it is a normal bolt (1447438-00-A) it can be reused |
| Bolts (x4) that attach the hinges to the trunk lid |
24 Nm (17.7 lbs-ft) |
|
Reuse |
Remove
- Open the trunk from the exterior switch.
- Open the LH front door and lower the LH front window.
- Remove the rear underhood apron. See Underhood Apron - Rear (Remove and Replace).
- Disconnect the LV power. See LV Power (Disconnect and Connect).
- Remove the trunk lid trim. See Trim - Lid - Trunk (Remove and Replace).
-
Disconnect the LH and RH tail lamp electrical connectors.
-
Disconnect the trunk latch
electrical connector.
-
Release the locking tab and then disconnect the trunk exterior release
switch electric connector.
-
Disconnect the backup camera electric connector.
-
Disconnect the LH and RH rear licence plate lamp electric connectors.
NoteBe careful not to pull on the wires.
-
Remove and discard the bolt
that attaches the trunk harness ground strap to the trunk lid.
NoteInspect the bolt: if it is a self tapping tri-lobular bolt (1128269-00-A) then discard. If it is a normal bolt (1447438-00-A) then it can be reused.TIpUse of the following tool(s) is recommended:
- 10 mm socket
-
Release the clips (x7) that
attach the trunk harness to the trunk lid.
-
Release grommet from the trunk, and then push the trunk harness through the
access hole out of the trunk lid.
-
Release the clips (x2) that attach the trunk harness along the RH side of
the decklid.
-
Remove the bolts (x4) that attach the hinges to the trunk lid.
TIpUse of the following tool(s) is recommended:
- 13 mm socket
-
With an assistant, remove
the trunk lid from the vehicle, and then place it on a padded surface.
Install
-
With an assistant, position
and align the trunk lid to the trunk hinges, and then install the bolt
washers to the previous installation positions and hand-tighten the bolts
that attach the hinges to the trunk lid.
-
Install the clips (x2) that attach the trunk harness along the RH side of
the decklid.
-
Feed the trunk harness through the access hole of the trunk lid, and then
secure the grommet to the trunk.
-
Install the clips (x7) that attach the trunk harness to the trunk
lid.
-
Connect the LH and RH rear licence plate lamp electric connectors.
NoteBe careful not to pull on the wires.
-
Connect the backup camera electric connector.
-
Connect the trunk exterior release switch electric connector and then
engage the locking tab.
-
Connect the trunk latch electrical connector.
-
Connect the LH and RH tail lamp electrical connectors.
-
Install a new bolt that attaches the trunk harness ground strap to the
trunk lid.8 Nm (5.9 lbs-ft)NoteInspect the bolt: if it is a self tapping tri-lobular bolt (1128269-00-A) then discard. If it is a normal bolt (1447438-00-A) then it can be reused.TIpUse of the following tool(s) is recommended:
- 10 mm socket
- Connect the LV power. See LV Power (Disconnect and Connect).
- Install the rear underhood apron. See Underhood Apron - Rear (Remove and Replace).
-
With an assistant, perform
the gap and flush measurement of the trunk assembly.
Note
-
Torque the bolts (x4) that attach the hinges to the trunk lid.24 Nm (17.7 lbs-ft)TIpUse of the following tool(s) is recommended:
- 13 mm socket
- Install the trunk lid trim. See Trim - Lid - Trunk (Remove and Replace).
-
Use IPA wipes to clean both trunk hinge bolts, washers, and surrounding
area prior to paint touch up.
NoteAllow to dry for 1 minute.
-
Apply touch up paint to head of LH and RH trunk hinge bolts.
NoteMake sure to shake the touch up paint before applying.
- Close the trunk via interior switch.
- Raise the LH front window and close the LH front door.