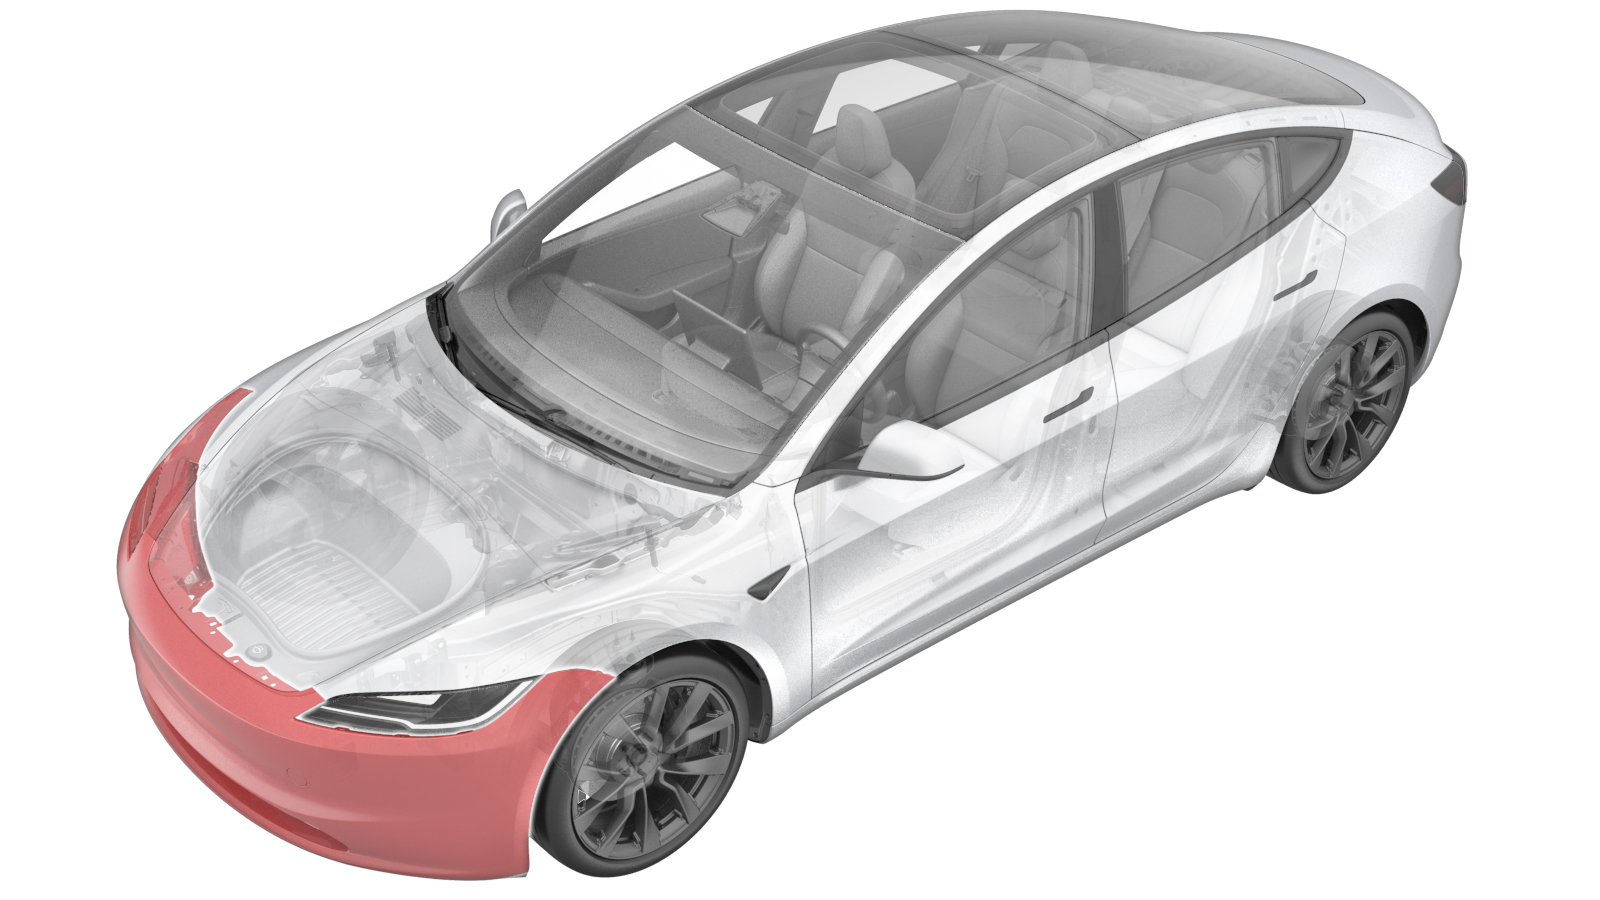
Fascia - Front (Remove and Install)
 Correction code
1001020041
FRT
0.42
NOTE: Unless
otherwise explicitly stated in the procedure, the above correction code and
FRT reflect all of the work required to perform this procedure, including
the linked procedures. Do
not stack correction codes unless explicitly told to do so.
NOTE: See Flat Rate
Times to learn more about FRTs and how
they are created. To provide feedback on FRT values, email ServiceManualFeedback@tesla.com.
NOTE: See Personal Protection
to make sure wearing proper PPE when performing the below procedure.
NOTE: See Ergonomic Precautions for safe and
healthy working practices.
- 2025-10-10: Released new procedure.
Torque Specifications
| Description | Torque Value | Recommended Tools | Reuse/Replace | Notes |
|---|---|---|---|---|
| Bolts (x5) that attach the upper portion of the front fascia to the vehicle |
 3.5 Nm (2.6 lbs-ft) |
|
Reuse | |
| Bolts that attach the front fascia to the front fenders |
 2.5 Nm (1.8 lbs-ft) |
|
Reuse | |
| Bolts (x4) that attach the valance to the front aero shield panel |
 5 Nm (3.7 lbs-ft) |
|
Reuse |
Remove
- Remove the underhood storage unit. See Underhood Storage Unit (Remove and Replace).
-
Remove the bolts (x5) that attach the
upper portion of the front fascia to the vehicle.
TIpUse of the following tool(s) is recommended:
- Cordless hex driver
- 6 in nutsetter + 10 mm magnetic deep
-
Remove the clips (x5) that attach the
LH front wheel arch liner to the front fascia, and then move the liner aside for
access.
-
Remove the bolt that attaches the
front fascia to the LH front fender.
TIpUse of the following tool(s) is recommended:
- Cordless hex driver
- 6 in nutsetter + 8 mm magnetic deep
- Repeat step 5 through step 7 on the RH side of the vehicle.
-
Remove the bolts (x4) that attach the
valance to the front aero shield panel.
TIpUse of the following tool(s) is recommended:
- 10 mm deep socket
-
Release the clip that attaches the washer hose to the body, and then disconnect the
nano nozzle to disengage the washer hose.
NoteThe hose may not be present on early production vehicles. If not, skip this step.
-
Disconnect the front fascia
connector(s).
NoteOn early production vehicle, there is only 1 connector.
Figure 1. 1 Connector Figure 2. 2 Connectors -
With assistance, release the clips
(x16) that attach the front fascia assembly to the vehicle, and then remove the assembly
from the vehicle.
CAUTIONTake care not to damage the headlights and the front fenders during removal.NoteRelease both the front corners first, and then pull upward and away from the vehicle to release all clips.NotePlace the front fascia assembly on a padded surface.
Install
-
Connect the front fascia
connector(s).
NoteOn early production vehicle, there is only 1 connector.
Figure 3. 1 Connector Figure 4. 2 Connectors -
Fasten the clips (x16) that attach the
front fascia assembly to the vehicle.
CAUTIONTake care not to damage the headlights and the front fenders during installation.NoteFasten the front fender clips first, and then the outside concern clips.
-
Install the clip that attaches the washer hose to the body, and engage the nano
nozzle to connect the washer hose.
NoteThe hose may not be present on early production vehicles. If not, skip this step.NotePerform a pull-push-pull test to verify the washer hose is properly engaged.
-
Install the bolt that attaches the
front fascia to the LH front fender.
 2.5 Nm (1.8 lbs-ft)TIpUse of the following tool(s) is recommended:
- Cordless hex driver
- 6 in nutsetter + 8 mm magnetic deep
-
Fasten the clips (x5) that attach the
LH front wheel arch liner to the front fascia, and then move the liner aside for
access.
- Repeat step 4 through step 5 on the RH side of the vehicle.
-
Install the bolts (x5) that attach the
upper portion of the front fascia to the vehicle.
 3.5 Nm (2.6 lbs-ft)TIpUse of the following tool(s) is recommended:
- Cordless hex driver
- 6 in nutsetter + 10 mm magnetic deep
-
Apply a thin bead of Loctite 222 to
the threads of the bolts (x4) that attach the valance to the front aero shield
panel.
 5 Nm (3.7 lbs-ft)TIpUse of the following tool(s) is recommended:
- 10 mm deep socket
- Install the underhood storage unit. See Underhood Storage Unit (Remove and Replace).