2026-06-29
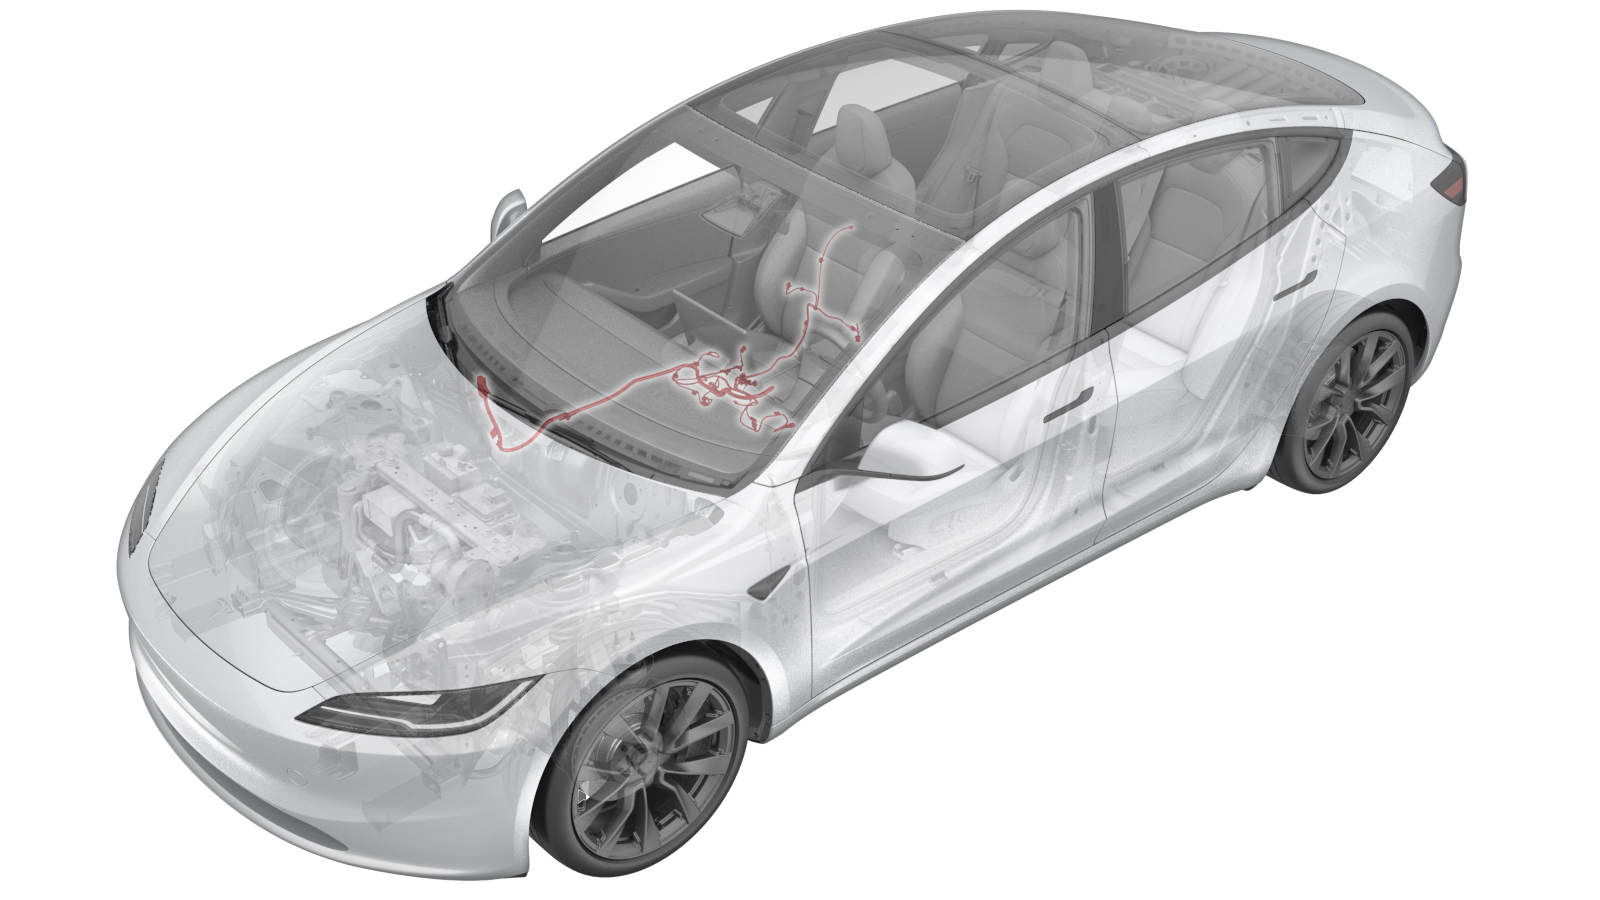
Harness - 1st Row Seat - RH (Remove and Replace)
 Correction code
1710060022
FRT
0.78
NOTE: Unless otherwise explicitly stated in the procedure, the correction code and FRT listed above reflect all of the work required to perform this procedure, including the linked procedures. Do not stack correction codes unless explicitly told to do so.
NOTE: See Flat Rate Times to learn more about FRTs and how they are created.
NOTE: See Personal Protection to make sure you
are wearing proper PPE when performing the procedure below.
NOTE: See Ergonomic Precautions for safe and healthy working practices.
Correction code
1710060022
FRT
0.78
NOTE: Unless otherwise explicitly stated in the procedure, the correction code and FRT listed above reflect all of the work required to perform this procedure, including the linked procedures. Do not stack correction codes unless explicitly told to do so.
NOTE: See Flat Rate Times to learn more about FRTs and how they are created.
NOTE: See Personal Protection to make sure you
are wearing proper PPE when performing the procedure below.
NOTE: See Ergonomic Precautions for safe and healthy working practices.
Remove
- Remove the front passenger seat. See Seat Assembly - 1st Row - No Lumbar - RH (Remove and Replace).
- Remove the front passenger headrest trim. See Headrest - Front Seat - LH (Remove and Replace).
- Remove the RH seat back shell. See Shell - Seat Back - Front Seat - LH (Remove and Replace).
-
Remove the upper flap covering the
outboard corner of the seat back frame
NotePull flap out of the metal tabs to release
-
Remove the lower flap covering the
outboard corner of the seat back frame
NotePull flap out of the metal tabs to release
-
Remove the upper flap covering the
inboard corner of the seat back frame
NotePull flap out of the metal tabs to release
-
Remove the lower flap covering the
inboard corner of the seat back frame
NotePull flap out of the metal tabs to release
-
Release seat back trim retainers from
seat back frame
Note7x retainers,1x Lock sheet
-
Remove backrest ventilation fan
connector
Note1x connector
- Pull the seat upholstery away from the side air bag to gain access to the air bag electrical connector
-
Disconnect seat side air bag
connector
Note1x connector, Press and hold the black tabs on both sides and pull down to release the connector
- Pull the seat upholstery away from the FSAB to gain access to the air bag electrical connector
-
Disconnect seat FSAB connector
Note1x connector, Press and hold the black tabs on both sides and pull down to release the connector
-
Remove the harness clip securing the
air bag pigtail to the seat back frame
Note1x fir tree clip
-
Remove the seat harness from seat back
frame
Note4x clips
-
Remove the harness clip securing the
FSAB pigtail to the seat back frame
Note1x fir tree clip
-
Disconnect the recliner motor
Note1x connector
-
Remove bolt securing outer side cover
to seat
Note1x bolt, 8mm, 5 Nm, Ensure the front of the seat is high enough to access the 8mm bolt
-
Pull outward at front to release outer
side cover clip from RH front seat
Note1x clip, Do not fully remove for risk of damage to the trim/switch pack/harness
-
Pull outward from the upper part of
the trim panel to release the outer cover clips from the right front seats
Note2x clips,1x positioning clip,Need to remove the lower clips first and then the upper positioning clip,Do not fully remove outer cover for risk of damage to the trim/switch pack/harness
-
Disconnect RH front seat switch
connector
Note1x connector
-
Remove the outer cover from the RH
front seat
Note5x clips, Pull outwards then upwards to release
-
Disconnect the passenger pre-tensioner
connector
Note1x electrical connector, 2 stage locking connector, Release the first lock by pulling away from the connector, Then remove the connector from the pre-tensioner
-
Release seat belt pretensioner harness
bracket
Note2x clips, First move the harness bracket forwards, Then remove the harness bracket backwards
-
Remove clips securing seat switch
harness to seat cushion frame
Note2x fir tree clips
-
Rotate seat to gain access to
underside
NoteProtect seat cushion from damage
-
Unhook the straps for the lower
section of the seat back and move the seat back flap away from the underside of the
seat
Note2x clips
-
Remove seat cushion ventilation fan
connector
Note1x connector
-
Disconnect the seat back heater
connector
Note1x connector, Green
-
Remove the seat back harness connector
from the seat bottom
NoteSlide connector forward to release from seat bottom
-
Disconnect the heat pad
connector
Note1x connector
-
Remove seat occupied sensor connector
from seat harness bracket
Note2x tabs
-
Disconnect the seat occupied sensor
and set the sensor harness pigtail aside
Note1x connector
-
Remove clip securing harness to under
side of the seat, next to seat heater connectors
Note1x retaining clip
-
Remove clips securing track motor
harness to track motor housing
Note2x edge clips
-
Disconnect the tilt motor
connector
Note1x connector
-
Disconnect the lift motor
connector
Note1x connector
-
Disconnect RH front seat track motor
connector
Note1x connector
-
Remove the clip securing the RH front
seat harness to the outboard seat track
Note1x clip
-
Disconnect the seat belt buckle
connector
Note1x connector, 2x clips, First move the connector bracket backwards, Then remove the connector bracket forwards
-
Remove clips securing seat belt buckle
connector harness to seat cushion frame
Note2x fir tree clips
-
Remove the seat harness bracket from
the the seat frame
Note3x clips
-
Route wire harness around the seat
frame
NoteWith the wire harness bracket as the center, Route wire harness around the seat frame, Keep the harness away from the seat, The harness will be completely free from the seat at this point
-
Remove the seat harness assembly from
the seat frame
-
Position the new seat harness for
installation
NoteWith the wire harness bracket as the center, Route the harness under the lift motor and tilt motor placing the harness legs in the correct locations, Harness clips will be installed later
-
Install the seat harness bracket to
the seat base assembly
Note3x clips
-
Install the clips securing the seat
belt buckle connector harness to the seat cushion frame
Note2x fir tree clips
-
Connect the seat belt buckle
connector
Note1x connector, First move the connector bracket backwards, Then install the connector bracket forwards
-
Install the clip securing the LH front
seat harness to the outboard seat track
Note1x clip
-
Connect RH front seat track motor
connector
Note1x connector
-
Connect the lift motor connector
Note1x connector
-
Connect the tilt motor connector
Note1x connector
-
Install the clips securing the track
motor harness to the track motor housing
Note2x retaining clips
-
Install the clip securing the harness
to the under side of the seat, next to the seat heater connectors
-
Connect heat pad connector
Note1x connector
-
Connect the seat occupied sensor and
install the sensor onto the seat harness bracket
Note1x connector, 2x tabs, Ensure harness is not routed between cushion and frame to avoid friction
-
Install seat back harness connector to
the seat bottom
Note1x connector, 1x clip, Slide connector onto seat frame clip to secure
-
Connect seat heater harness
Note1x connector
-
Install seat cushion ventilation fan
connector
Note1x connector
- Rotate seat back to the upright position
-
Install clips securing seat switch
harness to seat cushion frame
Note2x fir tree clips
-
Install seat belt pretensioner harness
bracket
Note2x clips, First move the connector bracket backwards, Then install the connector bracket forwards
-
Connect the LH front seat belt
pretensioner
Note1x connector, Ensure connector locks engage
-
Place outer cover on RH front
seat
Note5x clips, Apply light pressure to the rear of the exterior trim to seat it fully on the seat frame and align with the contour of the seat back
-
Connect the RH front seat switch
connector
Note1x connector
-
Install outer cover clips to RH front
seat
Note2x clips,1x Positioning clip, Need to install the upper Positioning clip first and then the lower clips, Ensure the trim and the switch are not damaged during install
-
Install screw securing outer side
cover to RH front seat
Note1x bolt, 8mm, 5 Nm
-
Connect the recliner motor
Note1x connector
-
Install backrest ventilation fan
connector
Note1x connector
-
Install the harness clip securing the
FSAB pigtail to the seat back frame
Note1x fir tree clip
-
Install the seat harness to seat back
frame
Note4x clips
-
Install the harness clip securing the
airbag pigtail to the seat back frame
Note1x fir tree clip
-
Connect RH front seat side air
bag
Note1x connector
-
Connect front seat FSAB
connector
Note1x connector
-
Install the lower flap covering the
inboard corner of the seat back frame
NotePull the flap over the metal tangs to secure
-
Install the upper flap covering the
inboard corner of the seat back frame
NotePull the flap over the metal tangs to secure
-
Install the lower flap covering the
outboard corner of the seat back frame
NotePull the flap over the metal tangs to secure
-
Install the upper flap covering the
outboard corner of the seat back frame
NotePull the flap over the metal tangs to secure
-
Secure seat back trim retainers onto
seat back frame
Note7x retainers,1x Lock sheet
- Install the RH seat back shell. See Shell - Seat Back - Front Seat - LH (Remove and Replace).
- Install the front passenger headrest trim. See Headrest - Front Seat - LH (Remove and Replace).
- Install the front passenger seat. See Seat Assembly - 1st Row - No Lumbar - RH (Remove and Replace).