2024-04-17
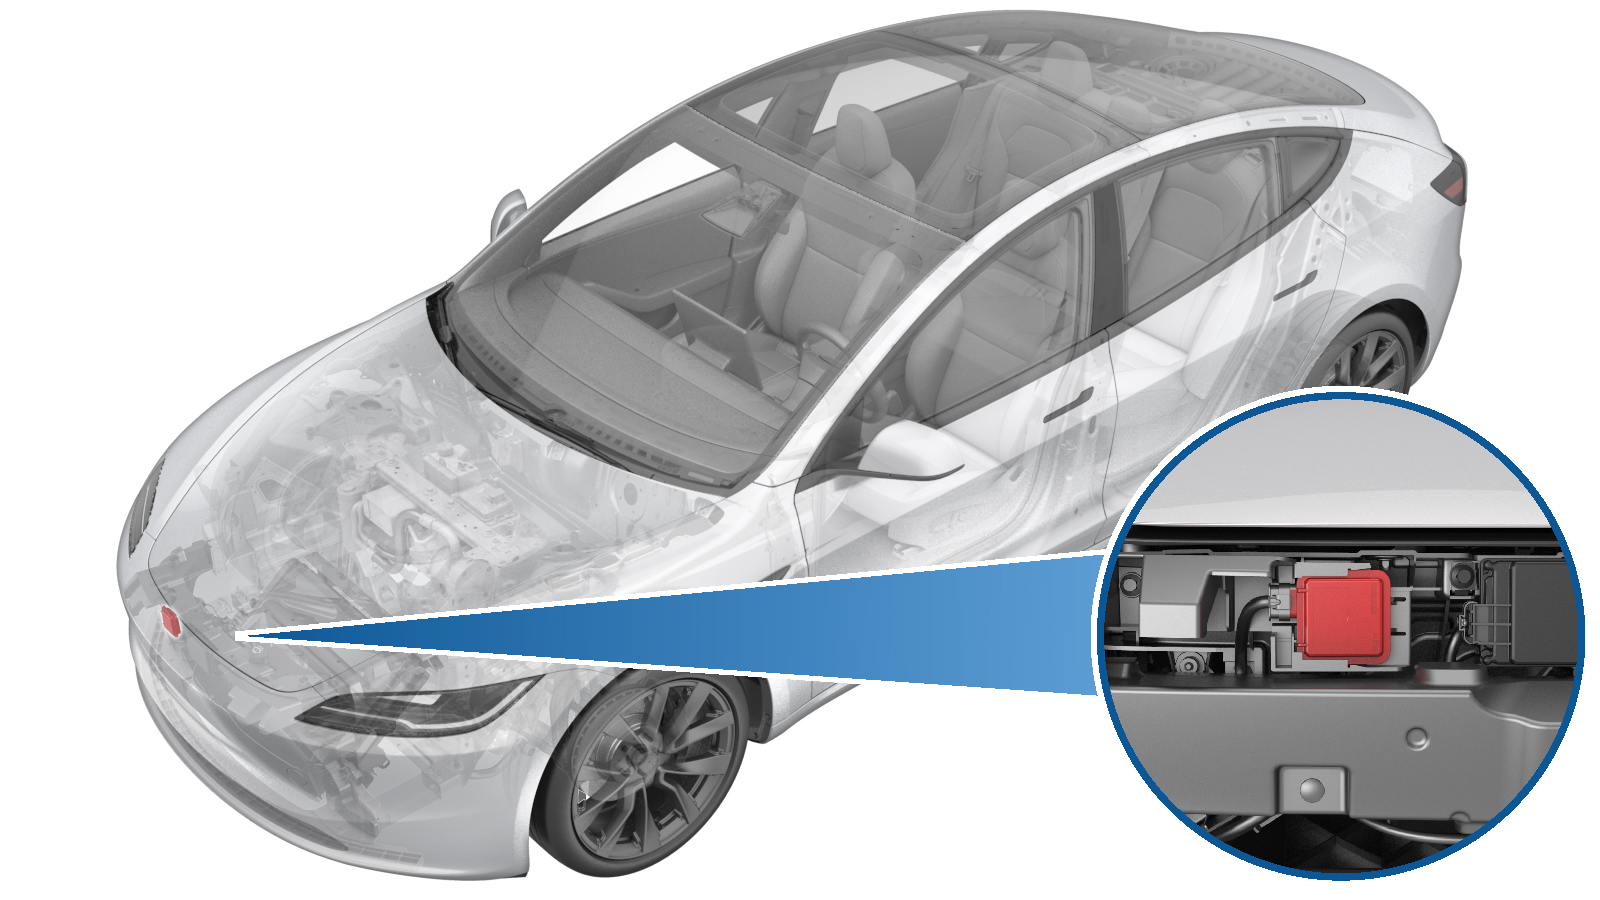
Module - Homelink Transmitter (Remove and Replace)
 Correction code
1715010512
FRT
0.30
NOTE: Unless otherwise explicitly stated in the procedure, the above correction code and FRT reflect all of the work required to perform this procedure, including the linked procedures. Do not stack correction codes unless explicitly told to do so.
NOTE: See Flat Rate Times to learn more about FRTs and how they are created. To provide feedback on FRT values, email ServiceManualFeedback@tesla.com.
NOTE: See Personal Protection to make sure wearing proper PPE when performing the below procedure.
NOTE: See Ergonomic Precautions for safe and healthy working practices.
- 2024-04-17: Changed the method of accessing the Homelink module.
Remove
- Remove the underhood storage unit. See Underhood Storage Unit (Remove and Replace).
-
Remove the bolts (x5) that attach the
upper portion of the front fascia to the vehicle.
TIpUse of the following tool(s) is recommended:
- Cordless hex driver
- 6 in nutsetter + 10 mm magnetic deep
-
Remove the clips (x5) that attach the
LH front wheel arch liner to the front fascia, and then move the liner aside for
access.
-
Remove the bolt that attaches the
front fascia to the LH front fender.
TIpUse of the following tool(s) is recommended:
- Cordless hex driver
- 6 in nutsetter + 8 mm magnetic deep
- Repeat step 3 through step 4 on the RH side of the vehicle.
-
Release the clips (x16) that attach
the front fascia assembly to the vehicle, and then partially release the front fascia
assembly from the vehicle to gain access to the Homelink module.
NotePut shop towels on the fascia to prevent damage.
-
Disconnect the electrical connector
from the HomeLink transmitter module.
-
Release the tab, and then slide the
HomeLink transmitter module to the right to remove it from the vehicle.
Install
-
Install the HomeLink transmitter
module on the bracket.
-
Connect the electrical connector to
the HomeLink transmitter module.
-
Remove the towels, and fasten the
clips (x16) that attach the front fascia assembly to the vehicle.
-
Install the bolt that attaches the
front fascia to the LH front fender.
 2.5 Nm (1.8 lbs-ft)TIpUse of the following tool(s) is recommended:
- Cordless hex driver
- 6 in nutsetter + 8 mm magnetic deep
-
Fasten the clips (x5) that attach the
LH front wheel arch liner to the front fascia, and then move the liner aside for
access.
- Repeat step 4 through step 5 on the RH side of the vehicle.
-
Install the bolts (x5) that attach the
upper portion of the front fascia to the vehicle.
 3.5 Nm (2.6 lbs-ft)TIpUse of the following tool(s) is recommended:
- Cordless hex driver
- 6 in nutsetter + 10 mm magnetic deep
- Install the underhood storage unit. See Underhood Storage Unit (Remove and Replace).
- Use the touchscreen to enable Service Mode. See Service Mode.
- Unlock the vehicle gateway. See Gateway Unlock
- On the touchscreen, touch and allow the routine to complete.
- Exit Service Mode. See Service Mode.